Tim,
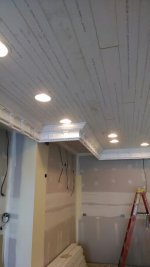
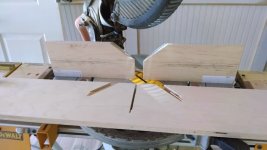
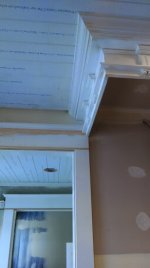
The crown was twisted to lower it. I figured out at what point the crown sat at its designed spring angle and deduct from there. You can raise it past that but you would have to modify the angle on the portion of the crown that hits the wall instead of or in addition to modifying the angle that it hits the ceiling. Based on the size of the crown on this one and the desired reveal in the build up it was best to lower it, but splitting the difference can be necessary.
In addition to cabinet crown and built ups this technique is also useful when crown runs above something like a bank of windows and the ceiling is off level but the windows are level (ish). The eye will be more likely to pick up the height difference between the top of the window casing and the bottom of the crown than a pitch in the flats of the moulding profile.
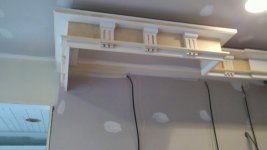
I found a picture of the lowest corner of this crown. You can see the angle in the vertical details on the moulding. No one noticed it until I pointed it oout.