4nthony
Member
Rob Z said:Anthony,
The pics help to get an idea of your project. Looking at the screws on the inside of the cabinet carcass, up near the top: are those screws run into the carcass next to it or are they run upward to bite into the plywood substrate? I was hoping you had the traditional corner blocks in the cabinets that could be cut with a multimaster so you could release the substrate. But maybe your substrate is as you suggest screwed from the top into the sides of the cabinets and the braces.
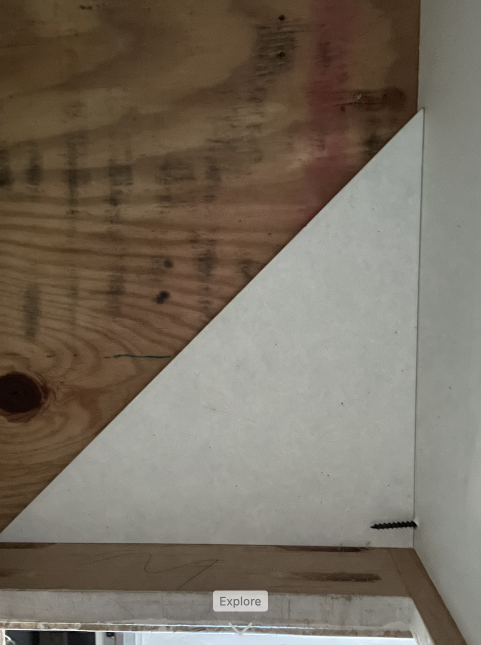
I'll check on those screws in the morning. There are a couple that appear to connect to the adjacent cabinet, but it's possible that a few of them go into the substrate. Also, there are two triangles in the front left of the two outside cabinets. This is the one on the right (the leftmost cabinet also has this triangle in the same location):
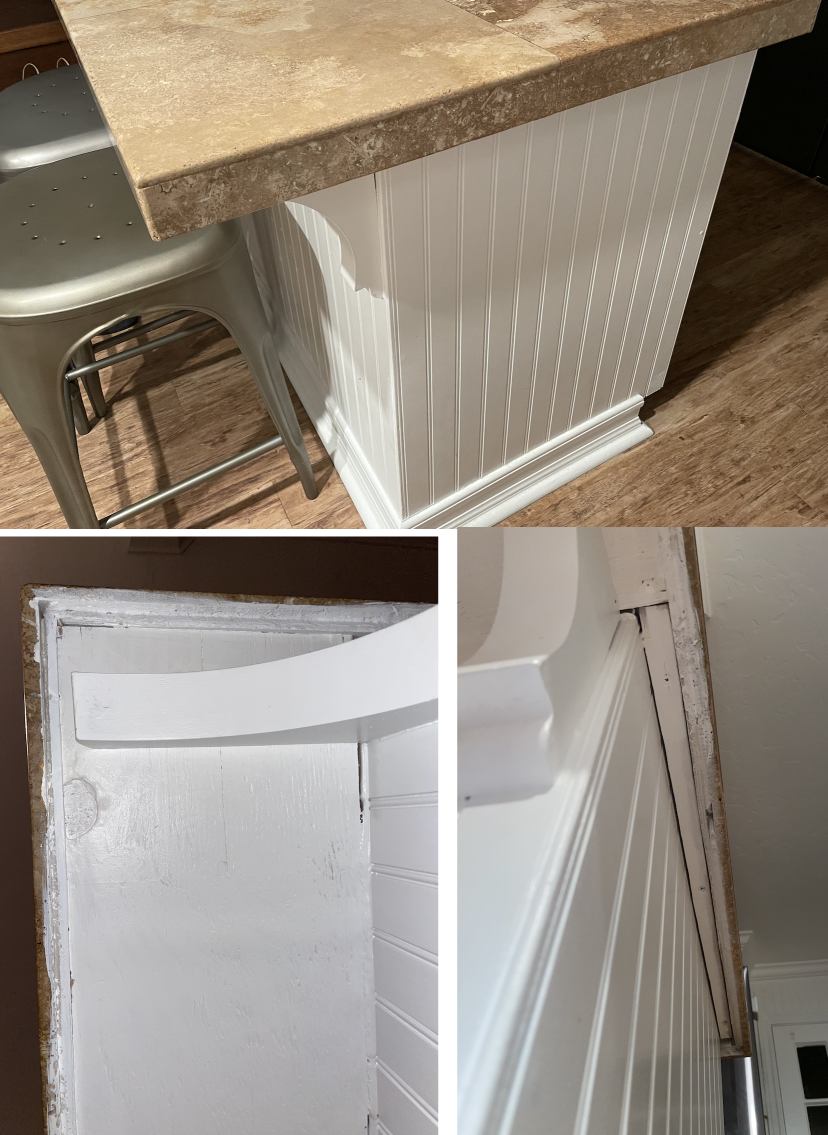
I can't figure out what the original installer did along the front of the counter. Do you have the clearance to run a grinder wheel up between the face frame and the backside of the counter edging so you can cut through those screws? Before I read your comment about 1/2" thick layer of thinset on there my first thought was that they used Denshield as a substrate. In some ways that would be good for you now because it might come out easily. Are you sure it's thinset?
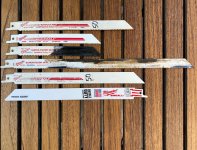
I do not have a grinder, but I might be able to get at those screws with a multi-tool. I'm not positive it's thinset. However, the drawer side is much thicker than the back side. On the back side, there's a small overhang/bar. The tiles on top are full size so I'm guessing they needed to pad out the overhang with extra thinset for the edge tiles to be flush with the top tiles.
I think your best step now is to get some of that edging tile off and get an idea of the cross section of the counter. Maybe it's two layers of plywood. Whether it's double layer plywood or backer board over a single layer of plywood, let's hope there is low bond strength for the setting material and you can pop the tiles off with a wedging action from the side. If so you might be able to expose the screw heads and back those out and lift the sheets without much trouble. If sure doesn't look like they used very many screws on this.
When I see skimpy work on the substrate details then I think there is a decent chance they cut corners on the setting materials and trowel technique. So you might well find that these tiles come off without too much brute force.
I'll start on the edge and go from there.
When we moved in, I was chatting with the neighbors and learned that this house had been a rental since the early 70s. Knowing that, I'm expecting to find that that a lot of corners were cut in this place.