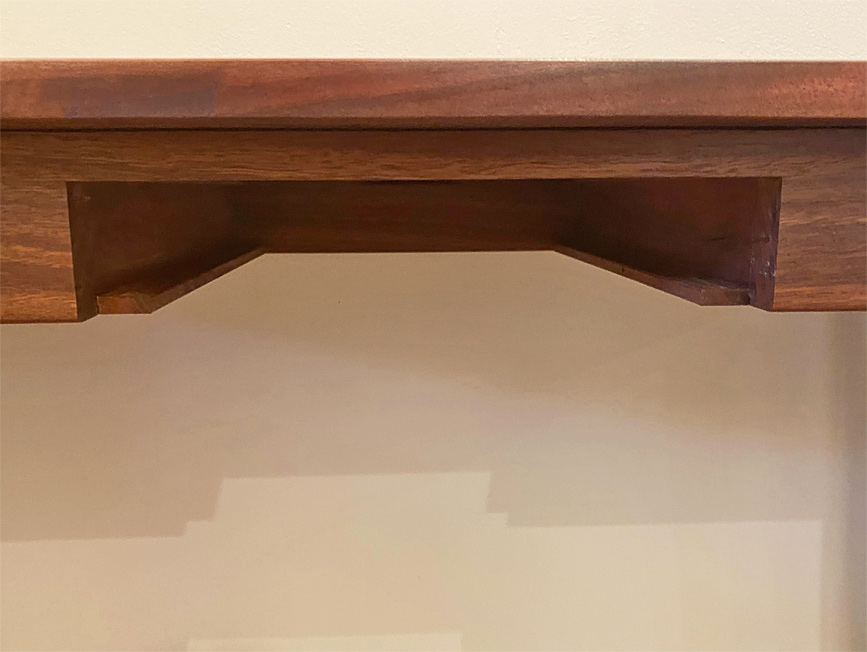
It was my intention from the outset to hide the drawer as best as possible. This required that the drawer not have a pull or handle visible on the outside. To achieve this end, the drawer would need to be opened from the underside.
Issue: Opening from the underside meant that the drawer would need to rest in a case which was open from below. Without a case bottom (i.e. drawer blades) on which the drawer could rest, the common method for a drawer would be a form of side hang.
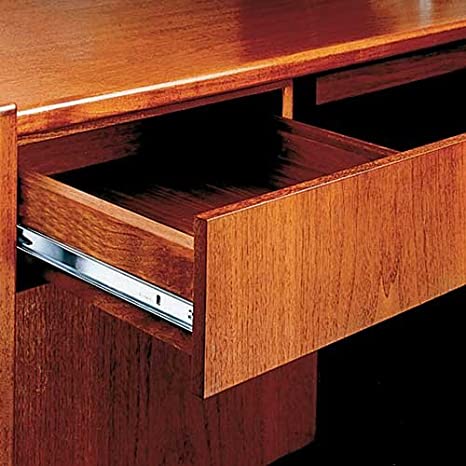
There are two methods for a side hung drawer that I know of, and I dislike both of them intensely! Partly because they require thick drawer sides, which lack aesthetic appeal for me.
The first is a wooden slide (ugh!) which requires grooving the outside of the drawer sides ...
The second method involves a metal slide (double ugh!!), which is ugly and belongs in a kitchen ...
In the end I decided that I could build a drawer case with drawer blades open at the front. I have not seen anything like this before, but I live a sheltered life. I doubt this is original ... just re-inventing the wheel.
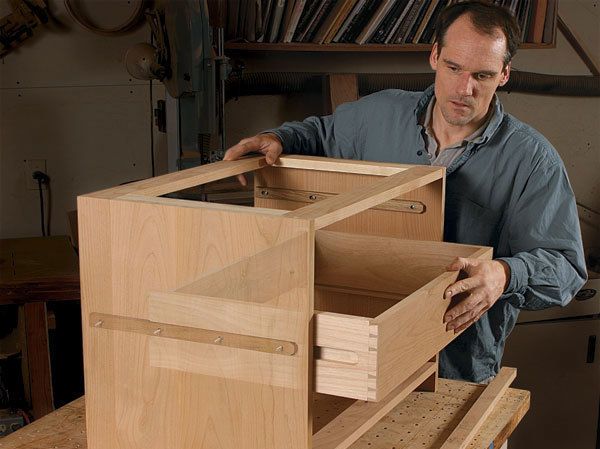
There are four parts to the drawer build: the drawer size and design, the drawer case, fitting the drawer case, and the drawer.
The drawer size and design
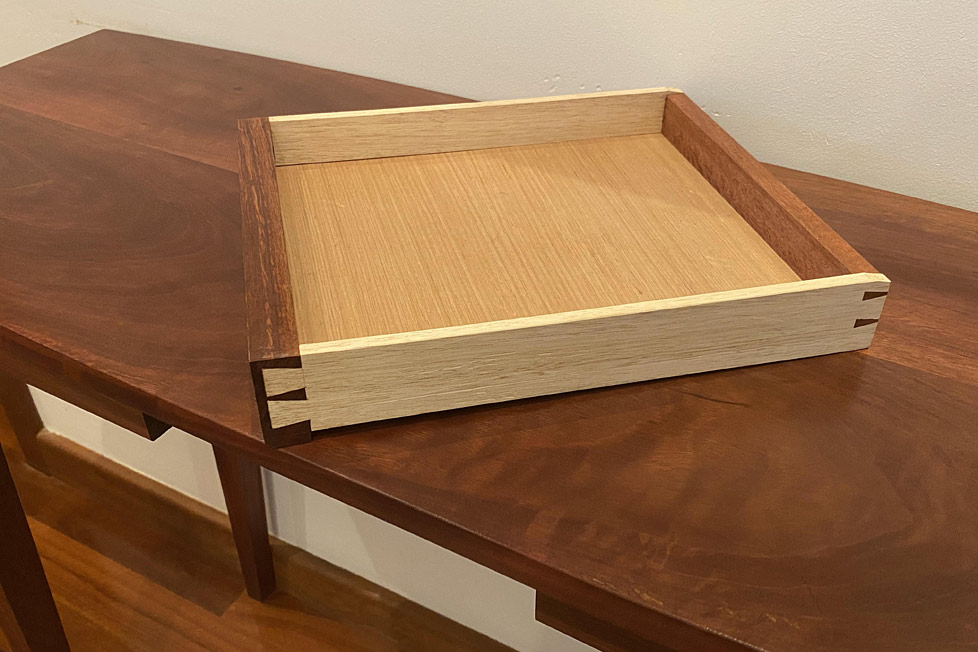
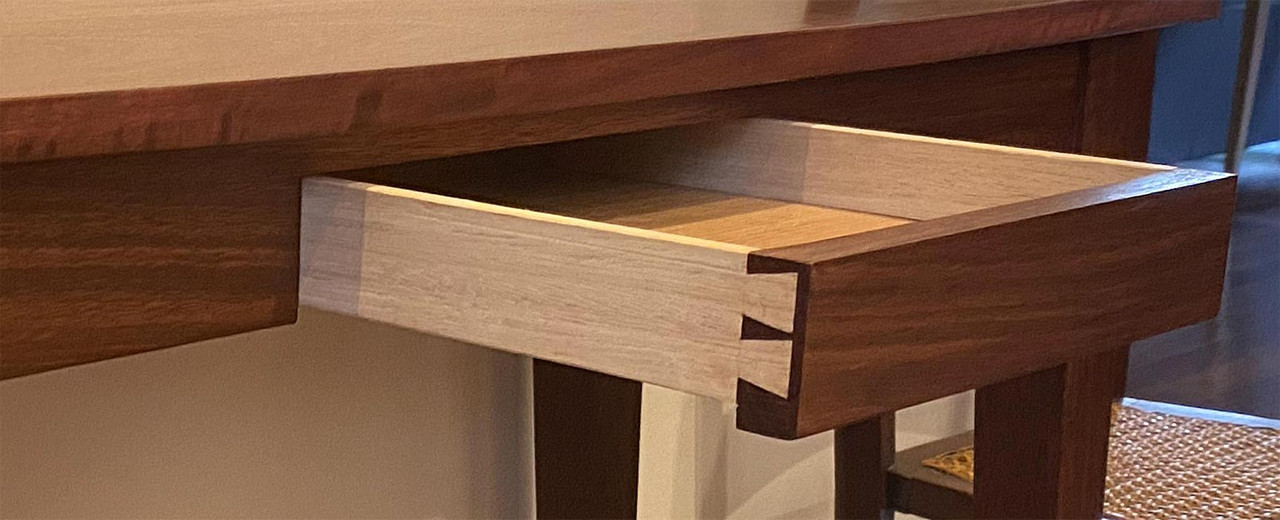
The drawer is 230mm (9") wide and 280mm (11") deep. The width represents one third of the length of the apron. This works well since the depth of the drawer needs to be greater than the width to avoid racking. Racking would not be an issue if there were side slides (ugh!), but we are avoiding those thingies.
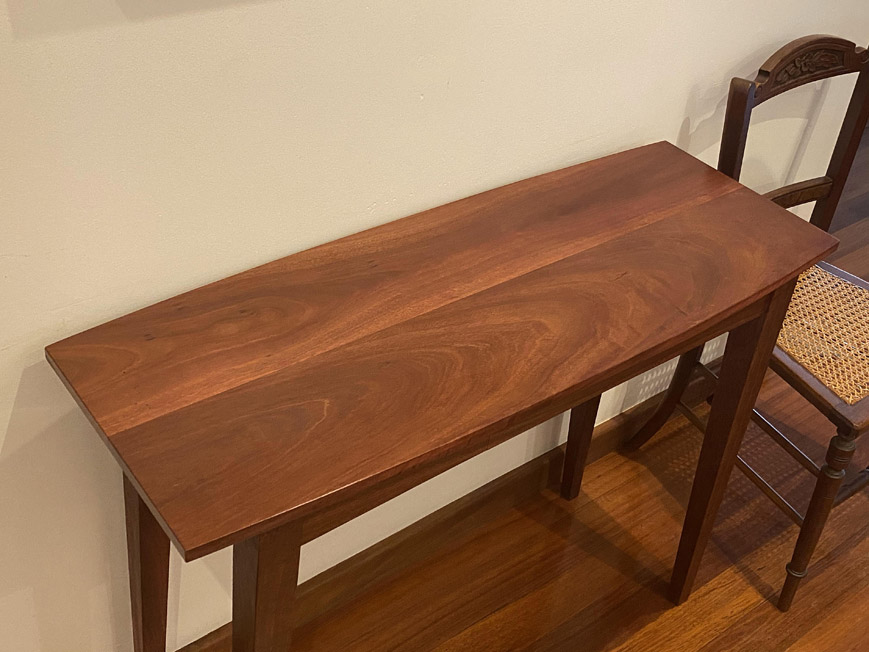
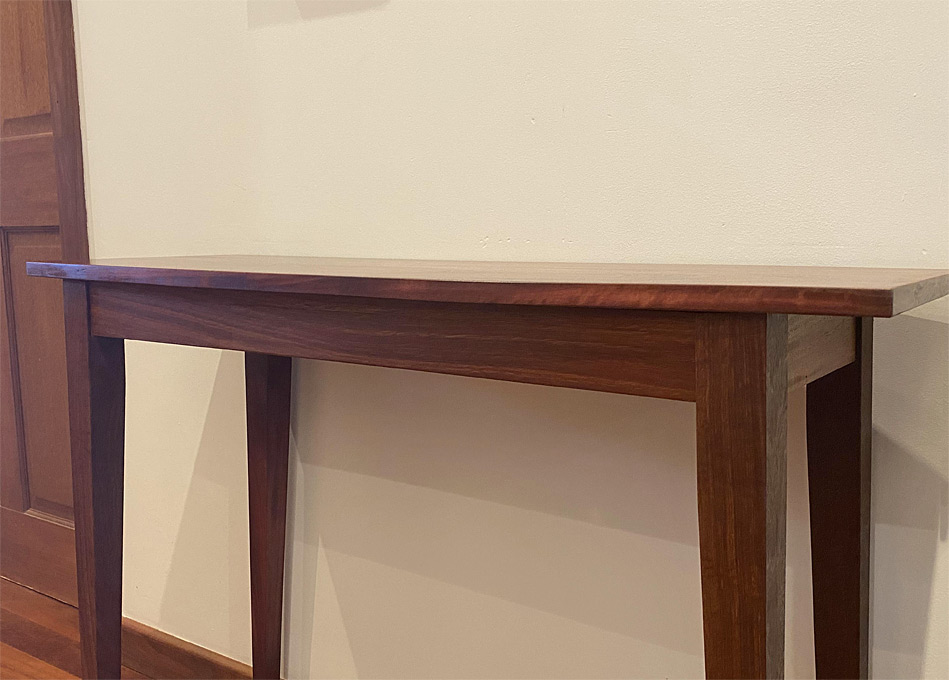
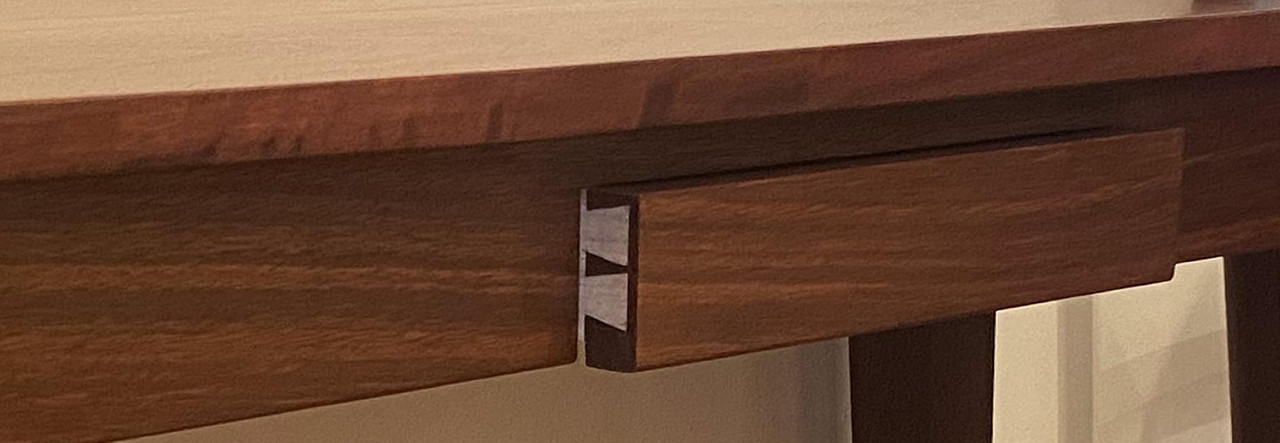
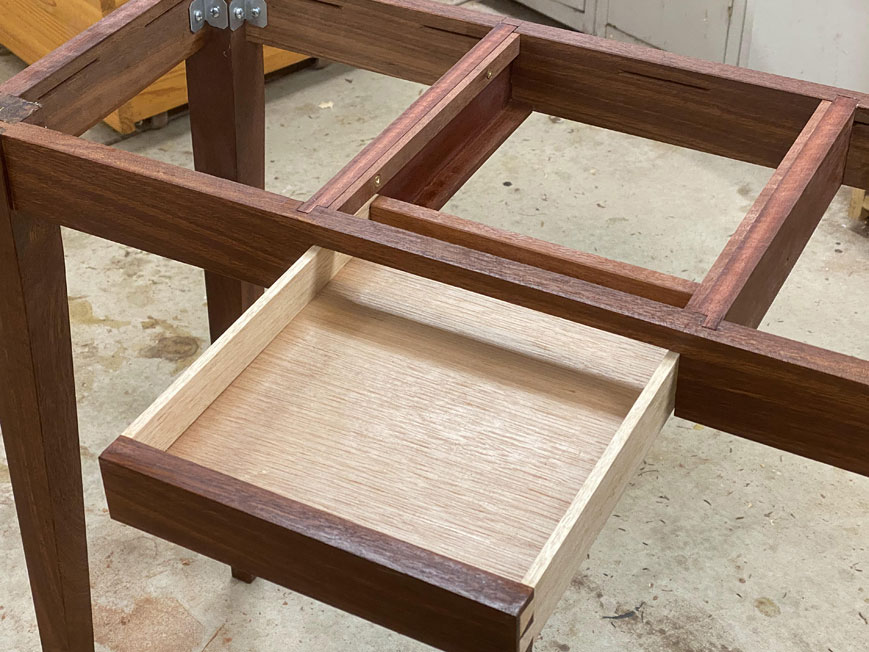
Note the lip on the underside of the drawer front ...
See the drawer lining up with the apron ... going ... going ..
... gone ...
That lip is the drawer pull, and it doubles as the drawer stop.
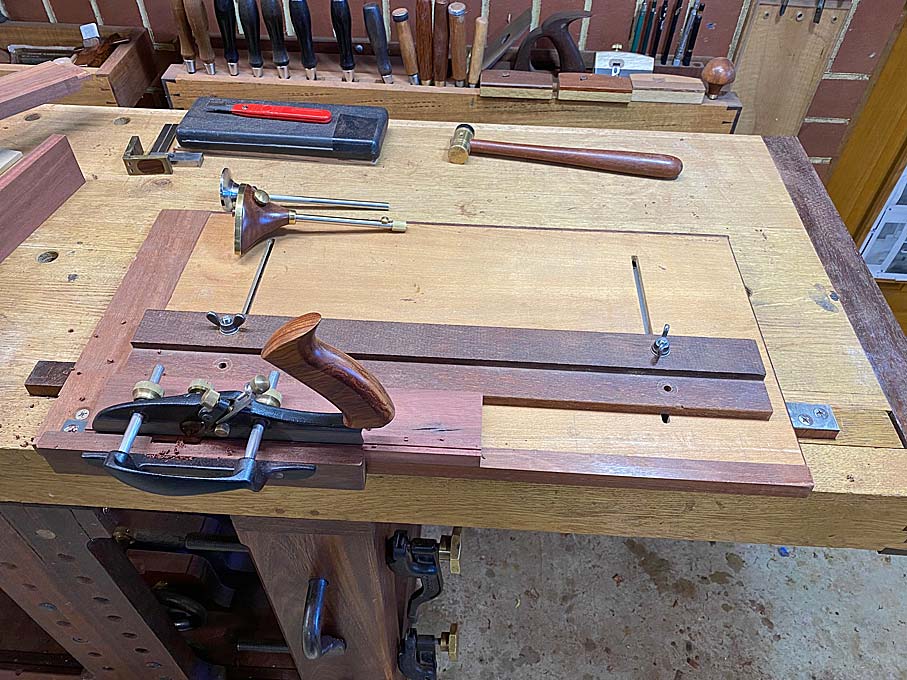
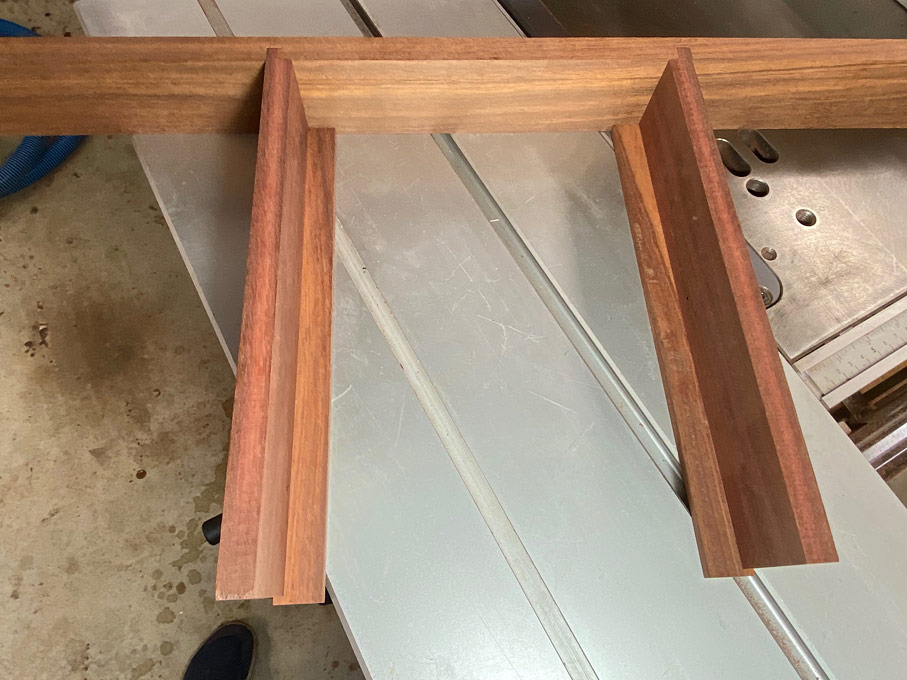
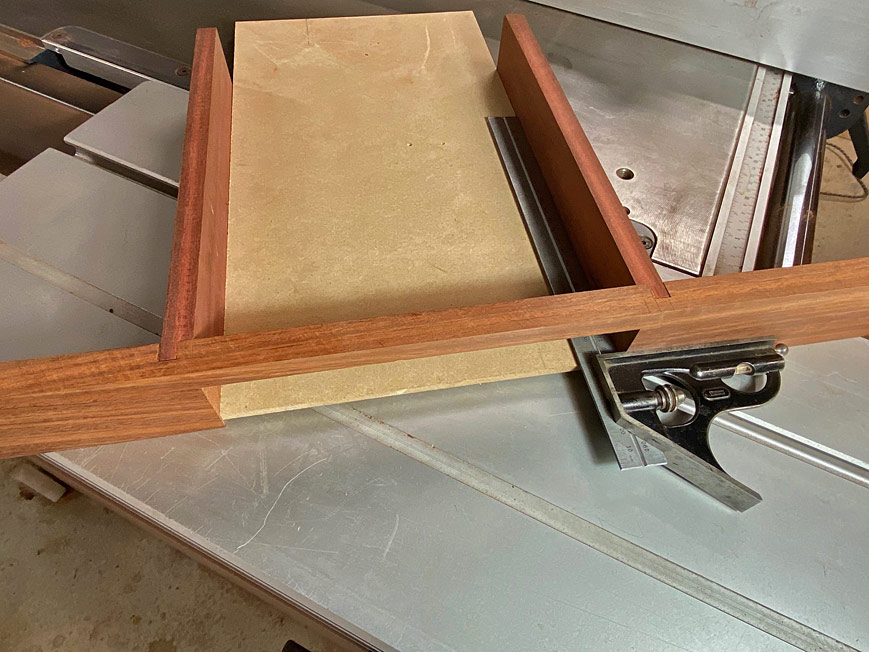
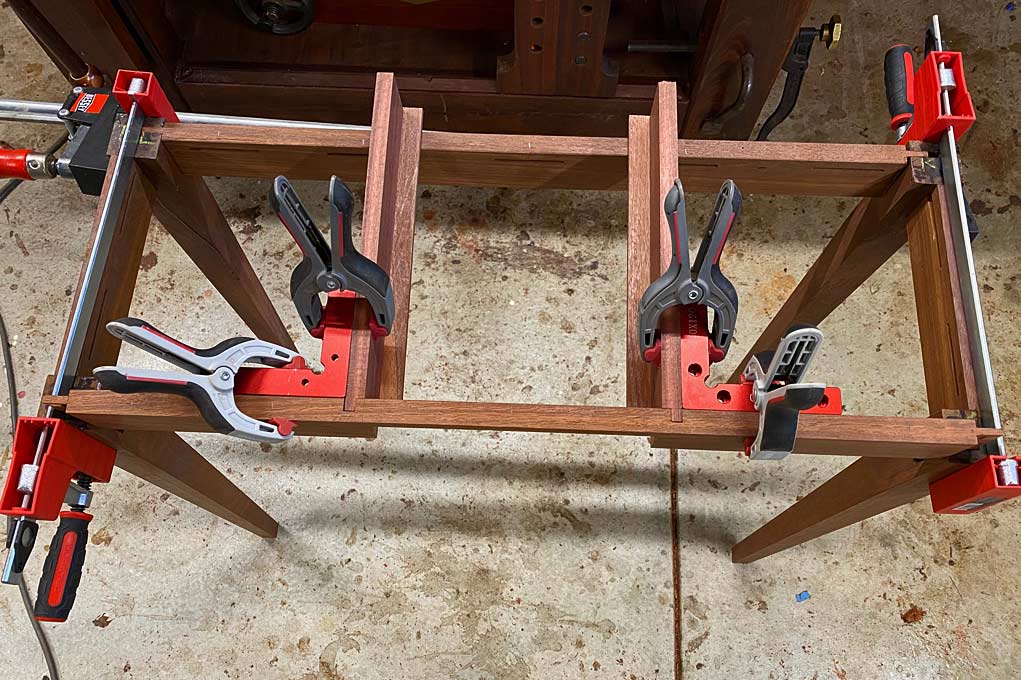
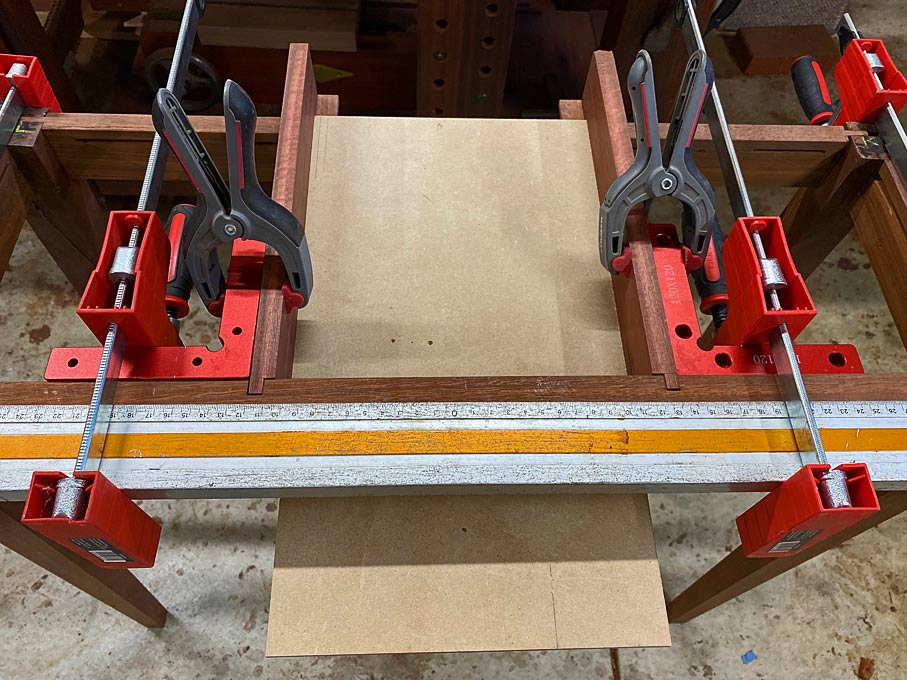
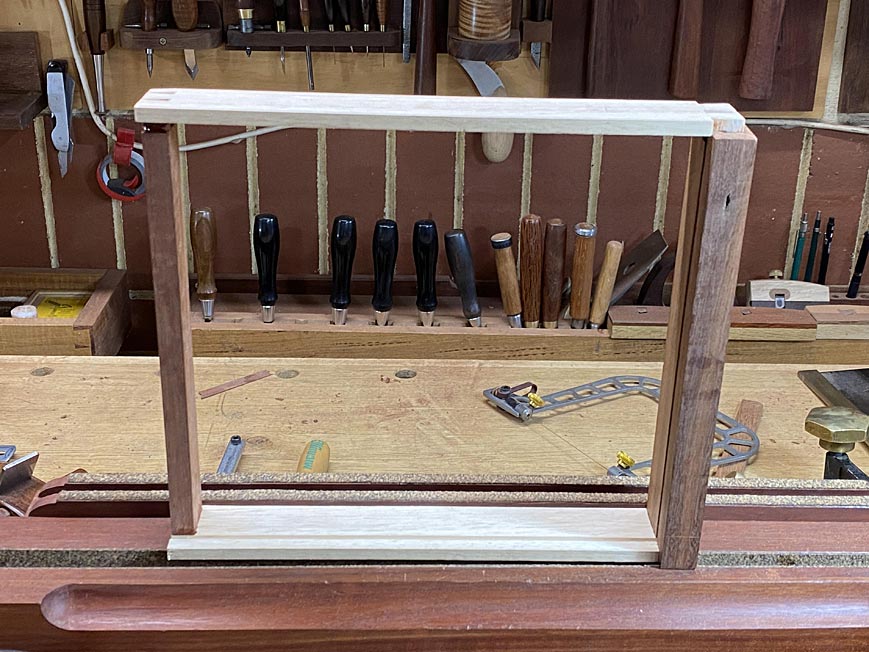
The drawer case
Let's make the face of the drawer case.
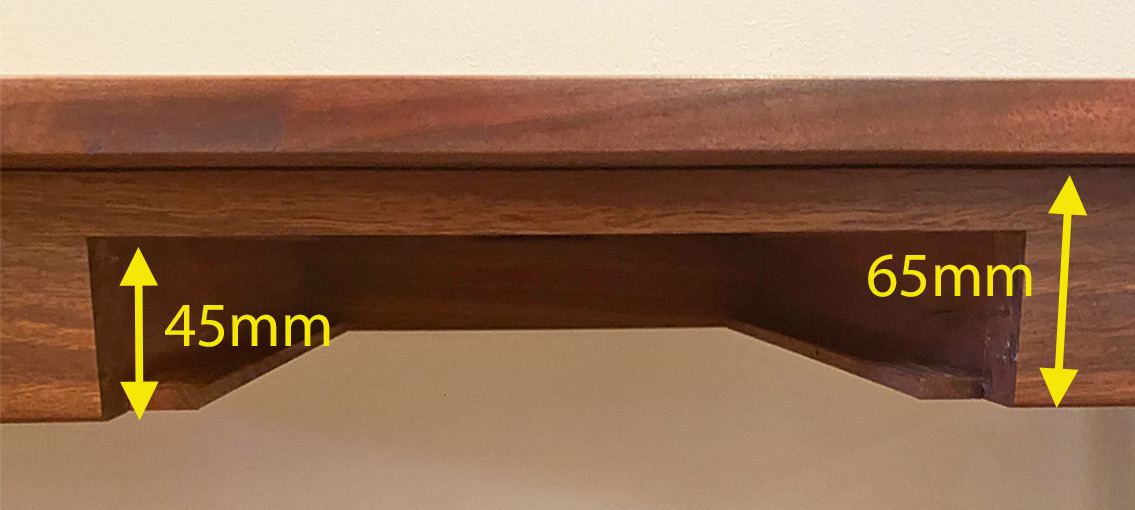
The original aprons were 100mm high. The new apron was to be 65mm, which was the height I calculated (with a life size drawing on a MDF sheet).
The 65mm height included the drawer front, which would be 45mm high. That would leave a 20mm rail above the drawer.
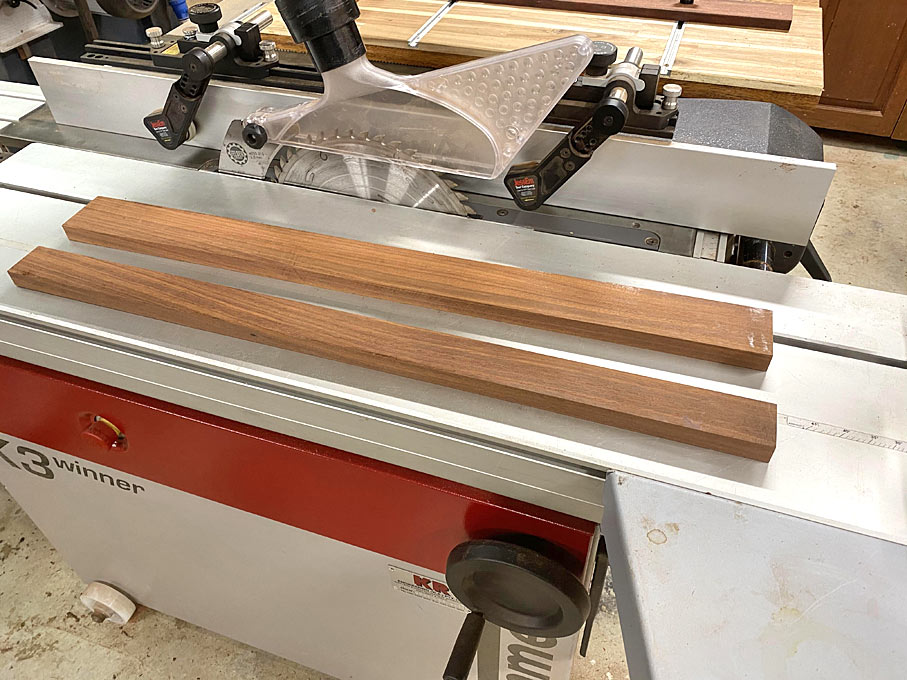
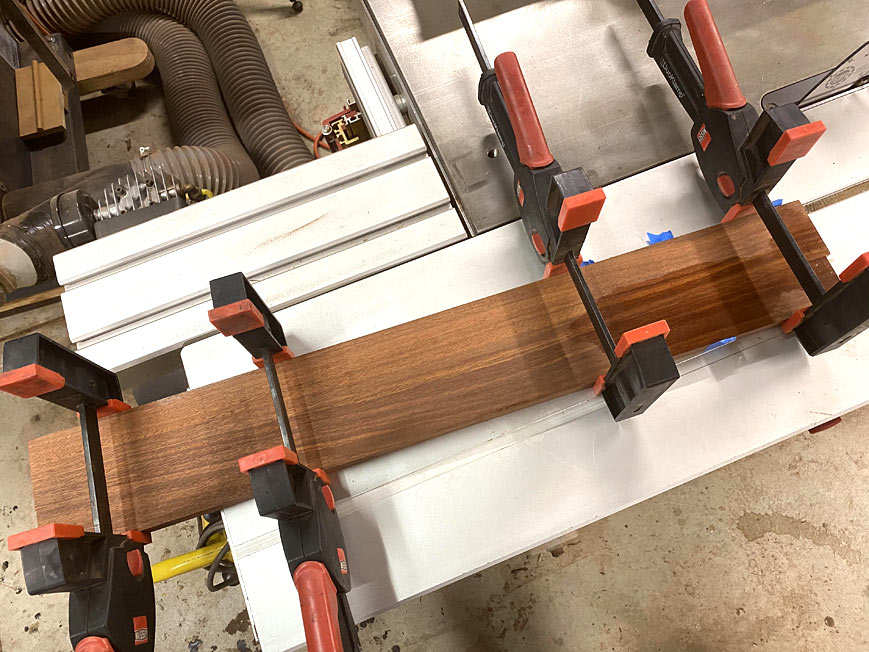
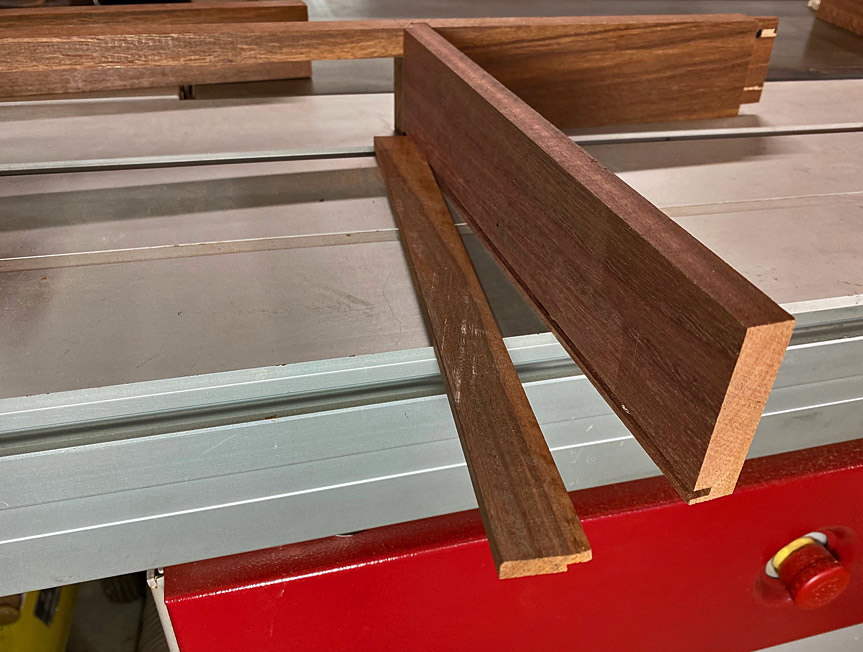
The first step here is to rip away 45mm from the original apron ...
These two sections are jointed so that they may be perfectly flush once glued back together, and no join evident. The jointing was done on my large shooting board ...
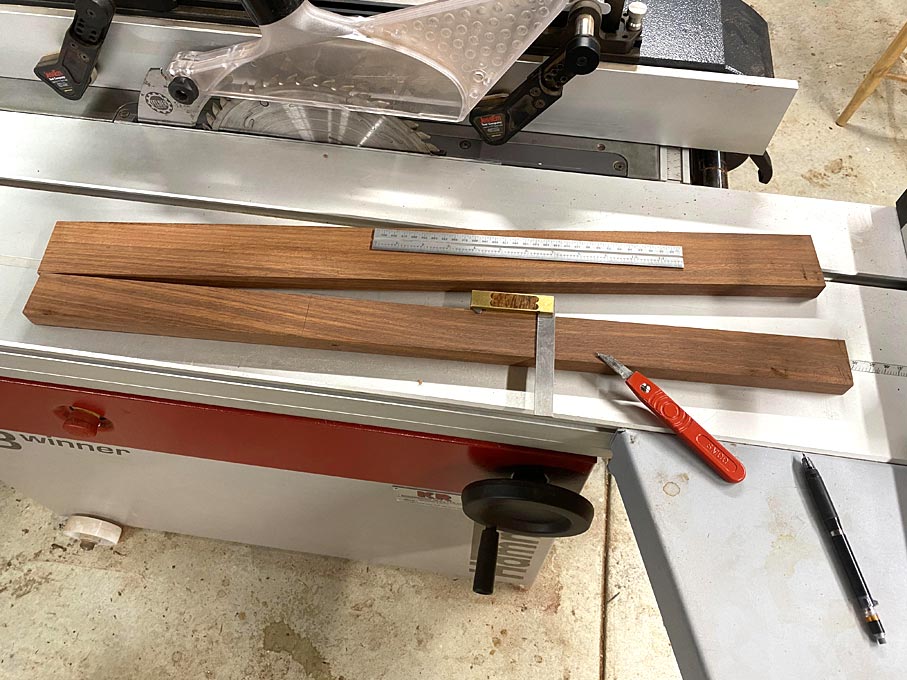
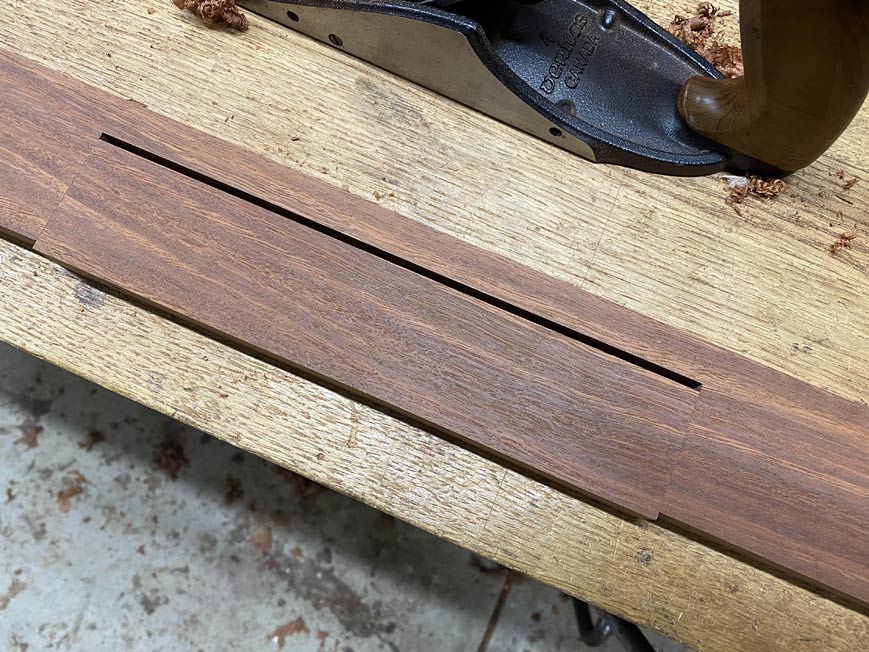
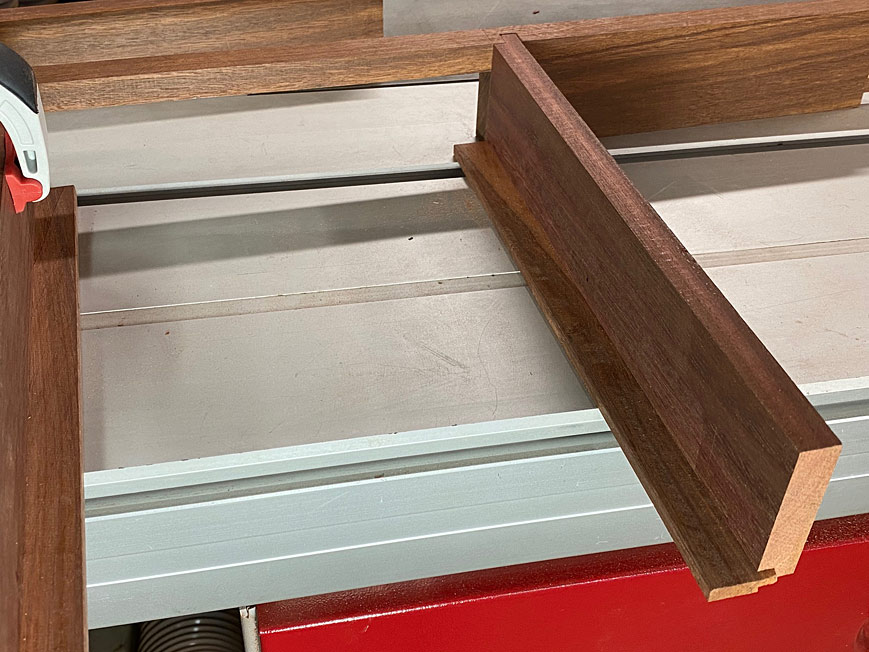
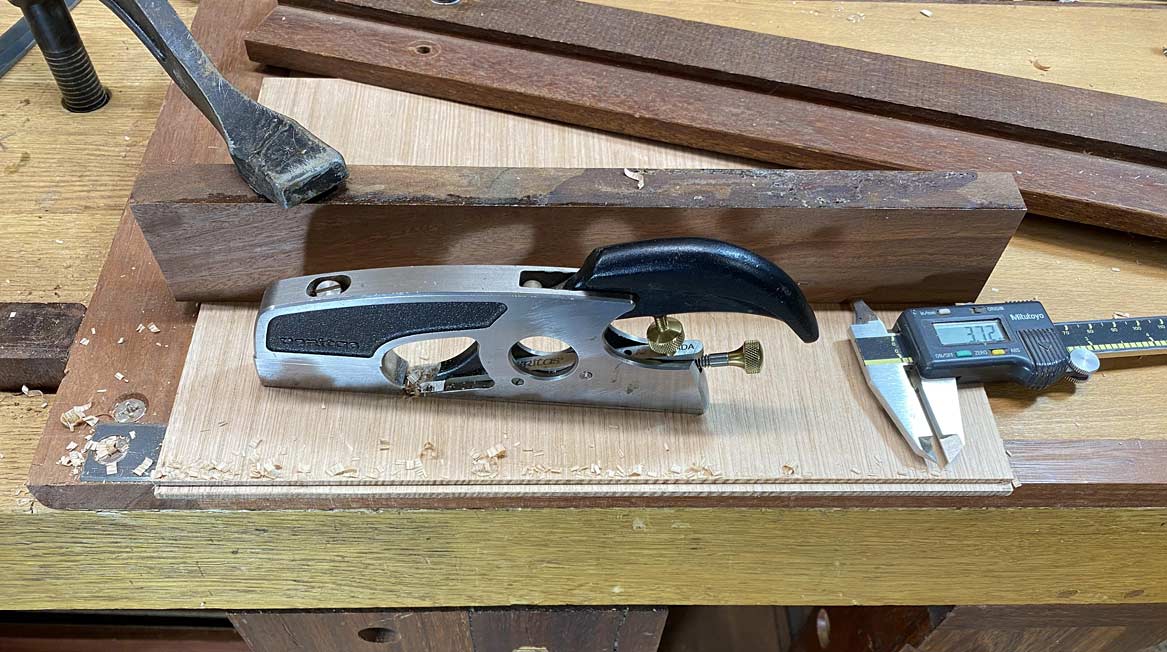
The drawer front is marked off - with a knife, not a pencil - from the centre of the 45mm wide board ...
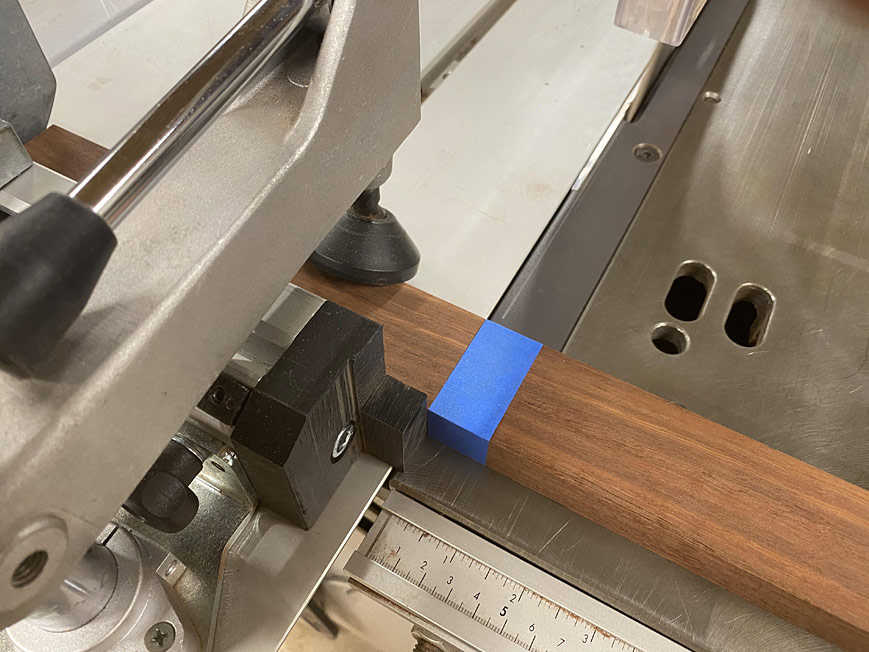
And then the drawer front is crosscut on the table saw. The cut area is covered in blue tape to minimise spelching ...
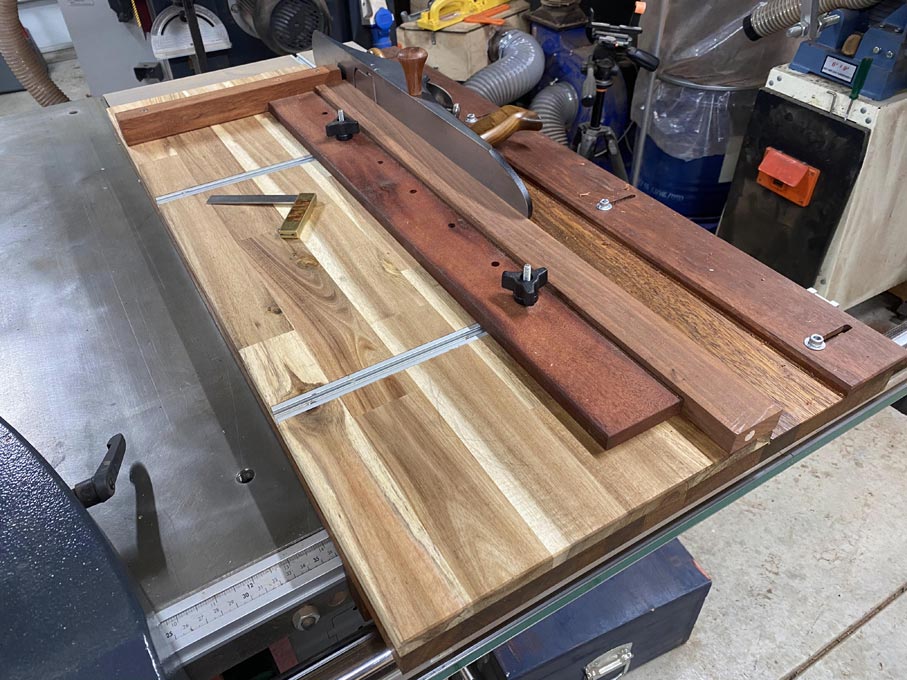
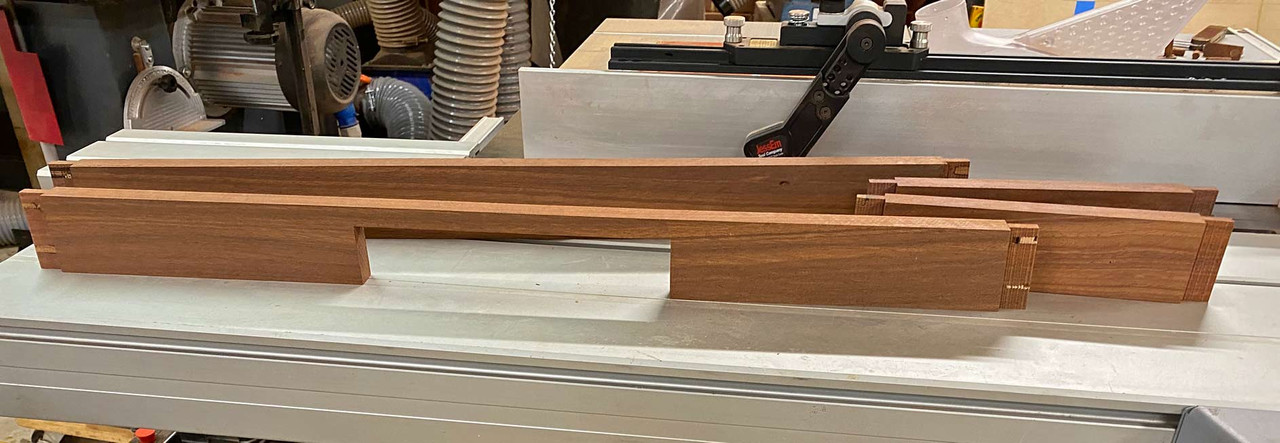
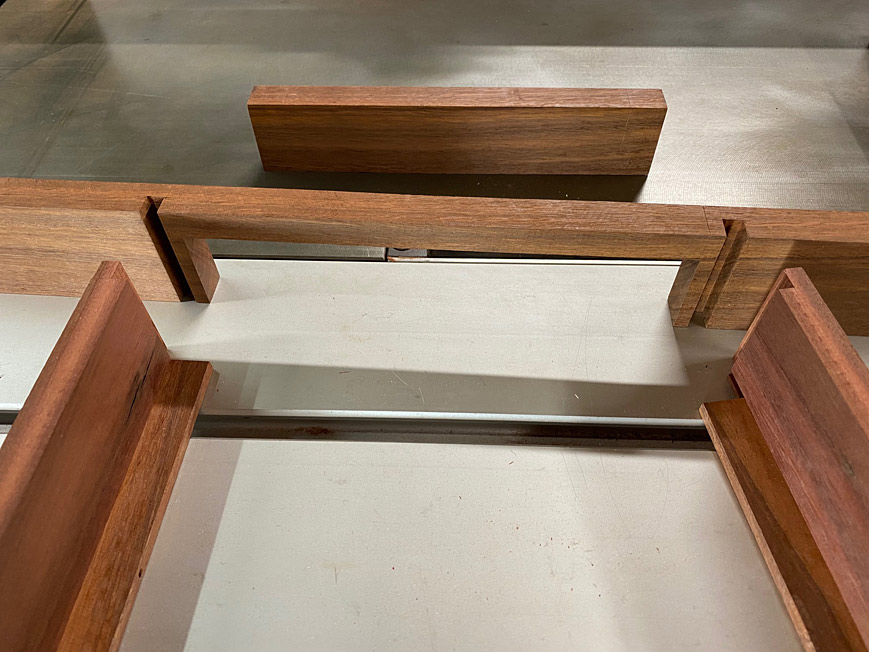
We are now left with four sections - the wide top, the two lower side sections, and the middle drawer front. The sections are glued back (taking care not to glue the drawer front back!) ...
Once the glue has dried, plane the board flat ...
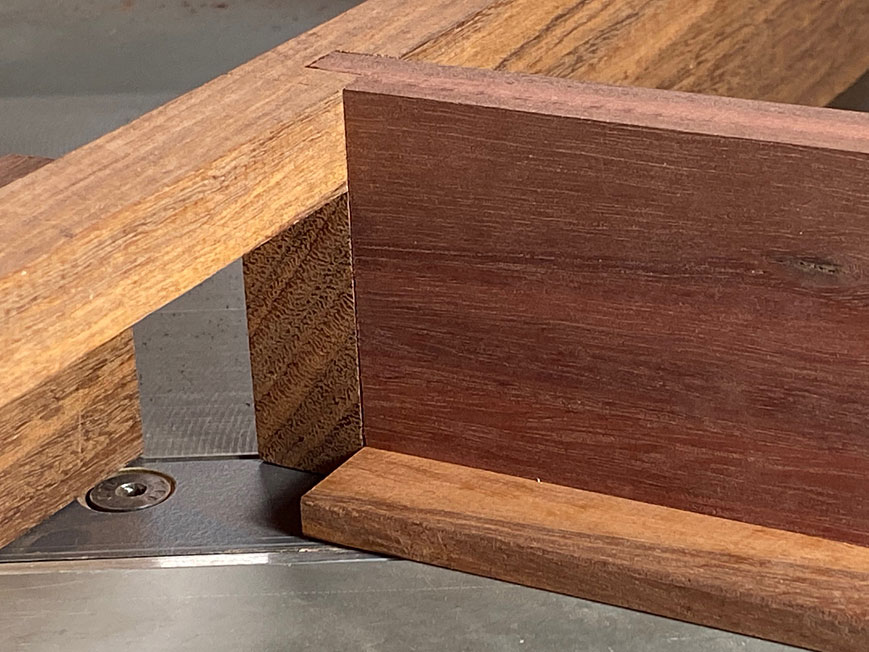
Did you see it before?
")
Now the board is ripped down to 65mm, leaving a 20mm rail above the drawer front.
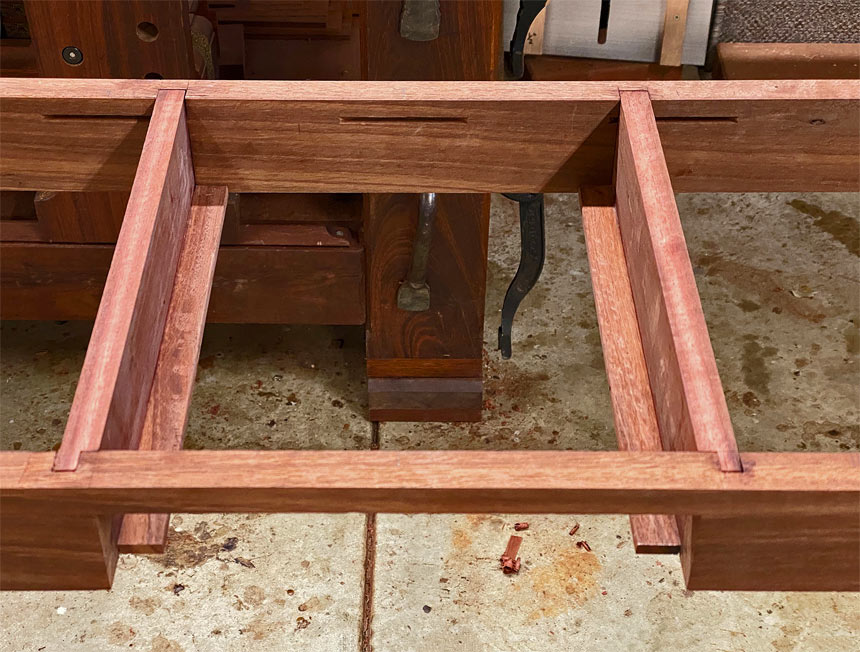
Here you can see the front and rear aprons. They have also been cut to length, given a tenon at each end. The apron tenons are angled 3 degrees for the splayed legs ...
Part 2 will complete the drawer.
Regards from Perth
Derek