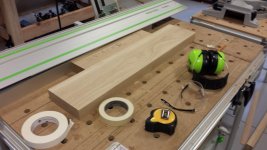
I have been ripping some 4/4 and 8/4 QS white oak. It's really the first 4/4 hardwood i have attempted with the TS55, outside of some simple cross cuts. I have used it often on mdf, plywood, 3/4 stock, and softwood stock (fir, pine, etc).
I have 2 related questions:
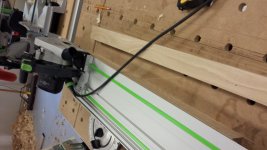
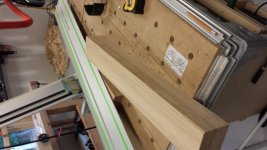
1) how can i reduce the burn marks i am getting on the wood - is it something counterintuitive? I have tried raising AND lowering the 'speed dial'...and speeding up and slowing down my 'push rate'...
2) i have flipped the 15amp circuit breaker several times while sawing the 8/4 in particular. No big deal, but again, it makes me think i am doing something wrong.
Any suggestions?
I have 2 related questions:
1) how can i reduce the burn marks i am getting on the wood - is it something counterintuitive? I have tried raising AND lowering the 'speed dial'...and speeding up and slowing down my 'push rate'...
2) i have flipped the 15amp circuit breaker several times while sawing the 8/4 in particular. No big deal, but again, it makes me think i am doing something wrong.
Any suggestions?
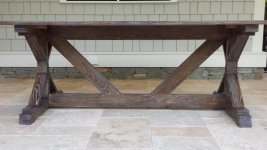
![496305[1].jpg](/data/attachments/7/7536-46f28fbe6053781825bd2c044ead2b14.jpg?hash=xzn4yKb5yl)