mouppe
Member
- Joined
- Feb 7, 2010
- Messages
- 3,036
I am sure I have seen this topic covered before somewhere on the FOG, but if so it was ages ago and I cannot find it again now so I am resurrecting it here.
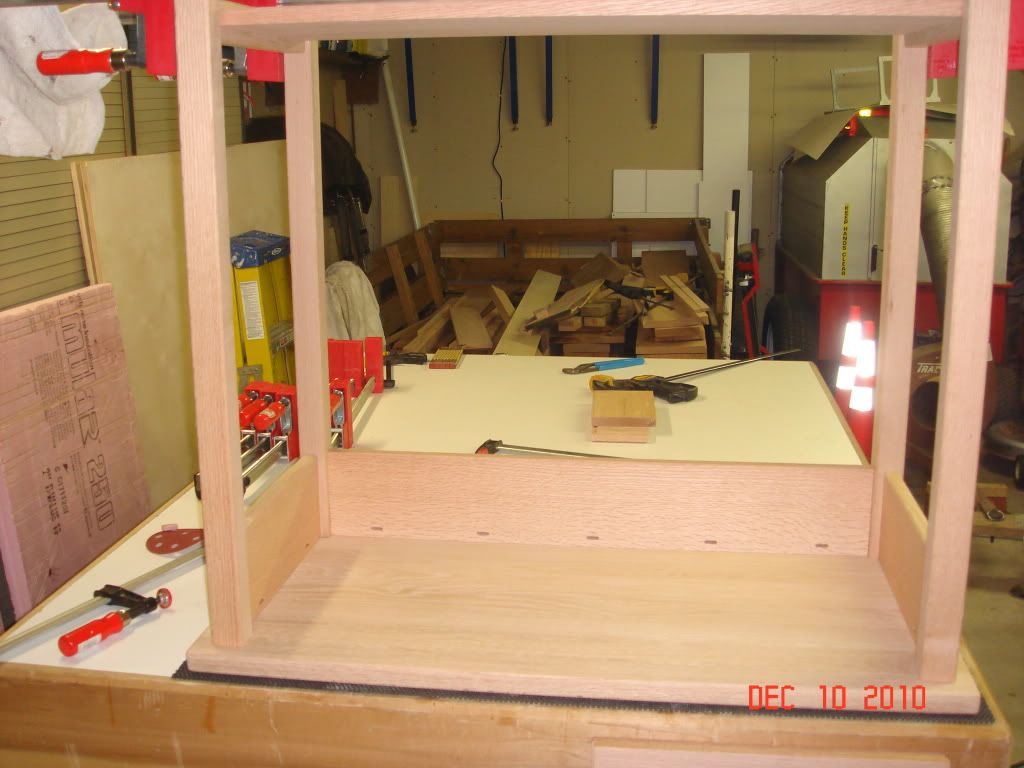
I used the domino to attach tabletops to the bases. It is an excellent way to overcome the problem of tabletop expansion and contraction which can result in a cracked or split top. I am using 6 x 40mm tenons.
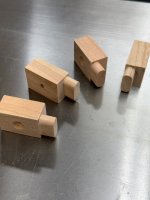
To make the table buttons, I take some 3/4" wood (I think I am using oak here) and mortise 28mm deep right in the centre of the block, also with the height set to 20mm. All the mortises are on the smallest setting. Then I glue the tenons in the mortises.
The walls of my aprons and sides are about 3/4" thick so I mortise 12mm deep to be absolutely sure not to blow through. I set the fence height to 20mm so the centre of the mortise is 10mm from the top.
My table top will be fixed at the back and able to expand towards the front, so on the rear apron I mortise on the narrowest setting.
[attachthumb=#]
On the sides I mortise on the widest setting as this is where most expansion and contraction will occur.
[attachthumb=#]
On the front I mortise on the middle setting. There will be very little movement here but since the tenons will not be glued it may as well be allowed to travel a little.
I drill holes for the screws right through the buttons. Then I place the buttons in the table base and mark the locations of the screw holes on the underside of the top.
- The buttons at the rear of the table are secured tightly to the top and glued in, flush to the rear apron.
- The buttons in the sides will be subject to the most movement. They are not glued in to the sides but left to move freely. I leave a little gap of a mm between the button edge and the side to allow for any long-grain expansion and because the sides are curved.
- The buttons at the front are similarly not glued in, and importantly, the edge of the button is set back from the apron allowing the top to expand and push the button forward.
[attachthumb=#]
This process is quick, flexible and effective.
[attachthumb=#]
I used the domino to attach tabletops to the bases. It is an excellent way to overcome the problem of tabletop expansion and contraction which can result in a cracked or split top. I am using 6 x 40mm tenons.
To make the table buttons, I take some 3/4" wood (I think I am using oak here) and mortise 28mm deep right in the centre of the block, also with the height set to 20mm. All the mortises are on the smallest setting. Then I glue the tenons in the mortises.
The walls of my aprons and sides are about 3/4" thick so I mortise 12mm deep to be absolutely sure not to blow through. I set the fence height to 20mm so the centre of the mortise is 10mm from the top.
My table top will be fixed at the back and able to expand towards the front, so on the rear apron I mortise on the narrowest setting.
[attachthumb=#]
On the sides I mortise on the widest setting as this is where most expansion and contraction will occur.
[attachthumb=#]
On the front I mortise on the middle setting. There will be very little movement here but since the tenons will not be glued it may as well be allowed to travel a little.
I drill holes for the screws right through the buttons. Then I place the buttons in the table base and mark the locations of the screw holes on the underside of the top.
- The buttons at the rear of the table are secured tightly to the top and glued in, flush to the rear apron.
- The buttons in the sides will be subject to the most movement. They are not glued in to the sides but left to move freely. I leave a little gap of a mm between the button edge and the side to allow for any long-grain expansion and because the sides are curved.
- The buttons at the front are similarly not glued in, and importantly, the edge of the button is set back from the apron allowing the top to expand and push the button forward.
[attachthumb=#]
This process is quick, flexible and effective.
[attachthumb=#]