It's about time I posted this build, it was a Christmas gift to my wife. Like many women, she has a lot of clothes - and shoes - and pocketbooks, so the master bedroom closet is insufficient. We've had wooden rods suspended from chains in the basement for the overflow but she deserved more than rods hanging in the basement.
So over a year ago I promised I would turn a portion of the cellar into a closet for her. Let me state I do not do this for a living, I'm an IT Engineer. My workshop is my garage and everything I have with the exception of the workbench (which is on wheels) is portable. I started this project in the Fall of 2014 working mostly weekends and vacation days. Since it's an unheated garage and I'm in New England, there was a lot of down time last winter.
The initial intent was for me to build the room and then purchase cabinets from IKEA. I decided against that although I had never built cabinets before but figured how hard could it be? I've got the tools, I simply need the time and the patience. Good move on my part and the results are way better than IKEA. And building these (and the room itself) was a lot of fun and incredibly rewarding.
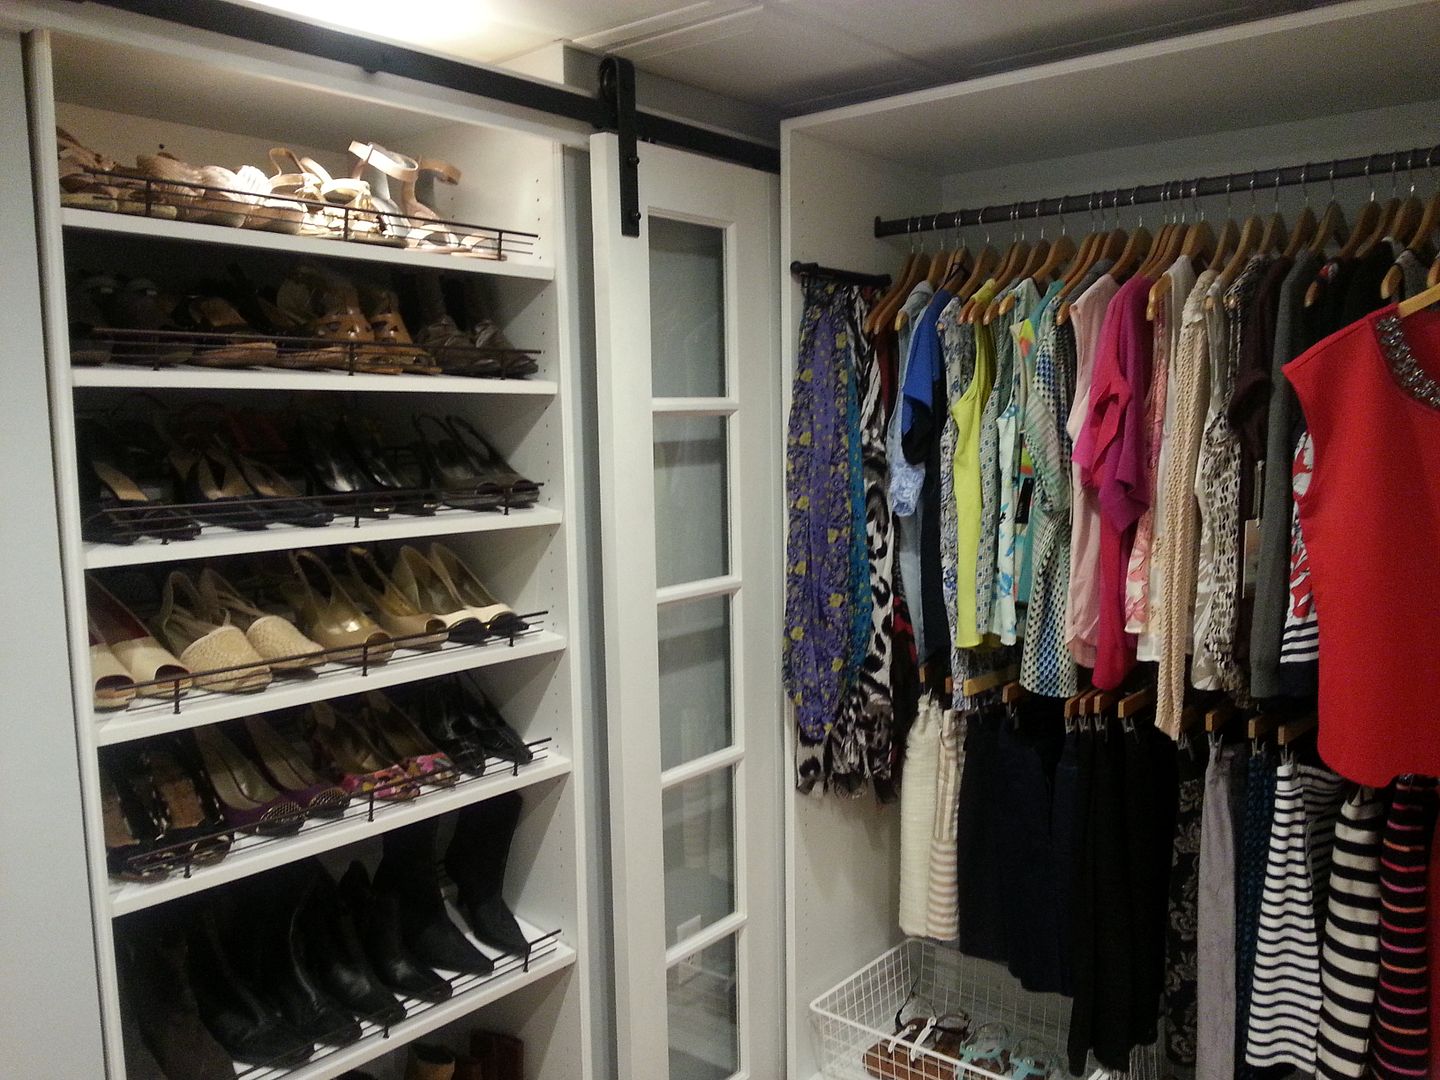
This is half of the finished product, consisting of a shoe cabinet, wardrobe and handbag cabinet. I made extensive use of the Domino 500, TS55 and RO90. The project would have been virtually impossible without the use of the track saw to cut the cabinet panels. All are 3/4" maple ply, painted white. Cabs are on adjustable legs with an attachable toe kick (not yet installed in these pics except on the shoe cab).
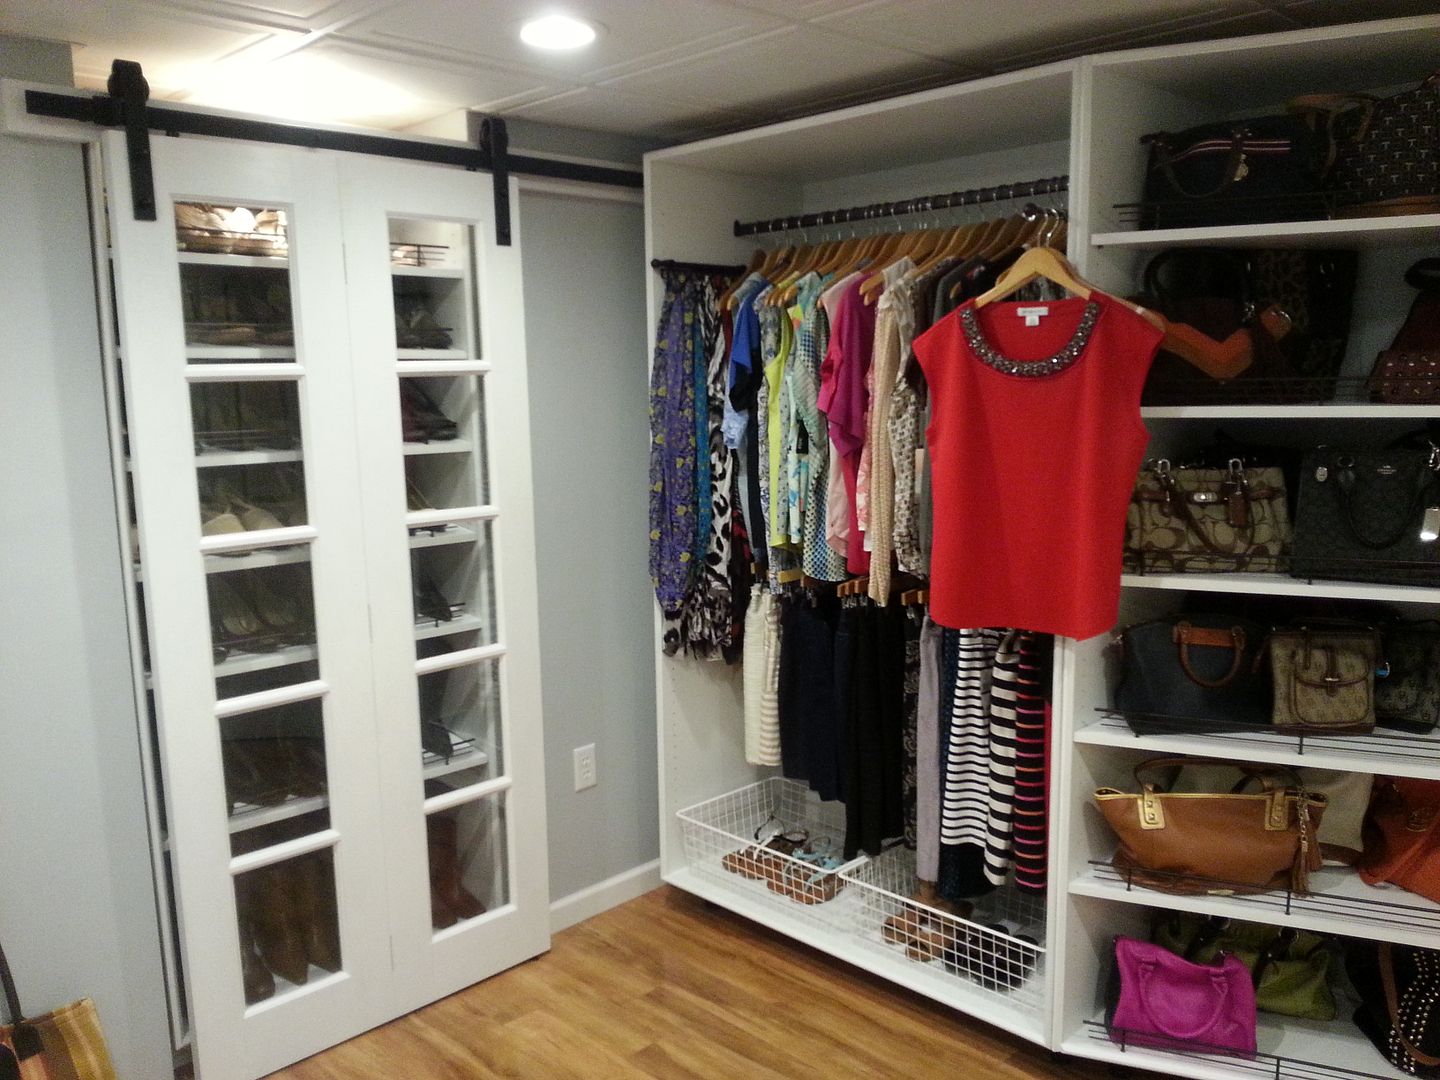
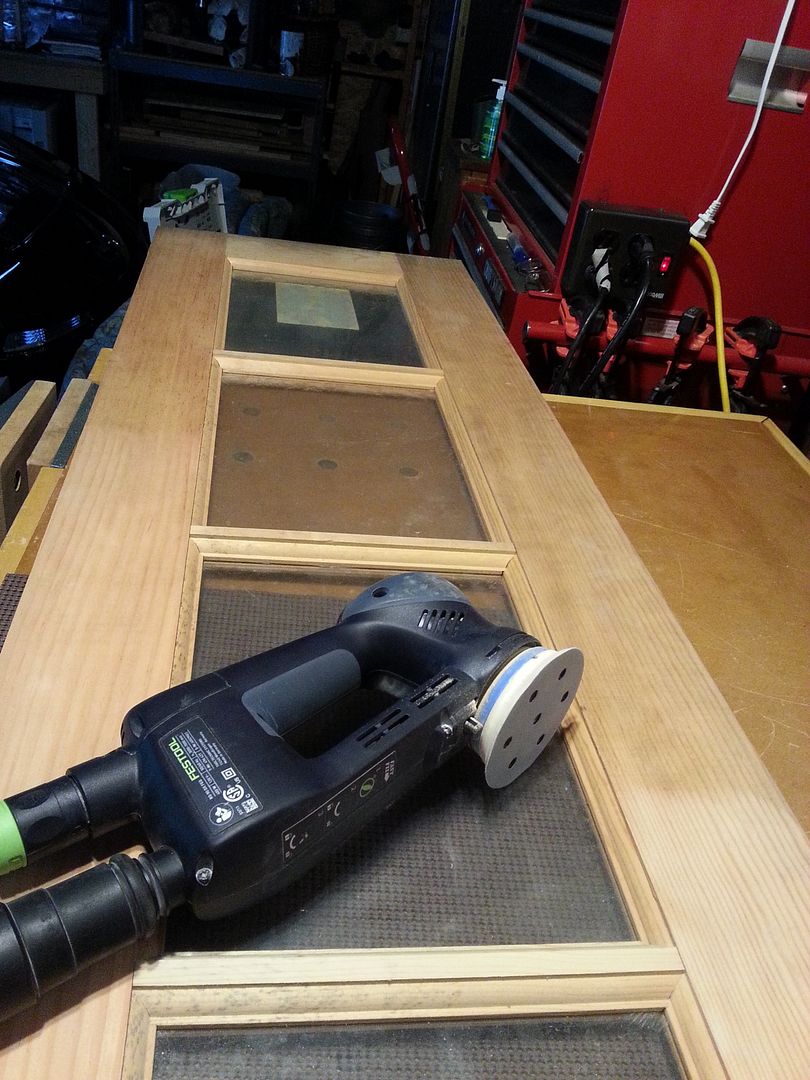
The barn doors were literally a road side find by my wife. Someone was tossing them out in the trash so a quick sanding with the RO90 made them ready for finishing as they were unpainted and never used. They're joined together with Dominoes.
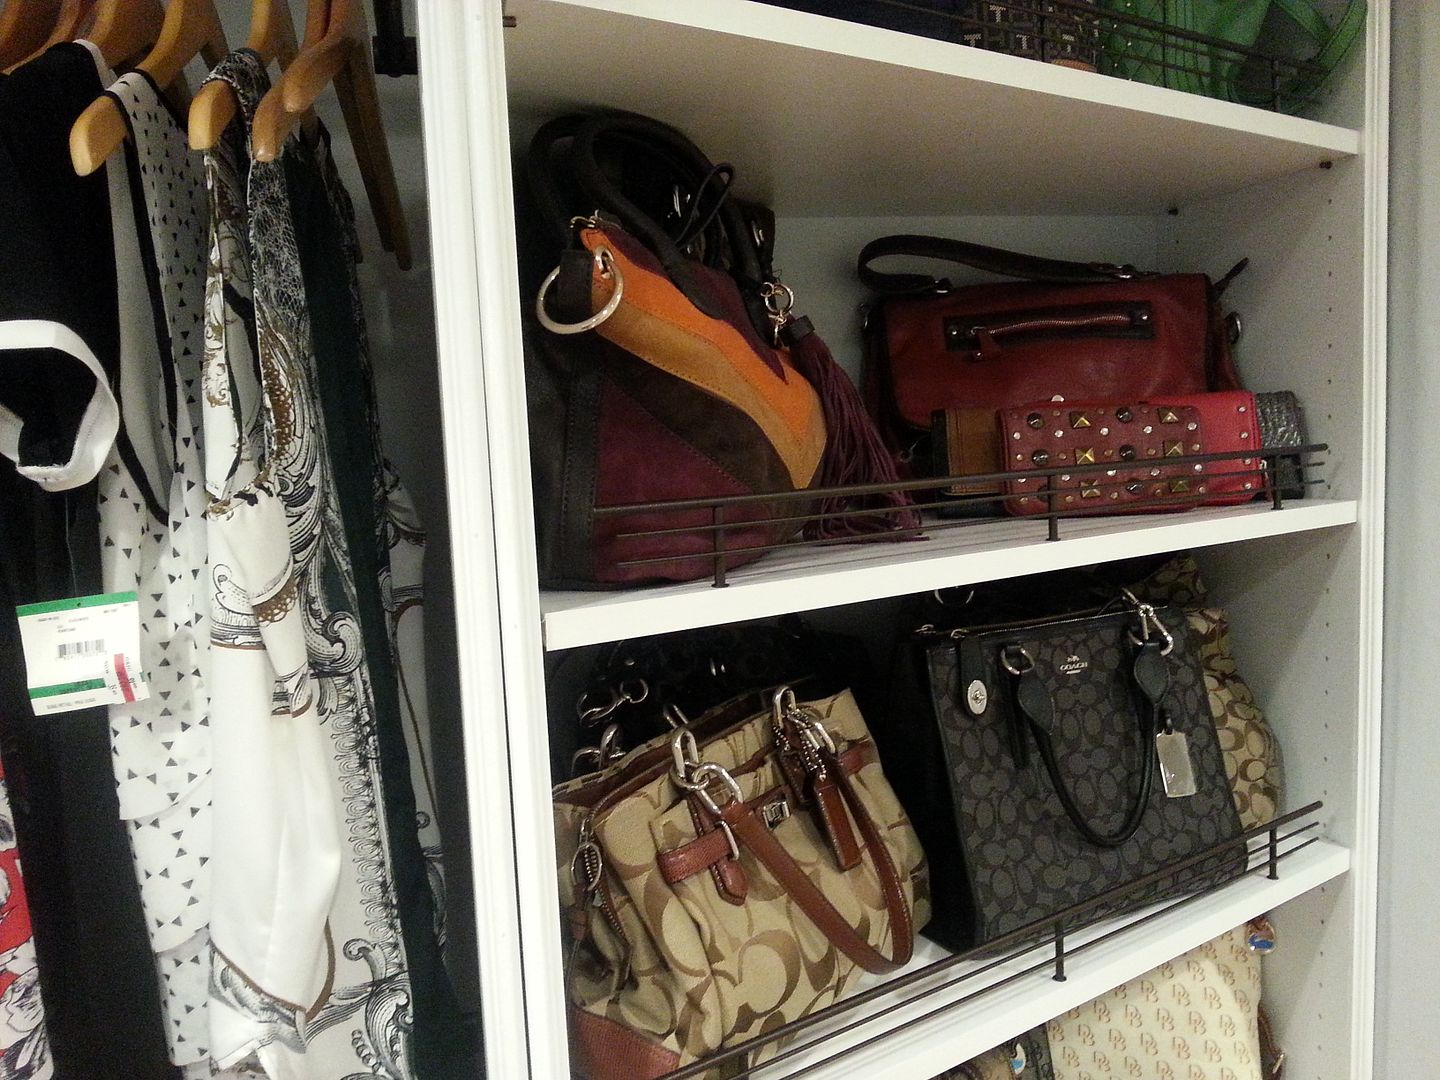
The cabinets all went together with Dominoes and pocket screws. Since my wife wanted to see the walls through them, I opted not to put backs on. Assembly with Dominoes was amazingly simple and the cabinets went together easily. To keep with the style of our home I finished the front faces with a colonial molding rather than a contemporary face frame. The shoe and handbag shelves have Rev-a-Shelf shoe rails and the wardrobe cabinet has pullouts for scarves and the day's attire.
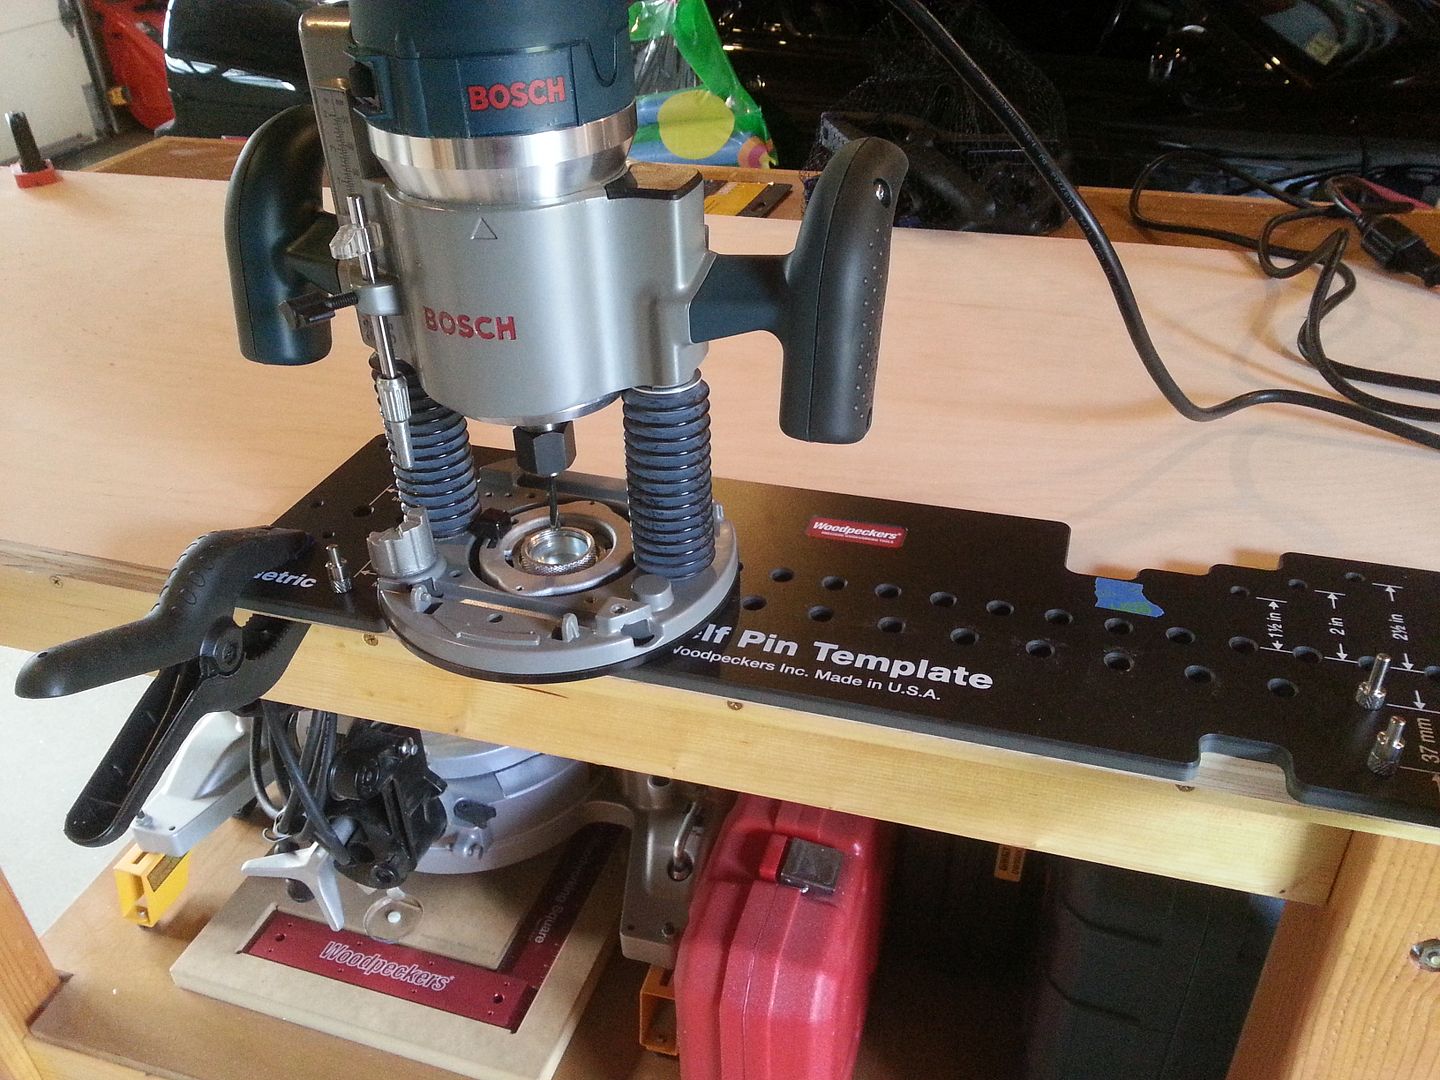
Shelf pin holes and the shoe rail holes were done with my Bosch plunge router, 5mm Festool bit and a Woodpeckers shelf pin template. I simply couldn't justify the purchase of a Festool router and the LR32 system. The Woodpecker method is slower but still quite accurate.
Needless to say my wife is extremely pleased with the results. I still have three additional cabinets to design and build for the left side of the room and am contemplating some sort of center island with drawers.
Sure, this project took me well over a year and a good number of tools were acquired with the TS55 among them. I already had the DF500 and would not have tackled cabinet construction without it and the track saw. Are there things I could have done better? Of course. But each cabinet build gets easier and easier and the one thing that seriously helped me in this project is keeping an accurate construction notebook. I've got pages and pages of drawings, measurements, tool settings, etc.
Here are some additional pictures of the room and cabinets under construction.
TS55 in use with the Woodpecker Parallel Guide System -
Woodpecker Shelf Pin Jig -
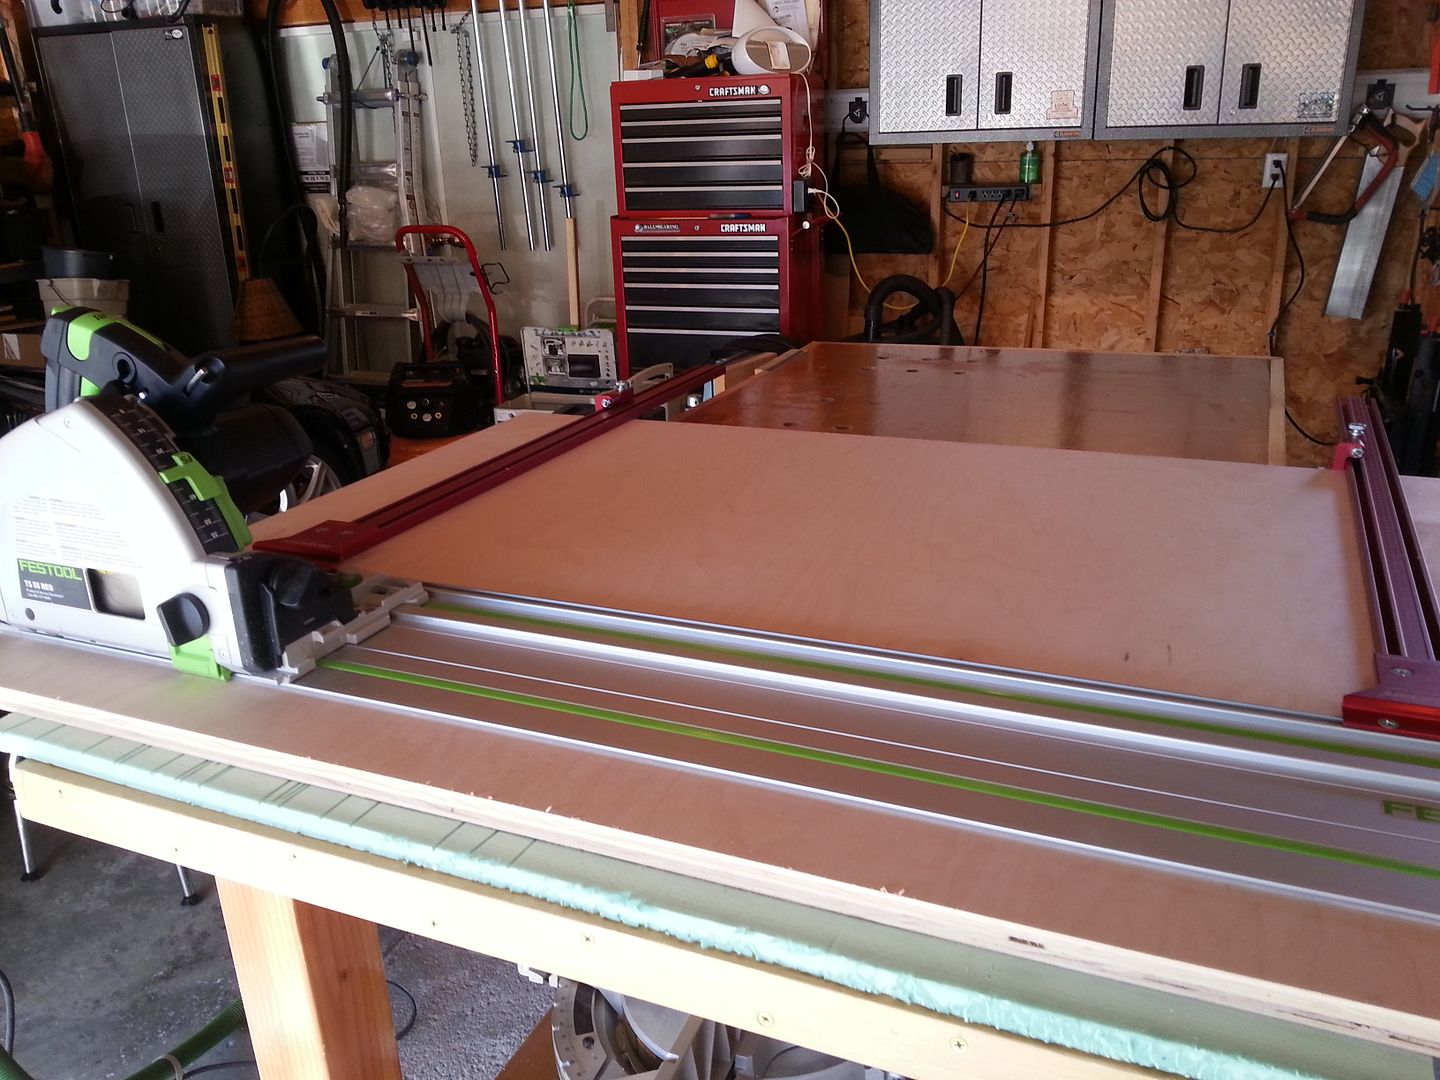
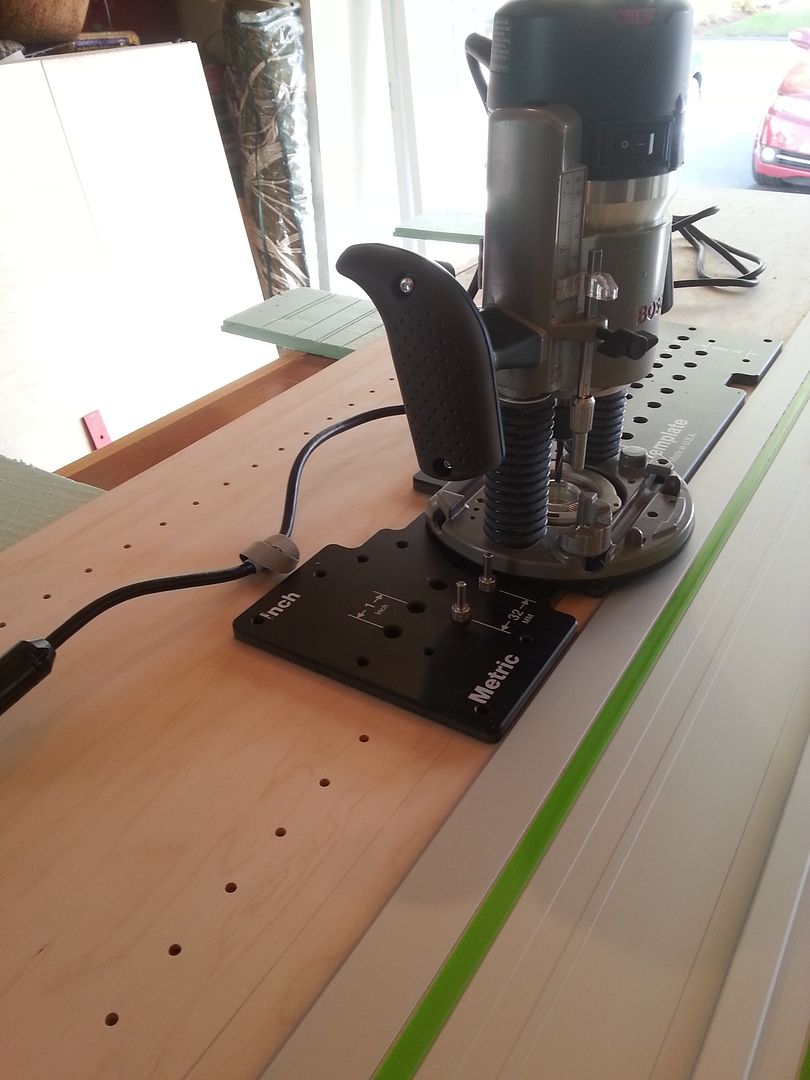
And since the shoe cabinet is 24" deep with 12" shelves front and rear, I needed an accurate method to position the two sets of pin holes down the center of the cabinet. The 8' track rail to the rescue -
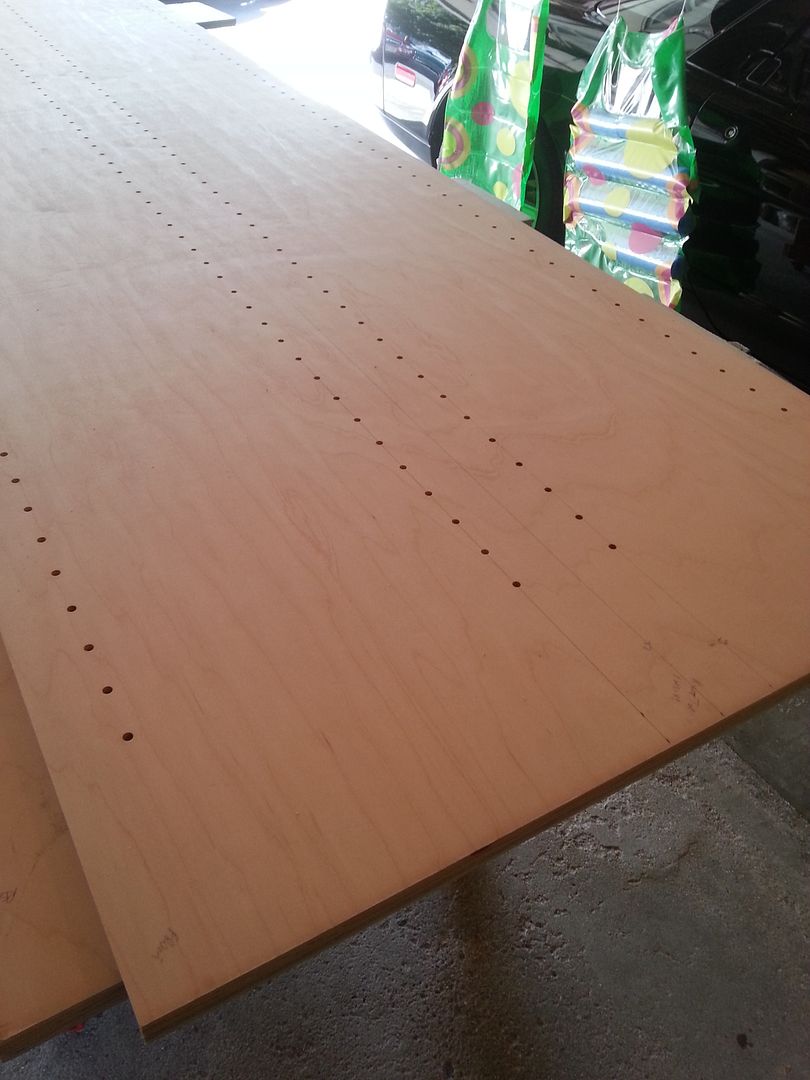
And the result -
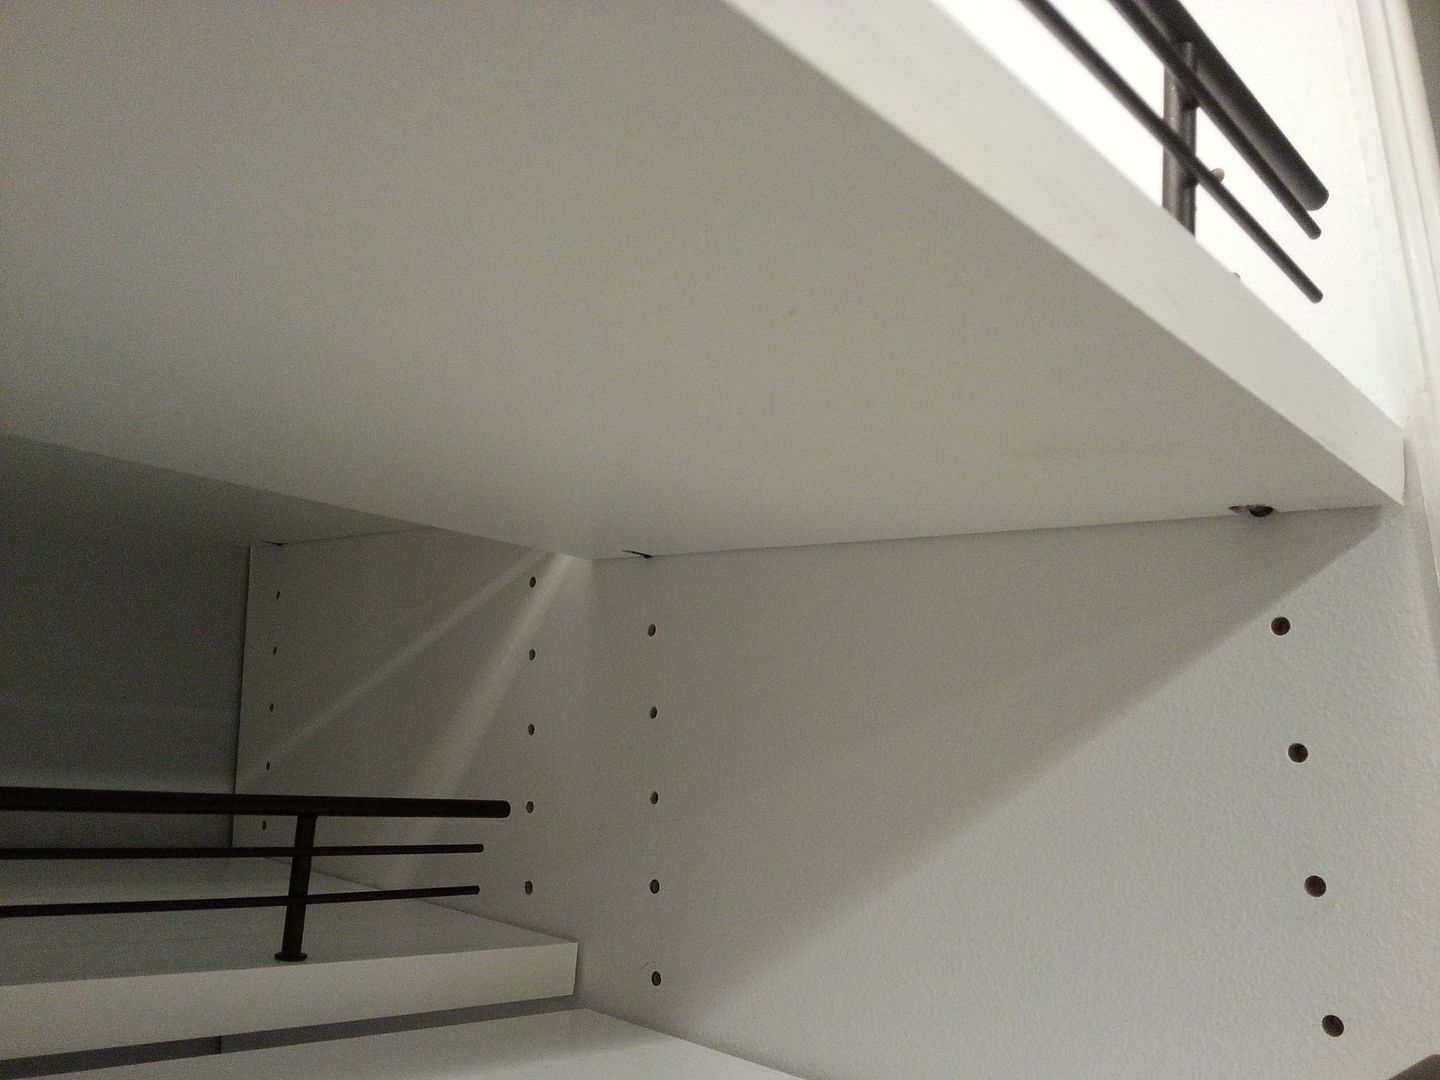
There are recesses in the bottom of each shelf for the pins to hook in since the shelves are placed at an angle, keeping them from sliding off the pins. The front recesses are cut slightly wider so the shelves can be either completely horizontal or angled as they are here -
Barn doors being sanded -
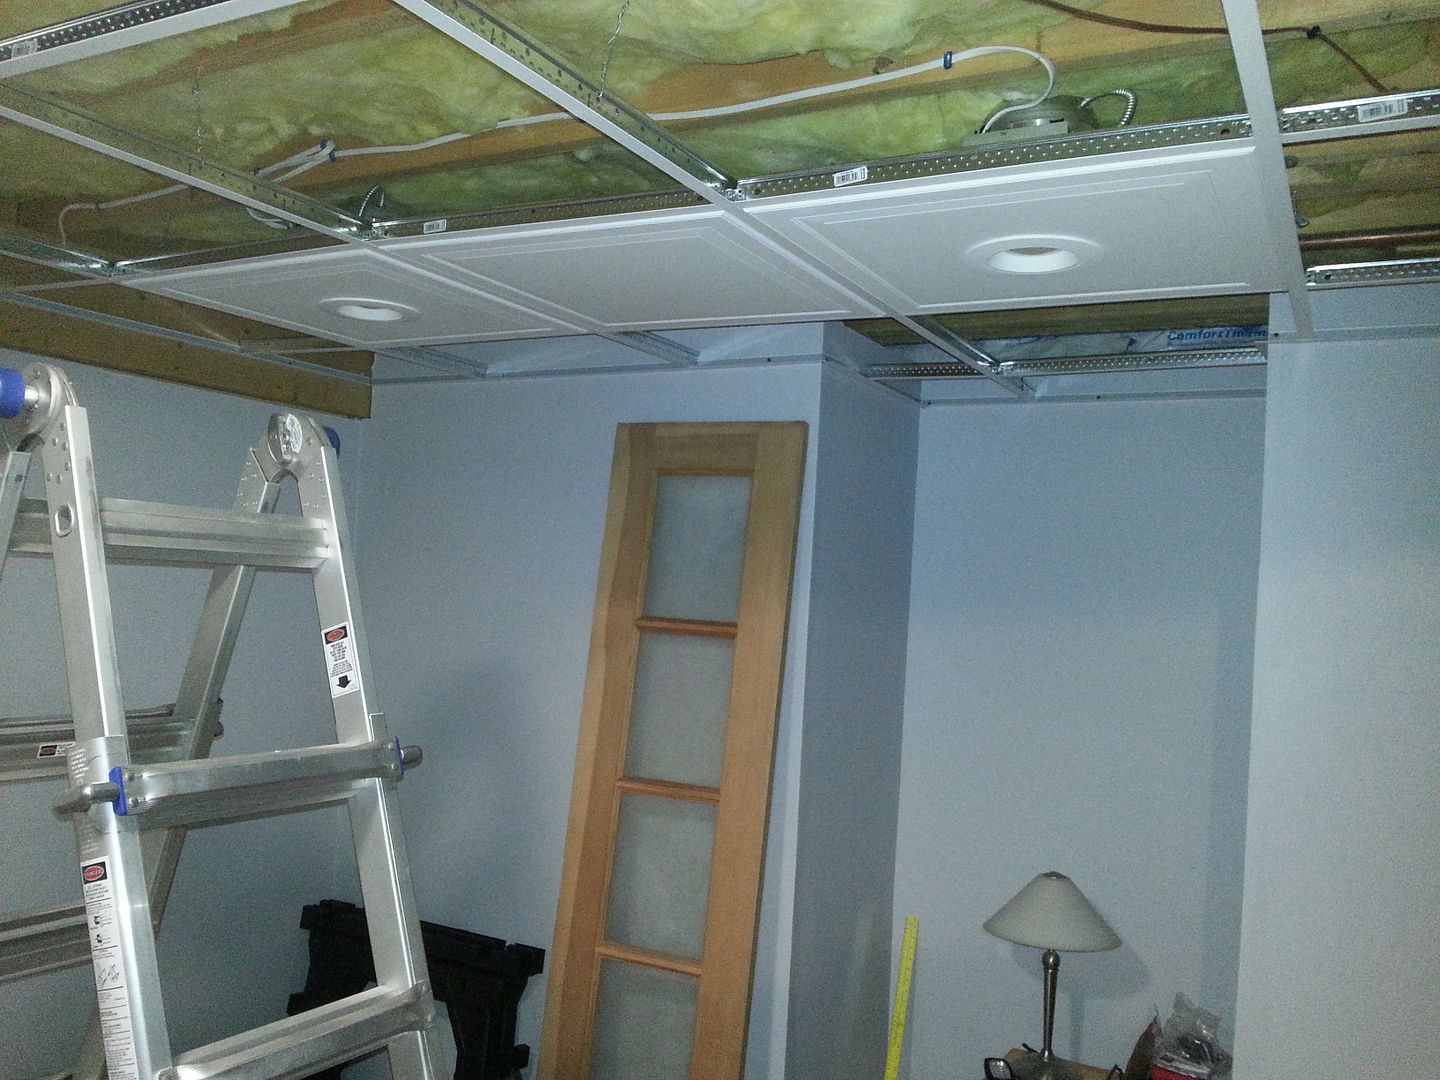
And going further back in time to the construction itself, ceiling installation -
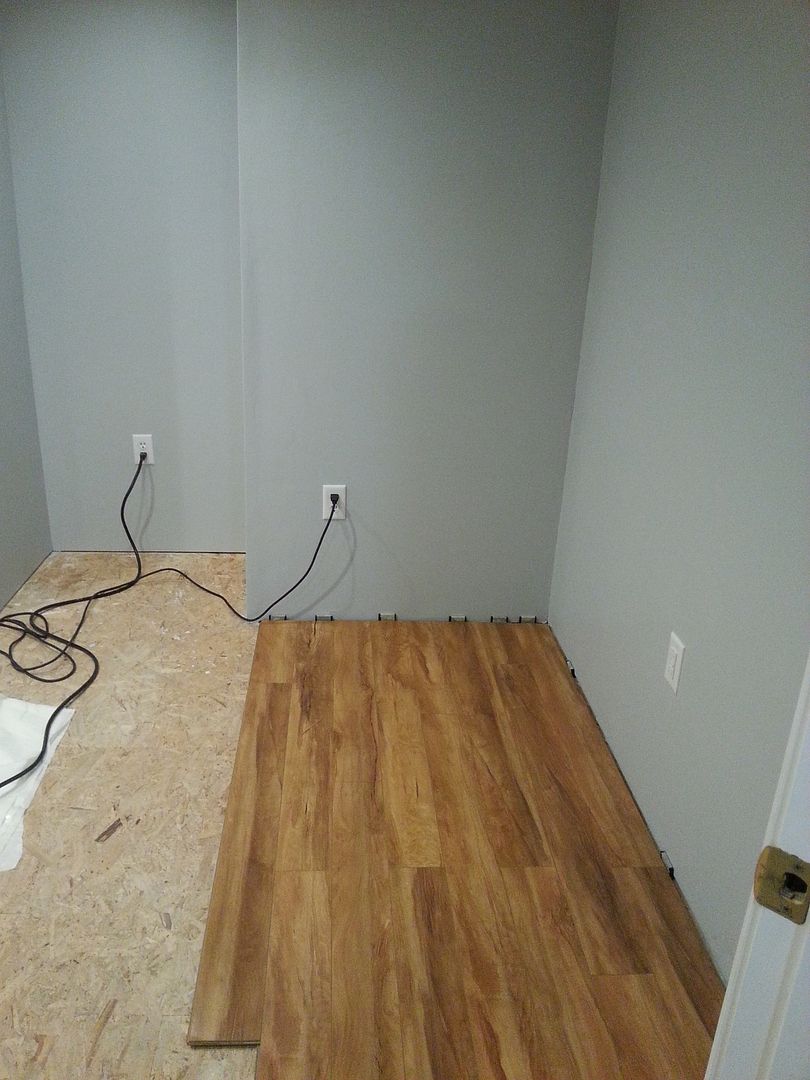
Flooring installation. It's a laminate floor, subfloor is Dri-Core -
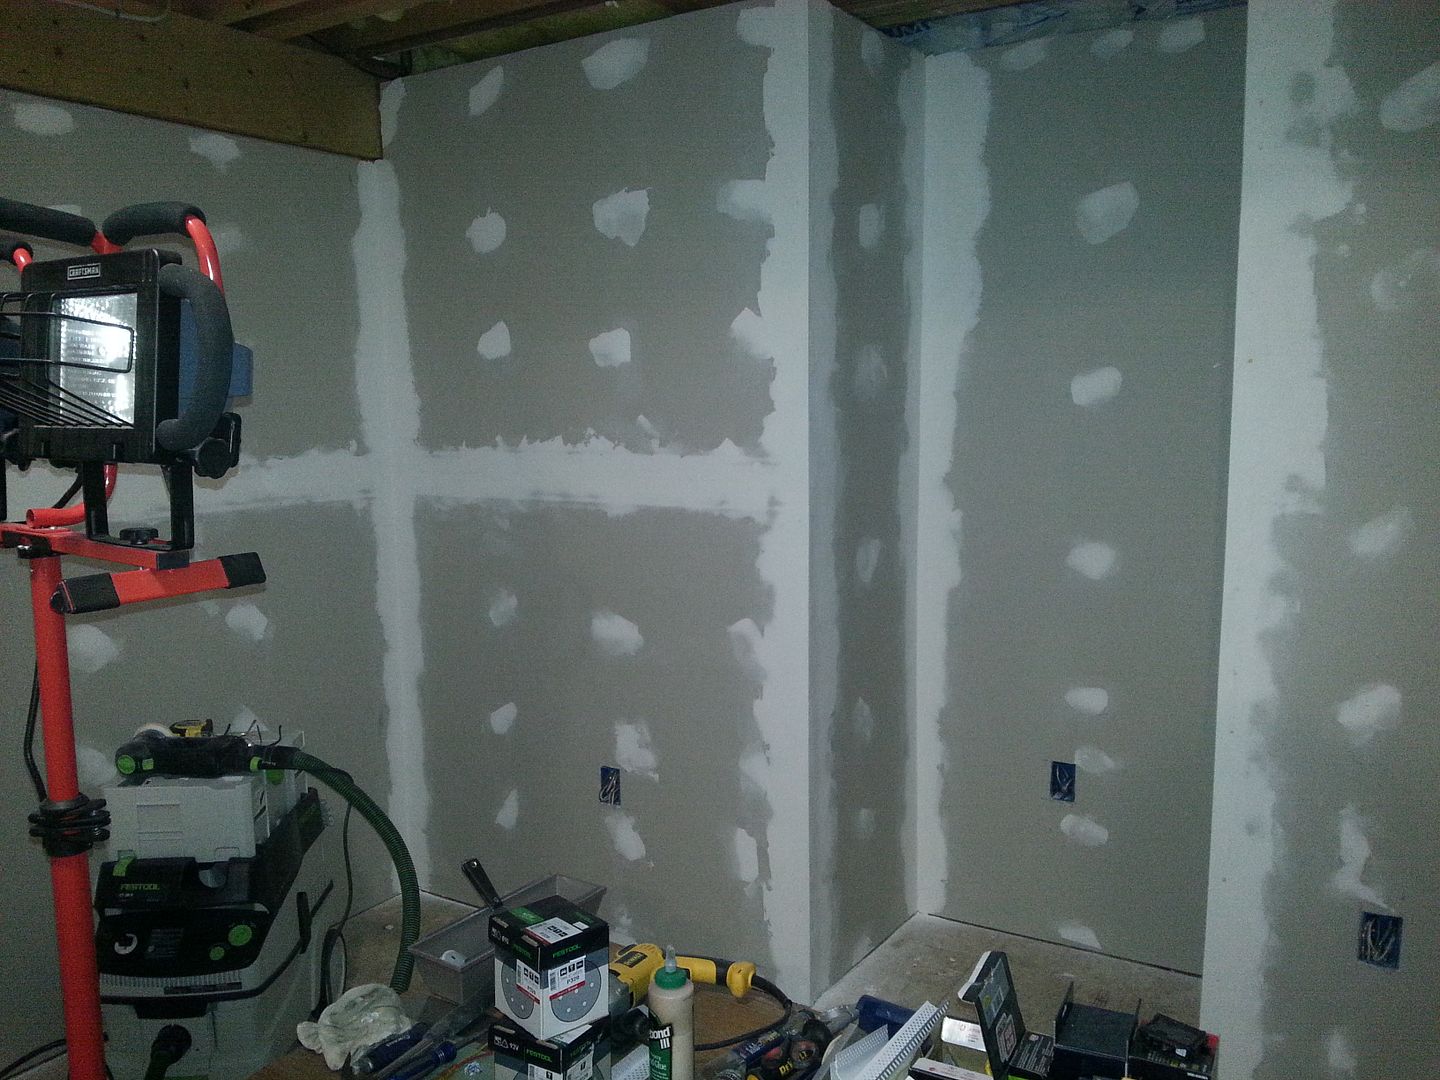
Drywall finishing -
Insulation -

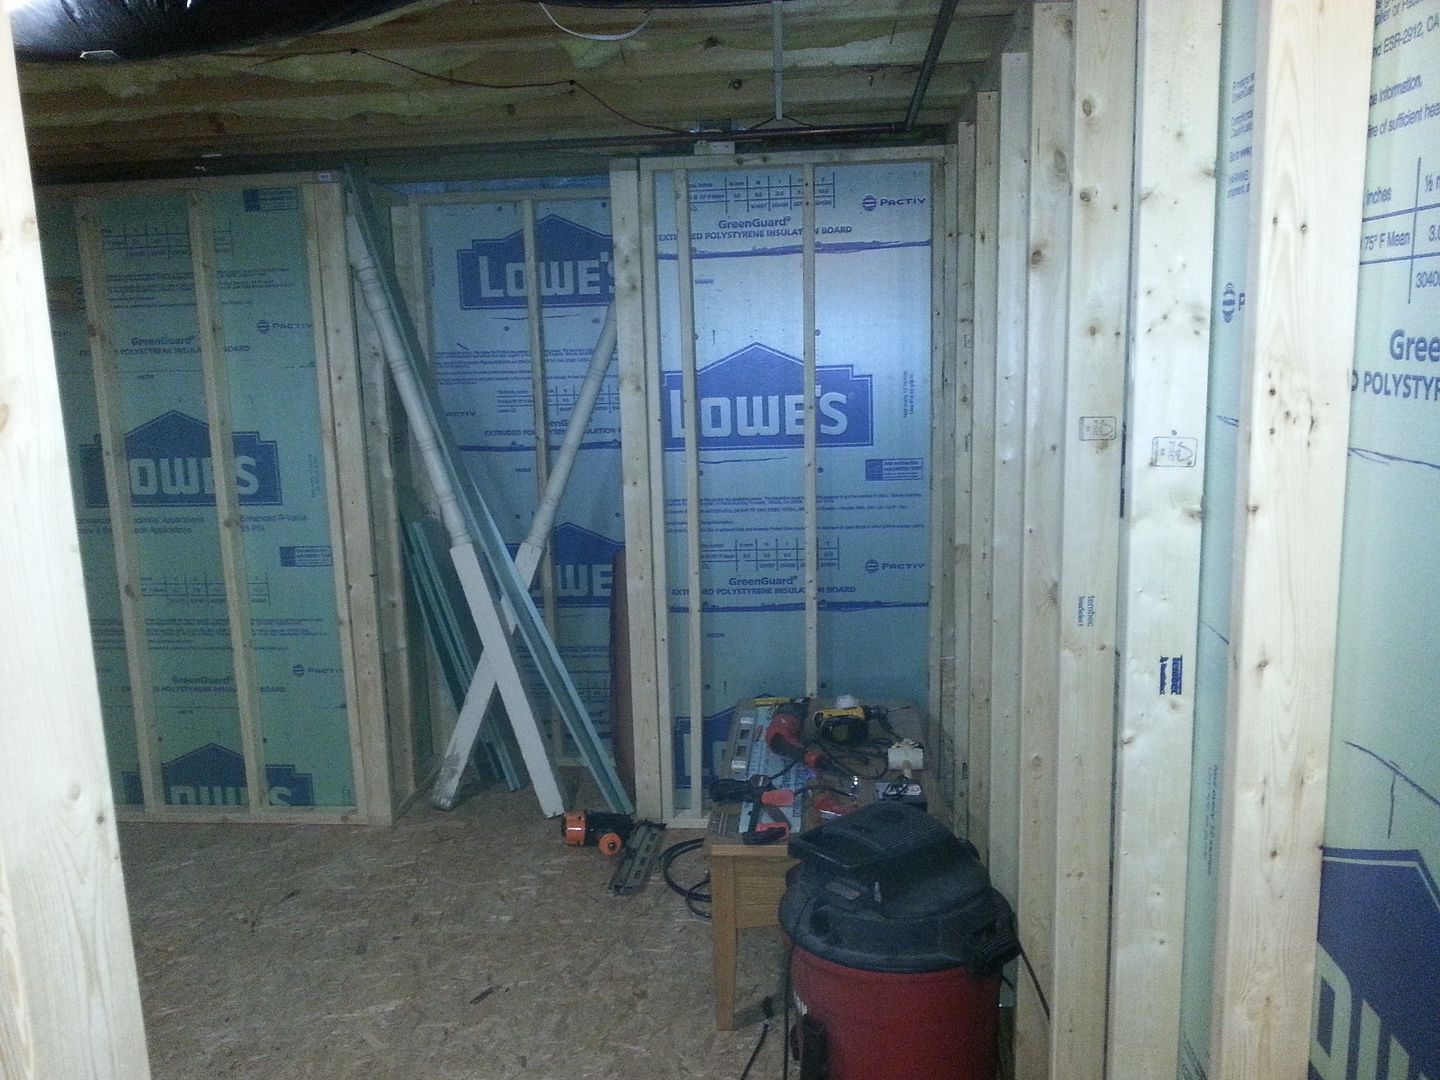
Framing -
I don't have any Day 1 pictures, simply imagine a cellar with concrete floor and walls. That's what this project started as.
I won't bore you with any more construction pictures, but this was by far the most ambitious project I have ever tackled and could not have been completed without the use of my Festool gear.
-Dom
So over a year ago I promised I would turn a portion of the cellar into a closet for her. Let me state I do not do this for a living, I'm an IT Engineer. My workshop is my garage and everything I have with the exception of the workbench (which is on wheels) is portable. I started this project in the Fall of 2014 working mostly weekends and vacation days. Since it's an unheated garage and I'm in New England, there was a lot of down time last winter.
The initial intent was for me to build the room and then purchase cabinets from IKEA. I decided against that although I had never built cabinets before but figured how hard could it be? I've got the tools, I simply need the time and the patience. Good move on my part and the results are way better than IKEA. And building these (and the room itself) was a lot of fun and incredibly rewarding.
This is half of the finished product, consisting of a shoe cabinet, wardrobe and handbag cabinet. I made extensive use of the Domino 500, TS55 and RO90. The project would have been virtually impossible without the use of the track saw to cut the cabinet panels. All are 3/4" maple ply, painted white. Cabs are on adjustable legs with an attachable toe kick (not yet installed in these pics except on the shoe cab).


The barn doors were literally a road side find by my wife. Someone was tossing them out in the trash so a quick sanding with the RO90 made them ready for finishing as they were unpainted and never used. They're joined together with Dominoes.
The cabinets all went together with Dominoes and pocket screws. Since my wife wanted to see the walls through them, I opted not to put backs on. Assembly with Dominoes was amazingly simple and the cabinets went together easily. To keep with the style of our home I finished the front faces with a colonial molding rather than a contemporary face frame. The shoe and handbag shelves have Rev-a-Shelf shoe rails and the wardrobe cabinet has pullouts for scarves and the day's attire.
Shelf pin holes and the shoe rail holes were done with my Bosch plunge router, 5mm Festool bit and a Woodpeckers shelf pin template. I simply couldn't justify the purchase of a Festool router and the LR32 system. The Woodpecker method is slower but still quite accurate.
Needless to say my wife is extremely pleased with the results. I still have three additional cabinets to design and build for the left side of the room and am contemplating some sort of center island with drawers.
Sure, this project took me well over a year and a good number of tools were acquired with the TS55 among them. I already had the DF500 and would not have tackled cabinet construction without it and the track saw. Are there things I could have done better? Of course. But each cabinet build gets easier and easier and the one thing that seriously helped me in this project is keeping an accurate construction notebook. I've got pages and pages of drawings, measurements, tool settings, etc.
Here are some additional pictures of the room and cabinets under construction.
TS55 in use with the Woodpecker Parallel Guide System -

Woodpecker Shelf Pin Jig -

And since the shoe cabinet is 24" deep with 12" shelves front and rear, I needed an accurate method to position the two sets of pin holes down the center of the cabinet. The 8' track rail to the rescue -

And the result -

There are recesses in the bottom of each shelf for the pins to hook in since the shelves are placed at an angle, keeping them from sliding off the pins. The front recesses are cut slightly wider so the shelves can be either completely horizontal or angled as they are here -

Barn doors being sanded -

And going further back in time to the construction itself, ceiling installation -

Flooring installation. It's a laminate floor, subfloor is Dri-Core -

Drywall finishing -

Insulation -

Framing -

I don't have any Day 1 pictures, simply imagine a cellar with concrete floor and walls. That's what this project started as.
I won't bore you with any more construction pictures, but this was by far the most ambitious project I have ever tackled and could not have been completed without the use of my Festool gear.
-Dom