nclemmons
Member
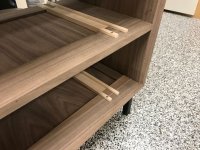
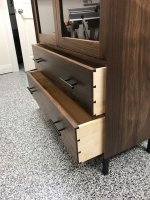
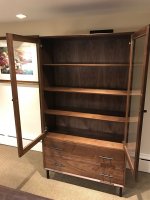
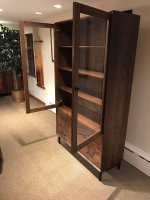
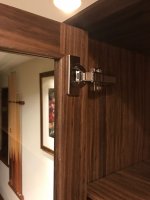
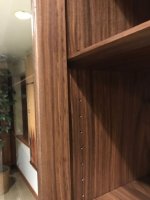
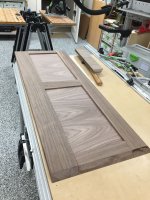
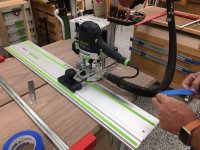
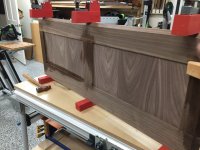
This is a china cabinet that I made to compliment a dining table for my son and his wife. Design was mid-century modern that I came up with. Interior shelves are adjustable with LR-32 drilled holes. Hinges are self-closing.
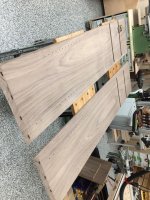
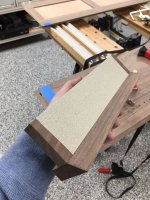
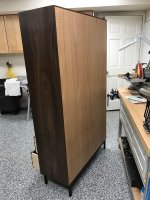
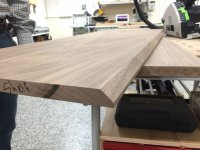
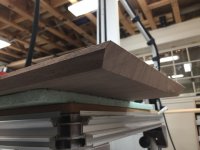
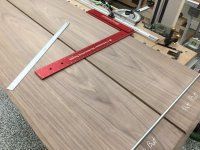
The walnut came from successive flitch cuts from a log with pieces that were about 22-24" wide x 8' long. The walnut was incredibly flat even after thickness sanding and letting it sit for a few weeks. Horizon Hardwoods of Pennsylvania shipped the wood about a year ago to make the table and this cabinet was started in October and will be installed in the next few days.
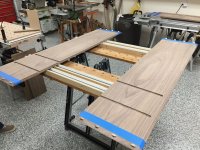
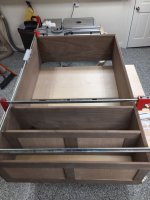
Back panel is walnut veneered ply. Drawer interiors are hard maple. I welded the base from 1" square tubing and the base and hardware were sprayed with flat-black.
Overall dimensions are 70" high, 40" wide and 15" deep. The cabinet is incredibly sturdy. However, I will attach it to the wall at the top for safety's sake since they have a young baby.
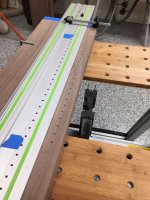
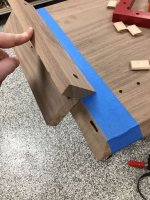
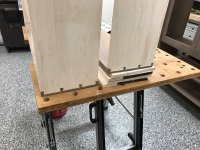
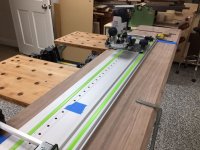
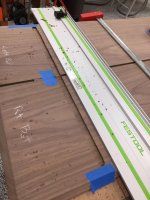
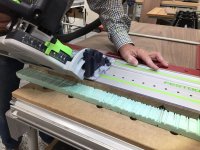
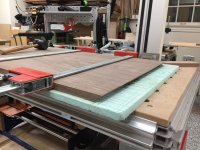
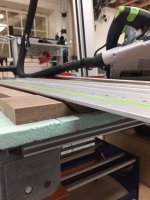
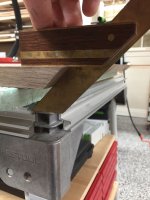
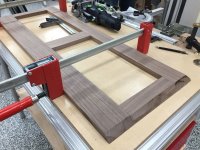
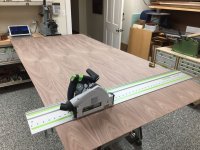
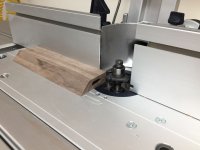
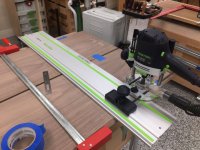
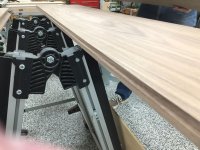
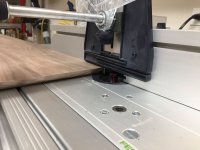
Wood was thickness sanded at a local lumberyard. Festools included TS-55 for the majority of the cuts including all the miters. Cabinet has dominos at the corners. 1010 Router handled the 32mm holes for shelves and door hinges. Festool sanders did the finish work. Door moulding was cut on a CMS table.
1010 Router and an Akeda jig cut the dovetails.
Finish is General Finishes satin wipe-on poly followed by paste wax and buffed with a Rotex 150.
Sketchup model is available if anyone is interested. Just PM me with your email address.
Questions, let me know!
Attachments
-
 IMG_0001.jpg260.4 KB · Views: 734
 -
 IMG_0021.jpg188 KB · Views: 447
 -
 IMG_0023.jpg252.2 KB · Views: 523
 -
 IMG_0024.jpg292.3 KB · Views: 525
 -
 IMG_0025.jpg197.3 KB · Views: 519
 -
 IMG_0026.jpg163.9 KB · Views: 521
 -
 IMG_0027.jpg132 KB · Views: 554
 -
 IMG_0038.jpg218.6 KB · Views: 489
 -
 IMG_1039.jpg186.8 KB · Views: 540
 -
 IMG_1067.jpg261.8 KB · Views: 728
 -
 IMG_1068.jpg226.3 KB · Views: 654
 -
 IMG_1069.jpg242.7 KB · Views: 639
 -
 IMG_1070.jpg211.7 KB · Views: 533
 -
 IMG_1071.jpg140.4 KB · Views: 662
 -
 IMG_1072.jpg171.4 KB · Views: 587
 -
 IMG_1073.jpg90.2 KB · Views: 528
 -
 IMG_1074.jpg90 KB · Views: 580
 -
China Cabinet Sketchup.zip391.5 KB · Views: 156
-
 IMG_0020.jpg177.8 KB · Views: 483
 -
 IMG_0019.jpg143.3 KB · Views: 497
 -
 IMG_0002.jpg112.1 KB · Views: 699
 -
 IMG_0003.jpg166.8 KB · Views: 713
 -
 IMG_0004.jpg162.7 KB · Views: 656
 -
 IMG_0005.jpg117.2 KB · Views: 597
 -
 IMG_0006.jpg111.9 KB · Views: 584
 -
 IMG_0007.jpg89.7 KB · Views: 547
 -
 IMG_0008.jpg180.2 KB · Views: 617
 -
 IMG_0009.jpg204.7 KB · Views: 575
 -
 IMG_0010.jpg88 KB · Views: 563
 -
 IMG_0011.jpg194.2 KB · Views: 587
 -
 IMG_0018.jpg139.4 KB · Views: 487
 -
 IMG_0017.jpg179.6 KB · Views: 538
 -
 IMG_0016.jpg176.5 KB · Views: 502
 -
 IMG_0015.jpg132.7 KB · Views: 541
 -
 IMG_0014.jpg184.2 KB · Views: 505
 -
 IMG_0013.jpg104.8 KB · Views: 537
 -
 IMG_0012.jpg155 KB · Views: 538