RKA said:
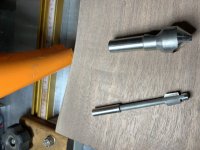
In the photo [member=3192]rvieceli[/member] posted, the countersink was clean and even all the way around. Is this only possible if you do this in a drill press or is there a technique to do this with a hand drill without resorting to the versions with the pilot that was posted?
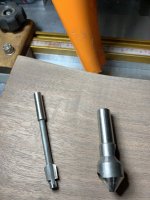
I picked up the Keo bit and tried it on a few test holes and quickly learned doing it by hand resulted in a 50/50 split between horribly uneven countersinks and slightly uneven countersinks. Even if I'm batching out holes on a drill press, I'm drilling the pilot holes first, then switch to the countersink and go back to do the countersinks. Unless I'm able to set up stop blocks and a fence to put the work piece precisely where it was when I drilled the pilot, odds are the countersink will be off slightly. Any tips?
Unfortunately, the drill press is the magic item in this situation. [smile]
I try to use the drill press any time
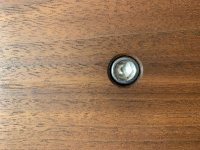
decorative countersinking needs to be done. It can be done by hand, and I'll show you an example, but it is tedious because it's tough to hold the drill exactly perpendicular to the surface. Anything other than 90º to the surface will get you a wonky looking countersink.
Another plus with the drill press is that if you set the depth limit, every countersink will be the
same diameter, nice and uniform.
I'm a firm believer in using the Woodpeckers fence with flip stops on the drill press. That way you've nested every piece in the same location and you can remove and replace them without losing the center datum line. If you get into the habit of doing that, it becomes 2nd nature.
At times I thought I needed only 2 tool changes but then when I started the project, I realized I actually needed 3 or 4 tool changes. That's not a problem if you've used stop blocks or flip stops. Just make sure to mark each piece so you know which sides were registered against the stops.
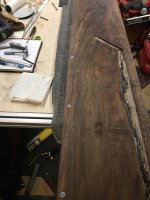
Here's a long chunk of walnut that I couldn't fit on the drill press. These countersinks were all done by hand. It was not fun but it's doable.
[attachimg=1]
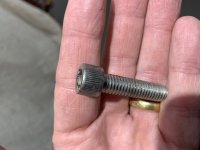
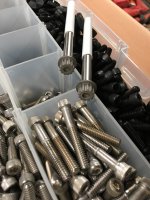
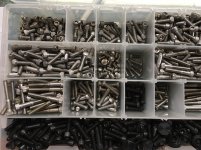
 and are crazy expensive... like $1.80 for one screw [mad]