Tayler_mann
Member
- Joined
- Nov 23, 2014
- Messages
- 416
I decided to donate a nice piece to a local charity fundraiser for our new NICU at our hospital so they can outreach to rural communities. It will be one of the main pieces at the live auction and I am fairly excited about it. I've came to terms with the selling price being a lot under what it is worth but I've had a great time with this build.
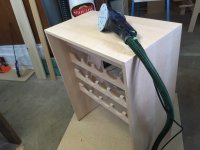
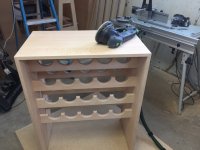
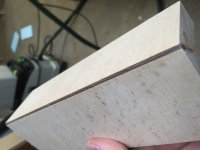
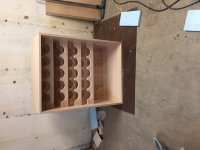
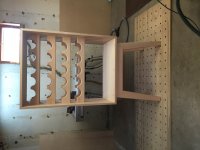
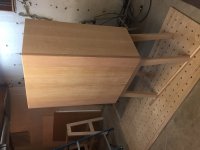
The build is on going but rounding a halfway point. The case is made of quarter sawn beech along with the wine holders. The holders were rough cut on the bandsaw and finished with my OF 1400 and a pattern bit. The case is miter together with 10 dominos per side and the 45 was cut with my TS 55. In fact every piece of wood was machined with only Festool except my bandsaw.
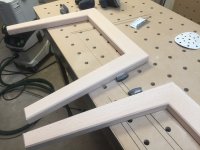
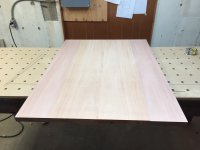
The rest of the build will be to come but the legs I'll be made of the QS beech and same with the back that will be ship lapped with a chamfer on the edges. The doors are made of 12/4 Honduran mahogany and resawn and book matched.
I will update more pictures as the build progresses.
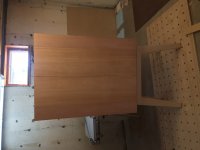
The build is on going but rounding a halfway point. The case is made of quarter sawn beech along with the wine holders. The holders were rough cut on the bandsaw and finished with my OF 1400 and a pattern bit. The case is miter together with 10 dominos per side and the 45 was cut with my TS 55. In fact every piece of wood was machined with only Festool except my bandsaw.
The rest of the build will be to come but the legs I'll be made of the QS beech and same with the back that will be ship lapped with a chamfer on the edges. The doors are made of 12/4 Honduran mahogany and resawn and book matched.
I will update more pictures as the build progresses.