- Joined
- Feb 22, 2016
- Messages
- 2,858
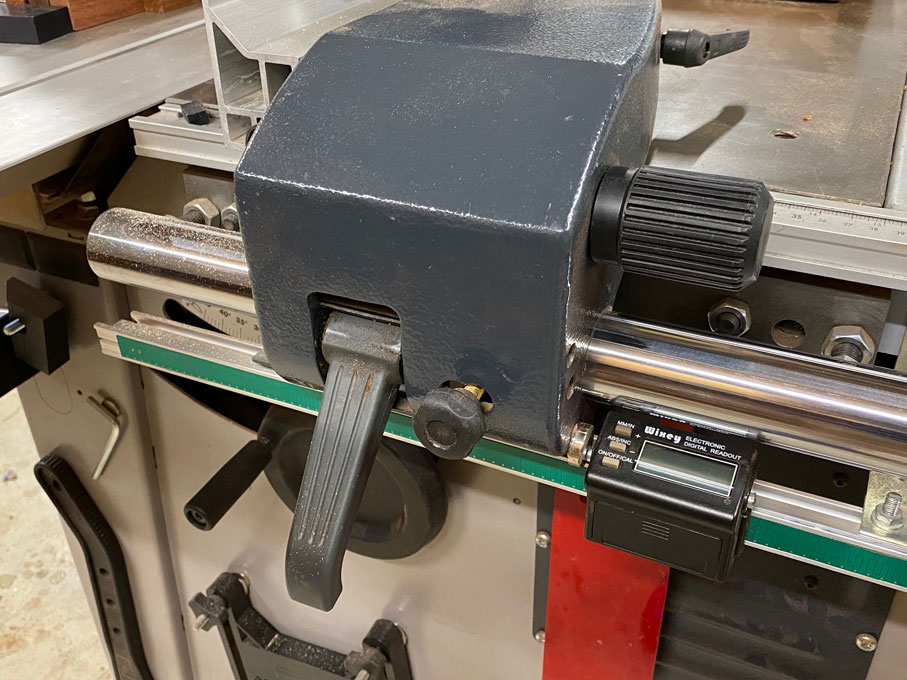
hubert said:I'm trying to fabricate smth similar, since you can't buy them anywhere...
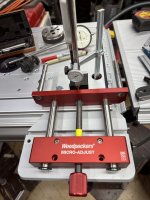
Anyone tried to replicate / DIY this micro adj jig ? [big grin]
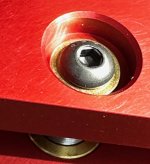
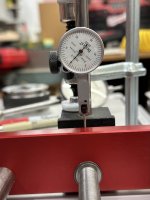
I ordered substituted parts, along with fine thread tap to build it. I'm trying to understand how the adj. knob works on the "push" end. Is it spinning freely inside of it, is it threaded all the way ???
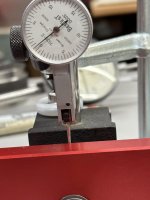
Any owners dare to unscrew this part and take couple pictures?that would be a HUGE help...
Don't have a Micro-Adjust but looking at your photo I would say that button head screw is most likely set with thread-lock into a tapped hole in the end of the adjusting rod. I see what appears to be a brass washer under the head of the screw. You can get threaded rod in 5/16-32 and 3/8-32 sizes or use a lead screw with a flange nut. You can find them on McMaster's site and elsewhere no doubt.
https://www.mcmaster.com/threaded-rods/lead-screws-and-screw-jacks/