Thanks for the compliments. As promised, here are some of the construction techniques.
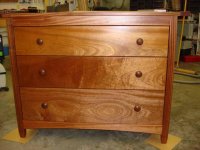
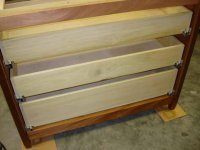
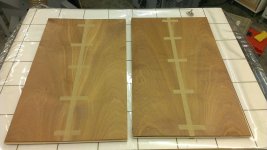
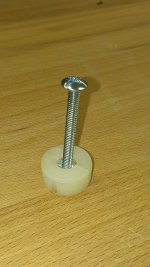
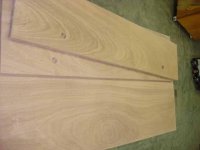
I did some resawing to make some thick bookmatched veneer panels with a plywood core. I used Unibond 800. The clamping force with 25" Hg vacuum was over 13,500 lbf.
[attachimg=1]
[attachimg=2]
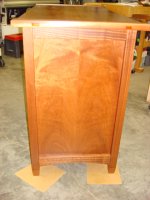
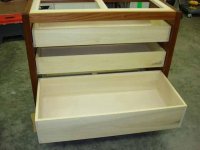
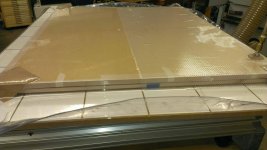
To account for using undermount drawer slides intended for frameless cabinets I constructed the carcass to be flush on the inside face.
[attachimg=3]
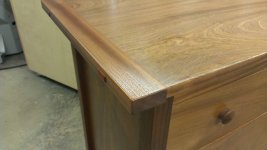
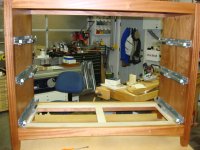
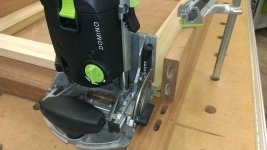
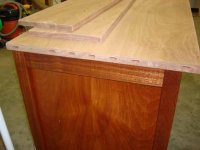
The top and bottom frames are joined to the sides with Dominos along two axes. This is further complicated by the front and back rails are inset from both the front and rear face. The key to solving this is to mill the domino slots in the front and rear rails, do a dry fitup and mark where the frame will rest on the side panels. If you look closely, you will see the dryfit pencil marks used for alignment. You will also note that I was about 1mm off on the mortises in the rear rail so I plugged and cut new domino slots. The technique for milling the horizontal slots is the same as demonstrated in a previous thread (but without the jig).
[attachimg=4]
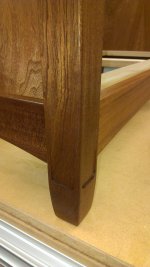
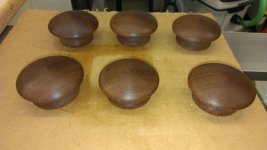
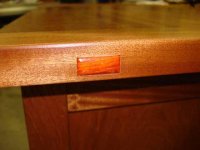
I used the MFS, some 5mm baltic birch ply and double sided tape to make the Blacker leg indent detail. I only softened the hard edges with sandpaper instead of doing a roundover in the true G&G style. Dimensions for the setup are roughly that outlined in Darrell Peart's book "Greene and Greene Design Elements for the Workshop". (Note that this is a bit out of sequence - I did this step before end panel assembly)
[attachimg=5]
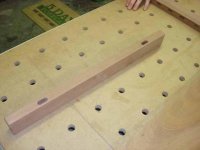
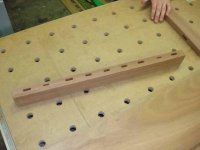
I predrilled the holes for the Hettich Quadro IW21 slides prior to carcass assembly. I used the Mafell Duo Doweler and the template rail to do this. This was to be an inset drawer so be sure to setup with the proper inset. I did discover an oddity about these slides as the rear holes are not on a 32mm increment from the front hole. (Evidently, they are on 32mm increments from the fourth hole).
[attachimg=6]
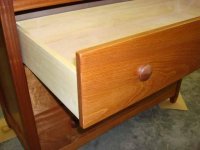
The drawer boxes were assembled with 5mm dominos. Notches on the backs were made prior to assembly which is much easier than making them after the box is assembled. The pin holes were drilled using the Hettich jig which is accurate, inexpensive and well worth the money even if only installing a few drawers.
[attachimg=7]
[attachimg=8]
I will post more later.
Steve