Peter Parfitt said:
Hi [member=62622]gearhound[/member]
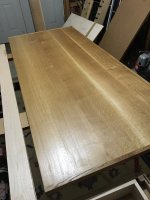
This will be a lovely project when complete.
The wood will move most across the grain and so up or down if your original picture matches the grain direction of your design. You can have a glued joint at the centre of the cross grain board on either side and then the movement will be a dash up and a dash down. If you do not want any evidence of movement then your glued joint could be at the top with an allowance for expansion at the bottom behind the pillows.
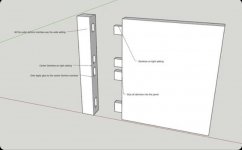
You can use dominos on the narrow setting and glued in for the fixed joints (one left and one right) and then floating dominos one side glued in and done with the narrow setting and the other side of the joint dry in a wider slot.
Peter
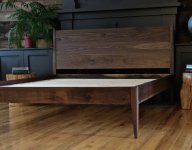
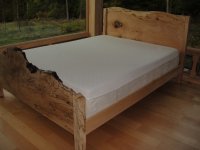
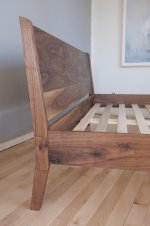
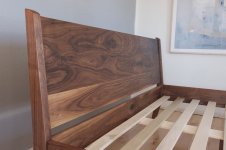
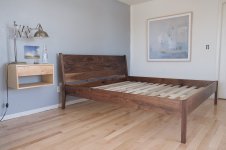
Thanks Peter! The bed is complete, just need to order some new sheets to get some glamour shots of it!
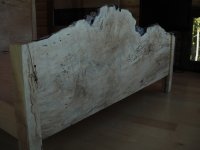
I joined the headboard with the exact domino technique you recommend with the glued joint in the center of the panel...I could've done it at the top of the panel, but clamping this up was quite the feat with it being 80inches wide and felt it would be easier to do in the center.
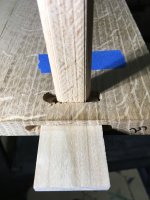
Here's a photo of the mortises in the head post:
[attachimg=1]