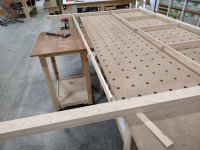
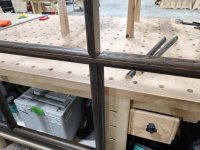
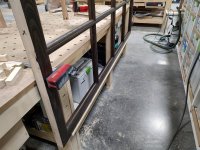
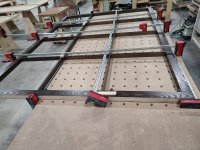
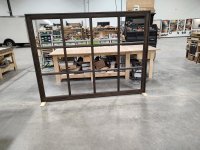
[member=58857]Crazyraceguy[/member] It’s pretty much three months work including installing them - which will be a several-guys job because they’re monumentally heavy. This was realistically a job for a factory with CNC and a dozen guys, but the client wanted them to be hand-built by a local joiner as they would originally have been, out of respect for the age of the building. Plus - the schoolhouse is what’s known over here as a ‘listed building’ = one which has special historical importance. Any replacement stuff has to look absolutely identical to the original. I was recommended to the client by the local Conservation Officer, having completed a pile of similar projects before.
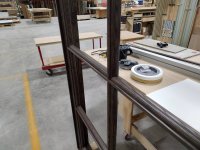
One bottleneck I’m already frustrated by is the paintjob on the ones which are already complete = although the first two primer coats are acrylic, the flexible undercoat and two top coats (Sikkens eggshell) are oil-based and each coat takes 24 hours to dry. Plus - each frame is temporarily screwed to wide ‘feet’ enabling them to stand upright for both-sides painting access, leaving the underside unpainted. Once all 5 coats are on 95% of the structure, the feet then come off and the frame has to be flipped allowing the underside to be painted. That’s three more days of drying time. I’ve tried dozens of different water-based finishes over the years, and I’ve yet to find a single one which can hold a candle to the long-term durability of an oil-based finish. I’ll post some pics when they’re all done.
Kevin