Rutabagared
Member
- Joined
- Jan 27, 2008
- Messages
- 296
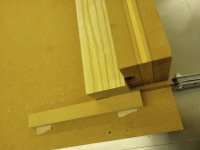
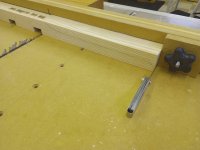
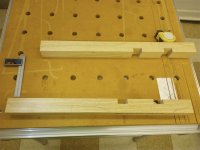
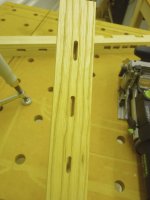
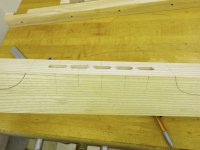
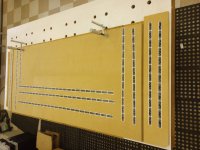
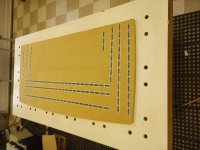
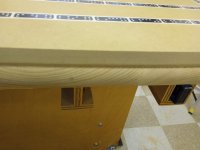
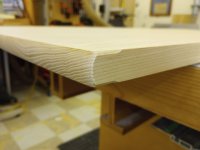
Template for shaping the top. This took a while to cut with the SO based on thickness of the template and cut length. It’s easy to get small amounts of “washboarding” using the ¼ spiral cutter if you cut too fast, bobble, etc. Easy to sand out of MDF though.
[attachimg=1]
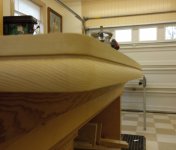
[attachimg=2]
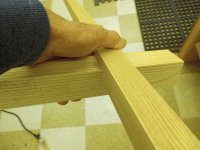
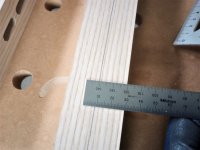
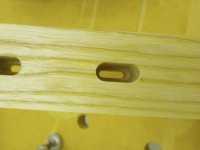
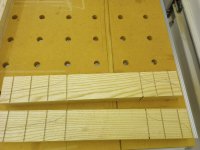
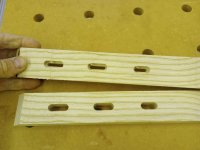
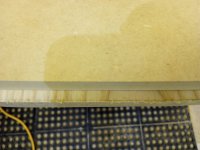
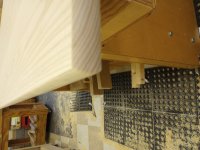
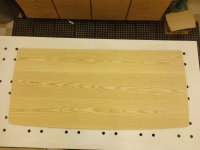
Rough cut the shape with the jigsaw.
[attachimg=3]
[attachimg=1]
[attachimg=2]
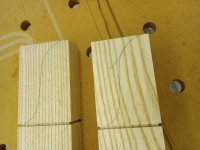
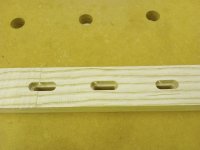
Rough cut the shape with the jigsaw.
[attachimg=3]


") )
)