iamnothim
Member
- Joined
- Feb 5, 2014
- Messages
- 1,435
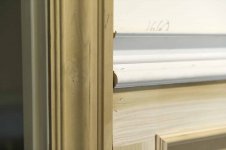
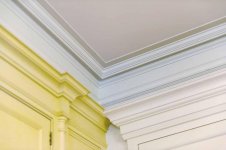
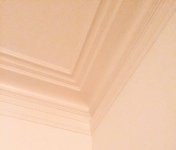
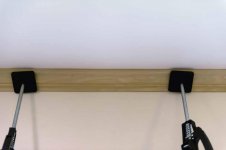
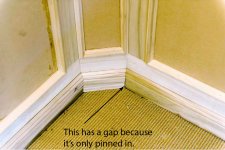
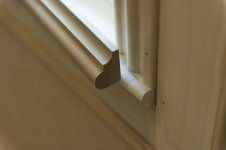
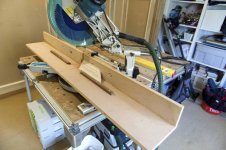
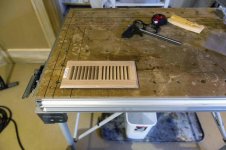
I probably should have removed the nose/sill before starting, then put in a whole new piece. But I didn't. I elected to sister on a small piece with a return.
Hey! It's paint grade.
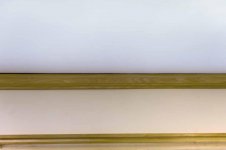
I picked up some Saroyan 5527 yesterday...... Too big. Dang.
I'll get some 5585 in a few days.
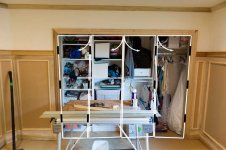
[attachimg=1]
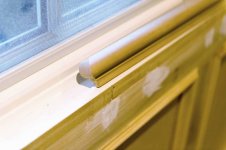
Hey! It's paint grade.
I picked up some Saroyan 5527 yesterday...... Too big. Dang.
I'll get some 5585 in a few days.
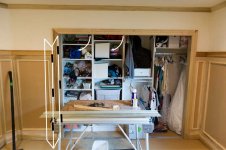
[attachimg=1]