iamnothim
Member
- Joined
- Feb 5, 2014
- Messages
- 1,435
All these frequent posts must drive you guys with Notify On batty. sorry.
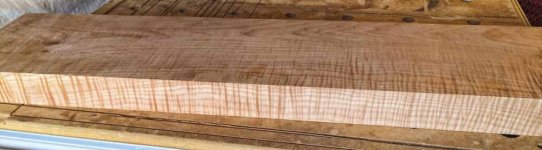
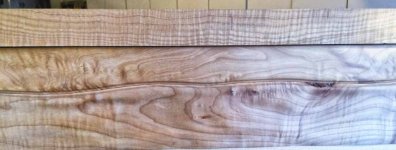
Another lesson.
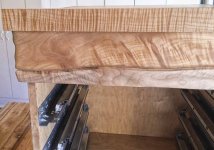
Already knew this but obviously forgot it. Sand the linear gaps as little as possible, so as not to loose the crisp straight line. Not very happy about that one.
I see Bondo in my future.
[attachimg=1]
[attachimg=2]
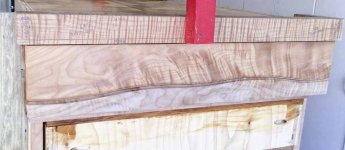
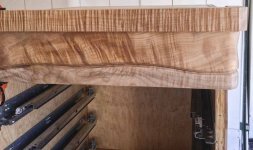
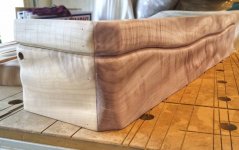
Another lesson.
Already knew this but obviously forgot it. Sand the linear gaps as little as possible, so as not to loose the crisp straight line. Not very happy about that one.
I see Bondo in my future.
[attachimg=1]
[attachimg=2]