iamnothim
Member
- Joined
- Feb 5, 2014
- Messages
- 1,435
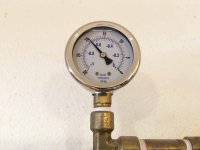
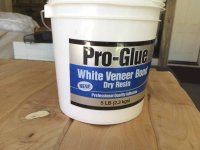
iamnothim said:It will be interesting to see if TightBond III cures in a vacuum. Might be the same as having the cap on the bottle.
I'll probably leave it 24 hours.
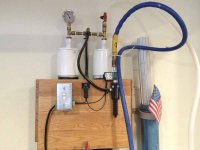
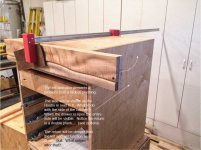
What do you guys normally use for glue? Nice vacuum setup, Luke. What would one have to spend for one of those like yours? I gotta have one.Tim Raleigh said:iamnothim said:It will be interesting to see if TightBond III cures in a vacuum. Might be the same as having the cap on the bottle.
I'll probably leave it 24 hours.
It doesn't.
Depending on how much you put on, it will dry enough for a reasonable bond. Leave it for a day or so out of the bag to cure fully.
Tim
Jim Kirkpatrick said:What do you guys normally use for glue?
iamnothim said:It will be interesting to see if TightBond III cures in a vacuum. Might be the same as having the cap on the bottle.
I'll probably leave it 24 hours.
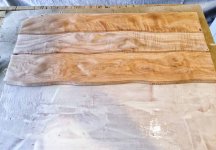
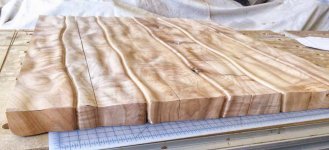
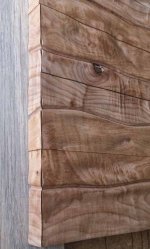
Dovetail65 said:For thick material like that Titebond III would rock.")
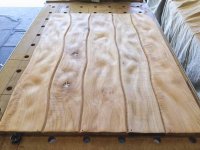
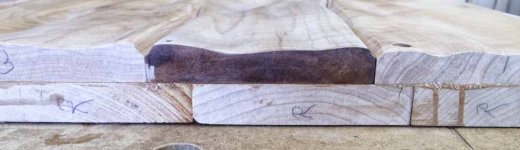
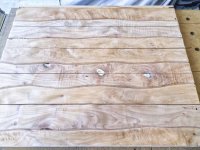
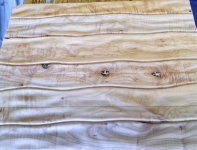
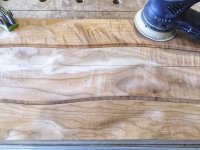
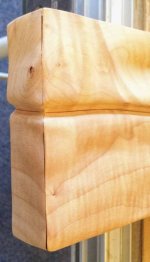
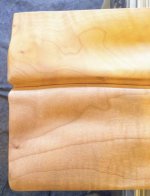
Dovetail65 said:The wood you chose has some nice figure, got to love that. Very nice!
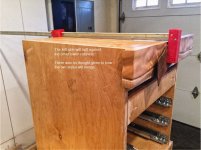
Dovetail65 said:Gorgeous