Tayler_mann
Member
- Joined
- Nov 23, 2014
- Messages
- 410
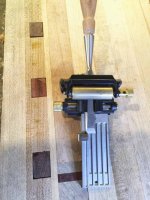
I have to say I have never really gotten into hand tools to much. I have a Stanley plane and chisels. I have never sharpened the plane and it works like a champ for what I do with it. I have sharpened the chisels but nevet used a jig or anything just a stone and my hand. My mentor always frowned on them and said, "Why do you think we invented electricity!" I do respect the tools just never use them.
[member=28483]iamnothim[/member]
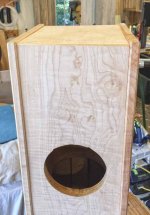
What's the final verdict for your material choice and build for your casings?
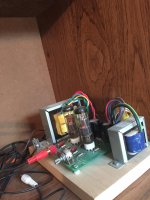
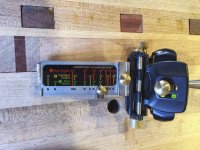
Here's my shop makeshift iPod dock. I need another set of parts to build the second for stereo than build a nice case for them so I don't accidently touch the wrong part and kill myself.
[member=28483]iamnothim[/member]
What's the final verdict for your material choice and build for your casings?
Here's my shop makeshift iPod dock. I need another set of parts to build the second for stereo than build a nice case for them so I don't accidently touch the wrong part and kill myself.