derekcohen
Member
- Joined
- Jun 22, 2008
- Messages
- 1,060
Somewhere after July/August, we hope to be moving home, downsizing as I retire from my practice, and into a house we are currently renovating. One of the interesting plans is a new workshop, somewhat the same as present, that is a double garage, half dedicated to the workshop. There are a few pieces of furniture I need to complete before we move.
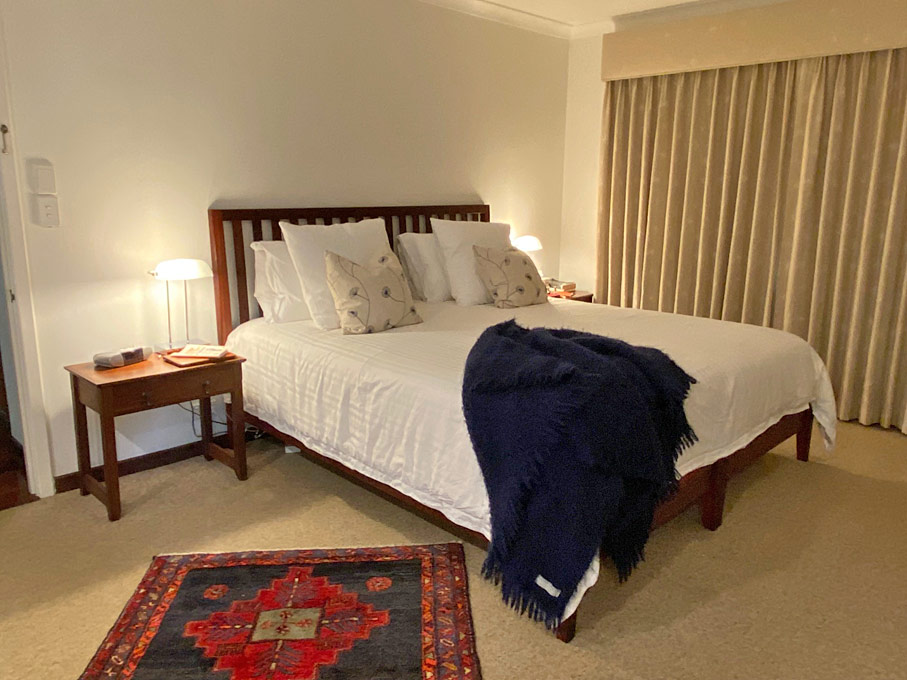
Our bedroom will be smaller than now, and to make this work I need to build new, narrower bedside tables. Currently they are 600mm wide ...
To work, they need to be 400mm wide, and so I thought to model them on these, which I built 3 years ago ...
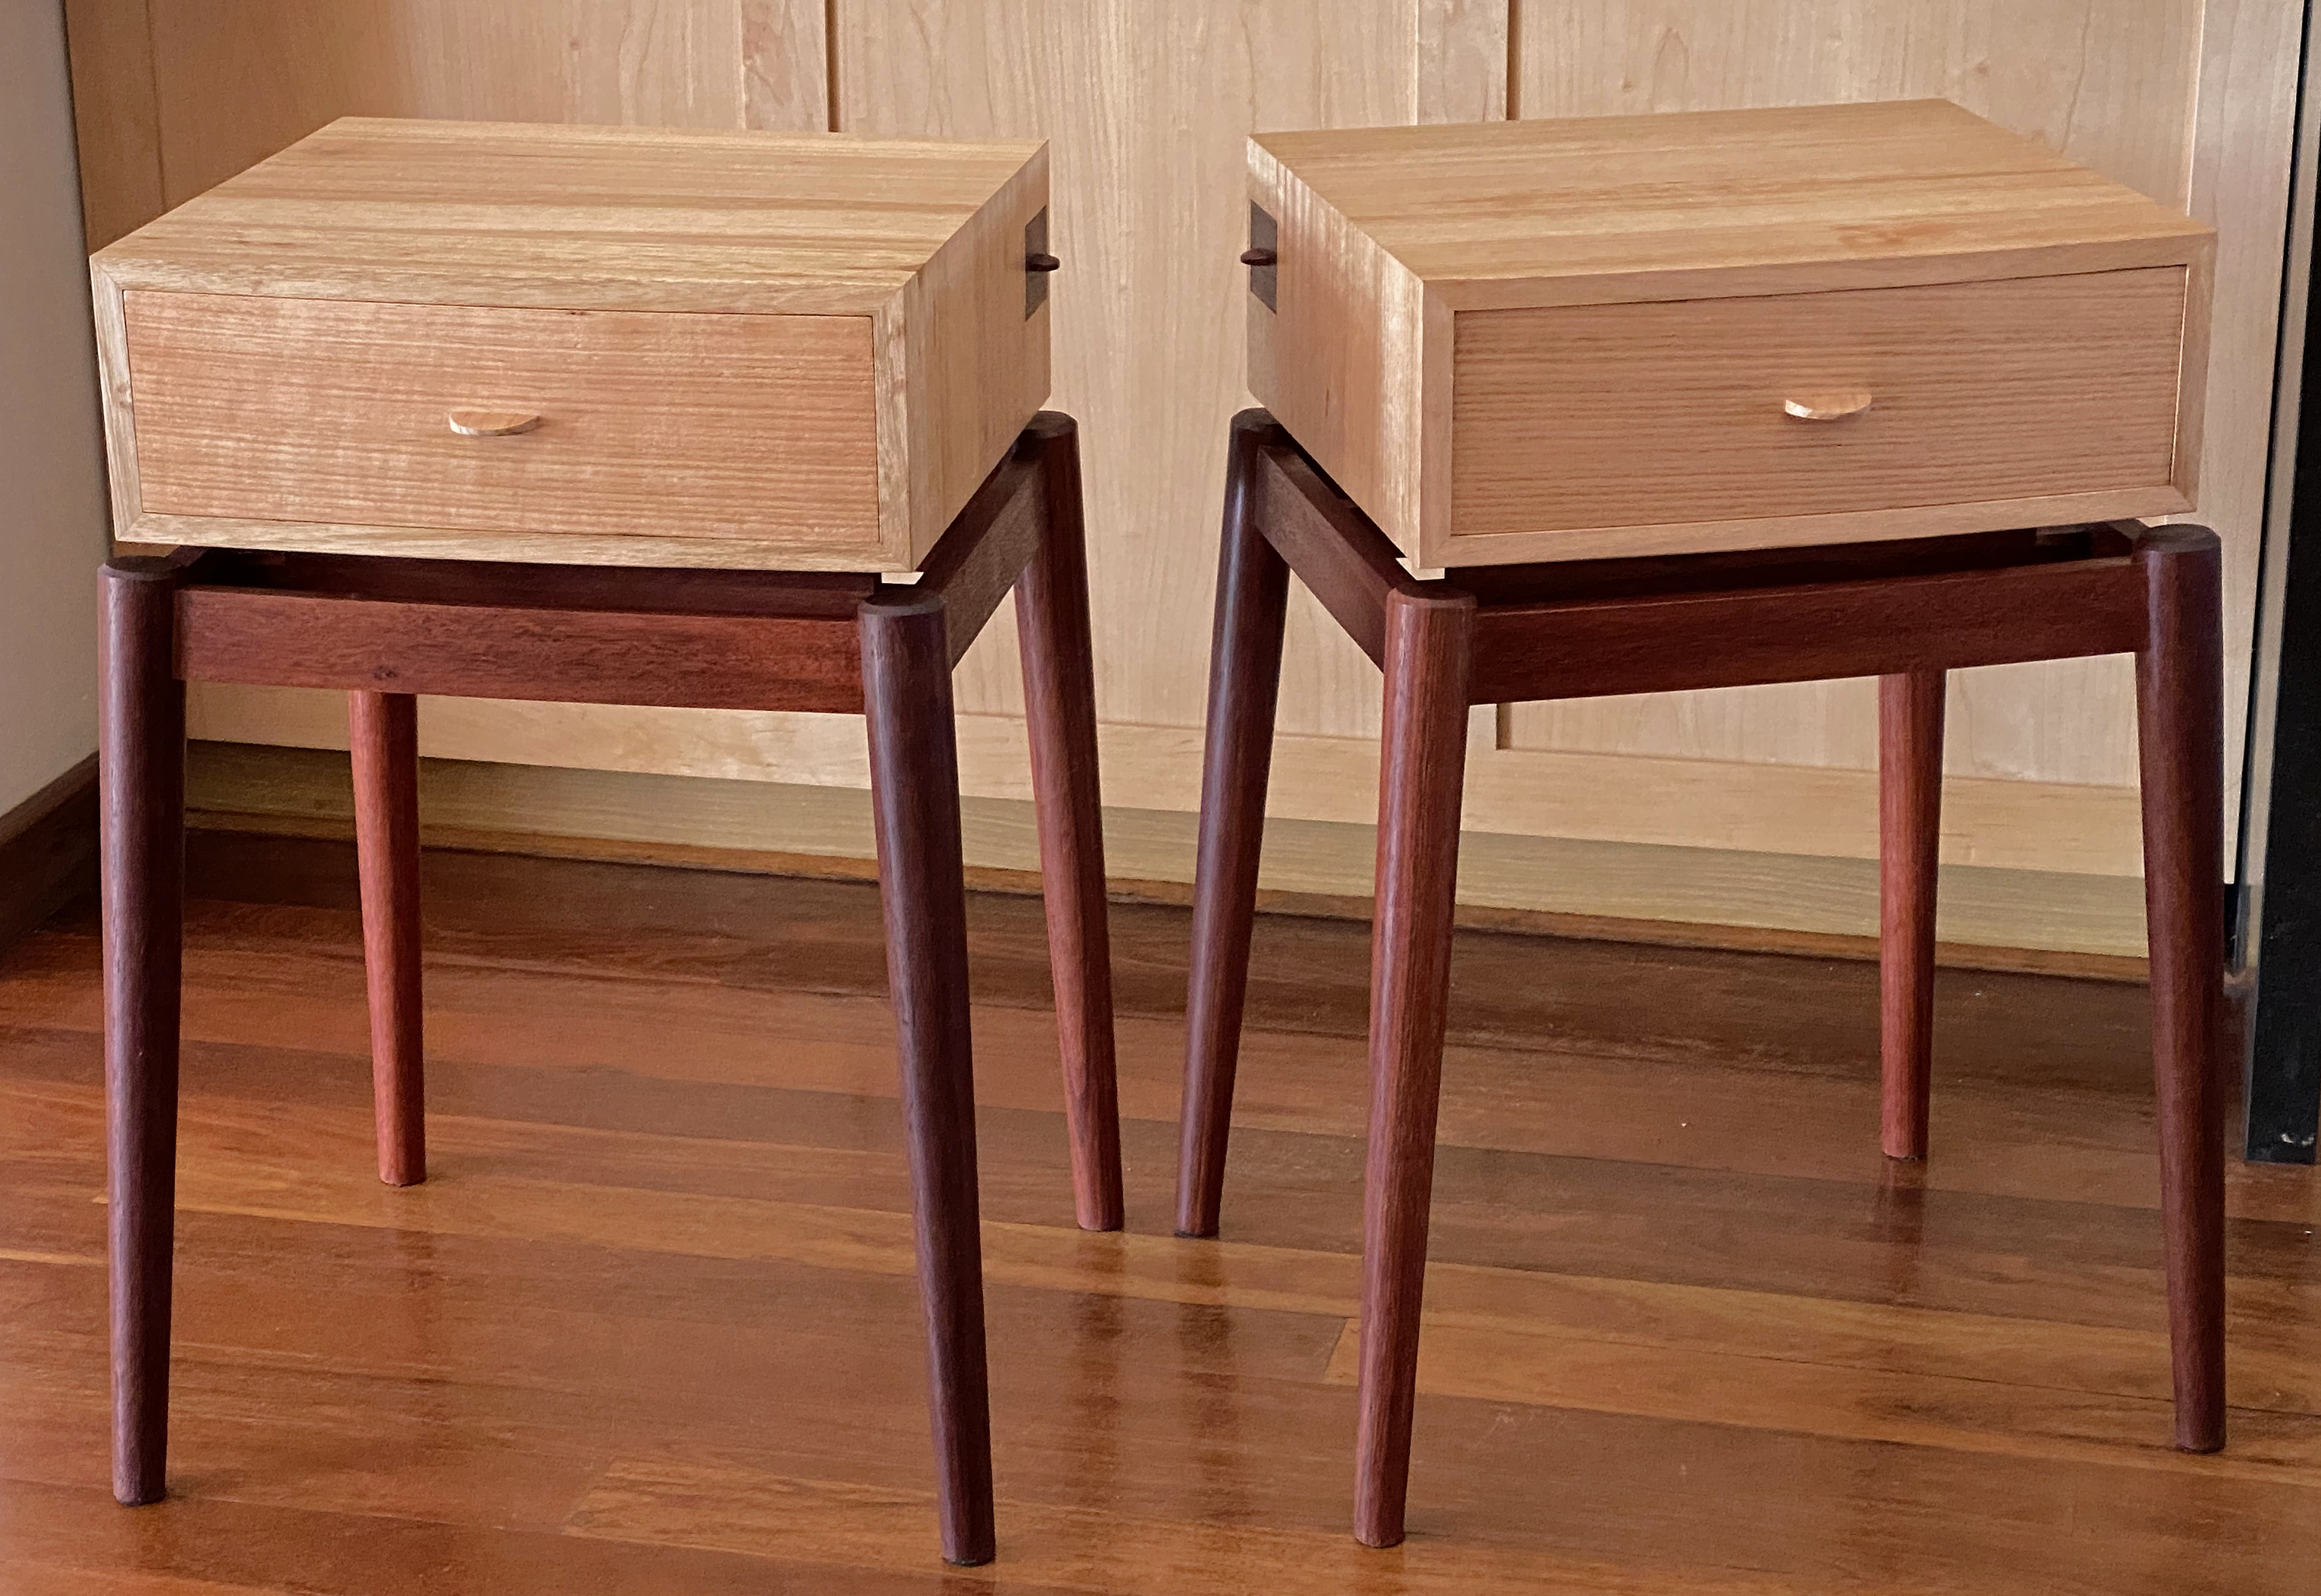
The main difference will be Jarrah throughout.
I have mentioned before that most of the Jarrah I use comes from salvaged pergola posts and roofing timber, since Jarrah, which is only ground south of Perth, is now a protected species.
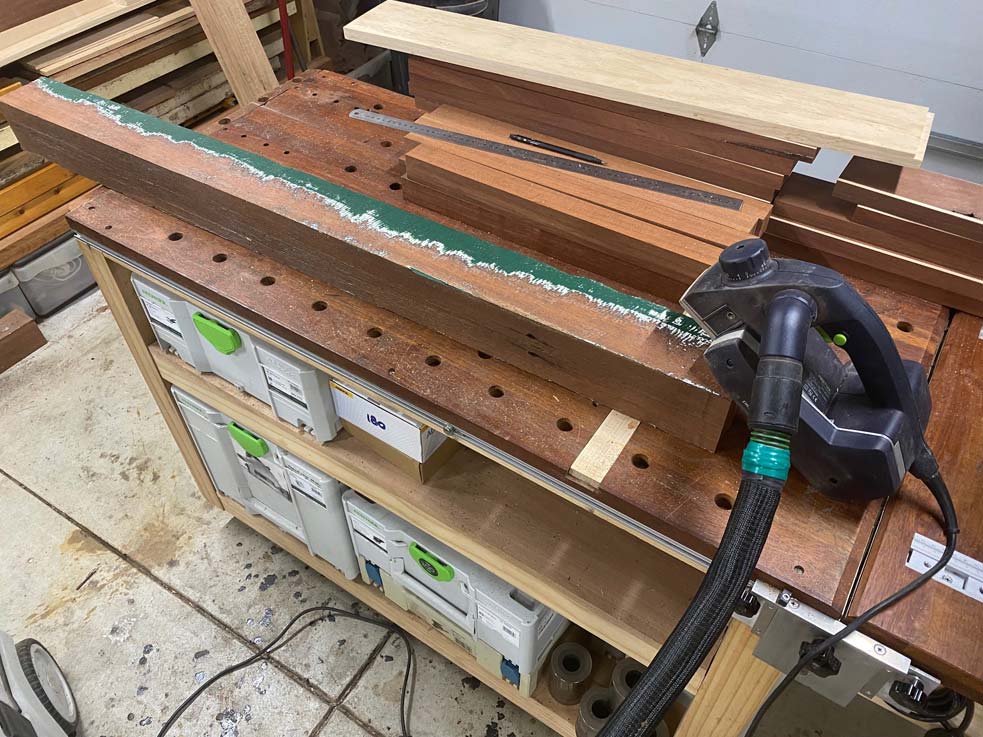
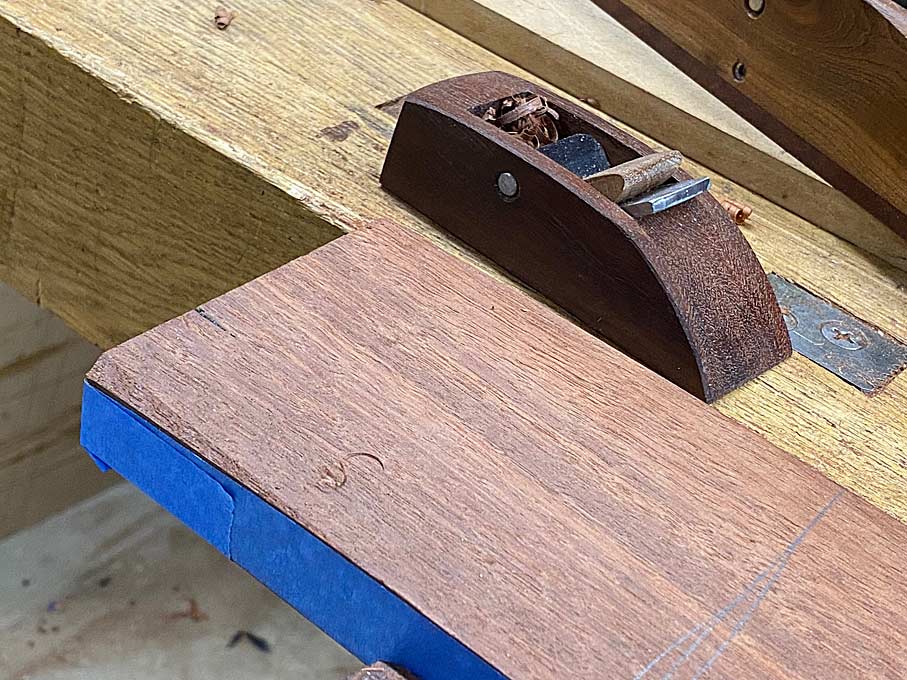
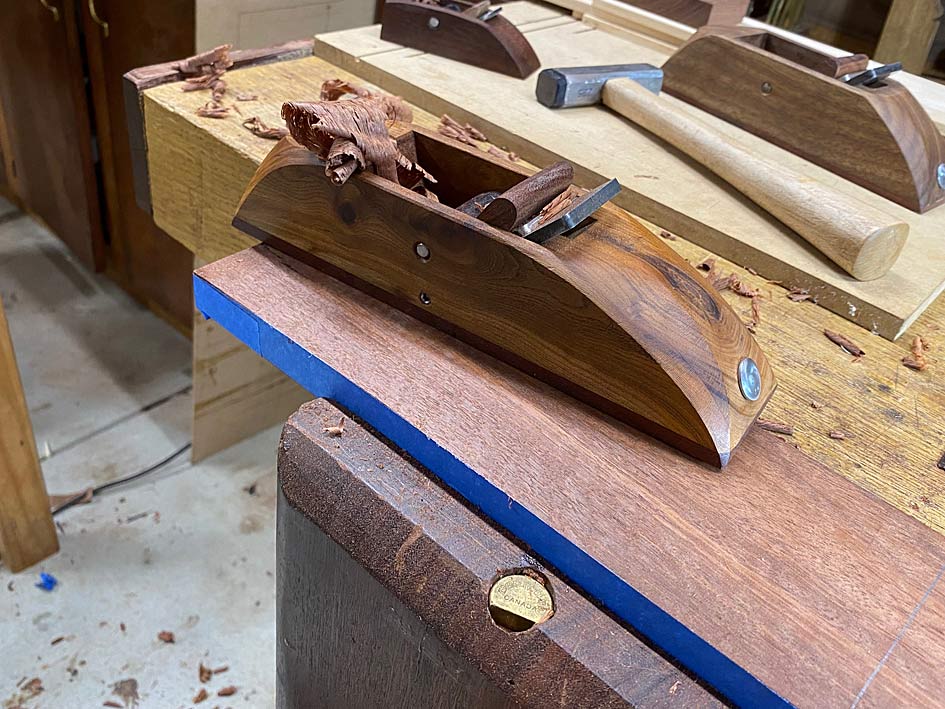
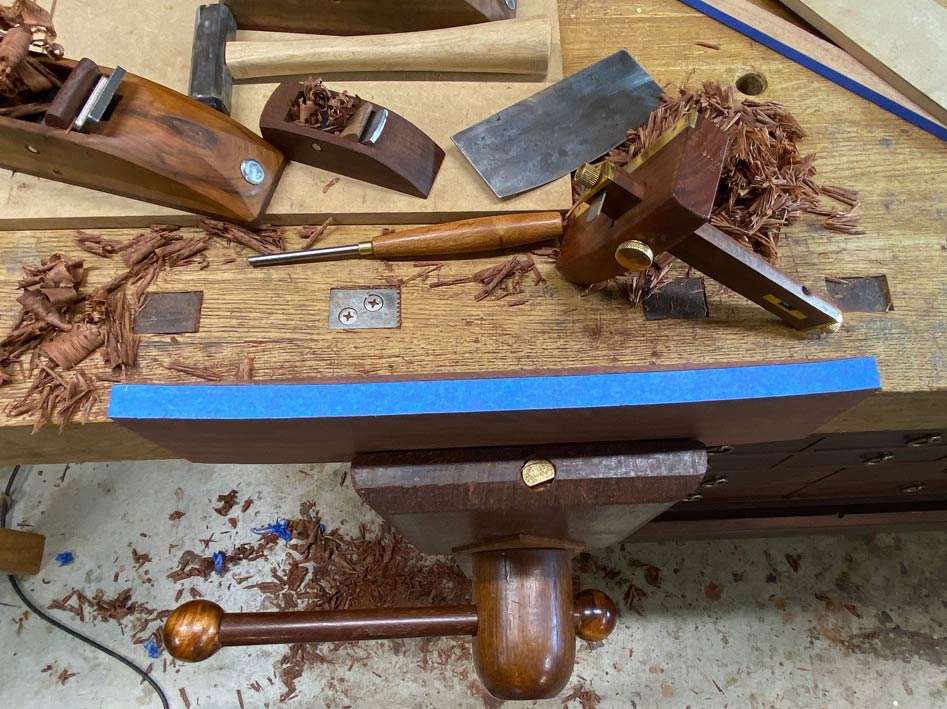
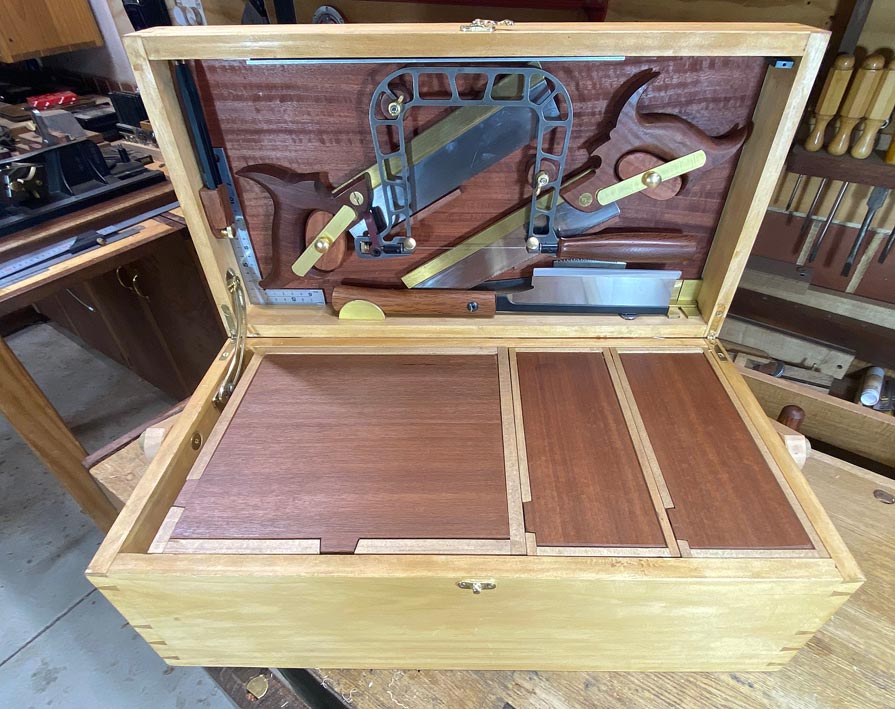
This time it all turned out to be especially hard wood - sunbaked for umpteen years tends to do that. That made me pause because I was determined to build these bedside tables using the tools I recently made for the Fantasy Tool Box.
This is not going to be a blow-by-blow pictorial on how to build the tables, but rather illustrating components using the tools. I break this rule every now-and-then. Of course, you can always fast forward through these bits.
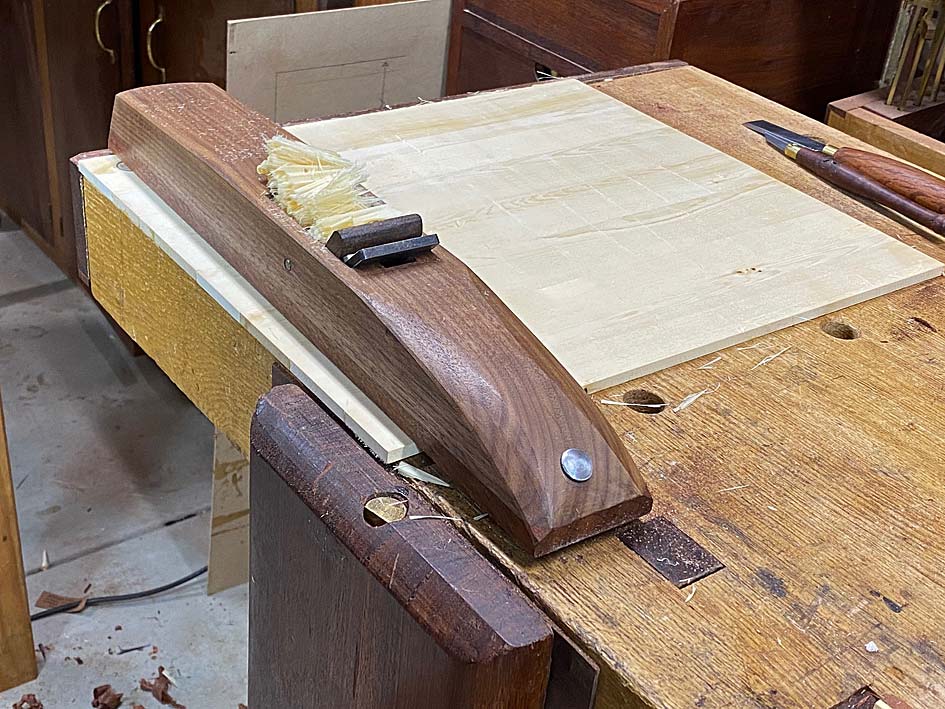
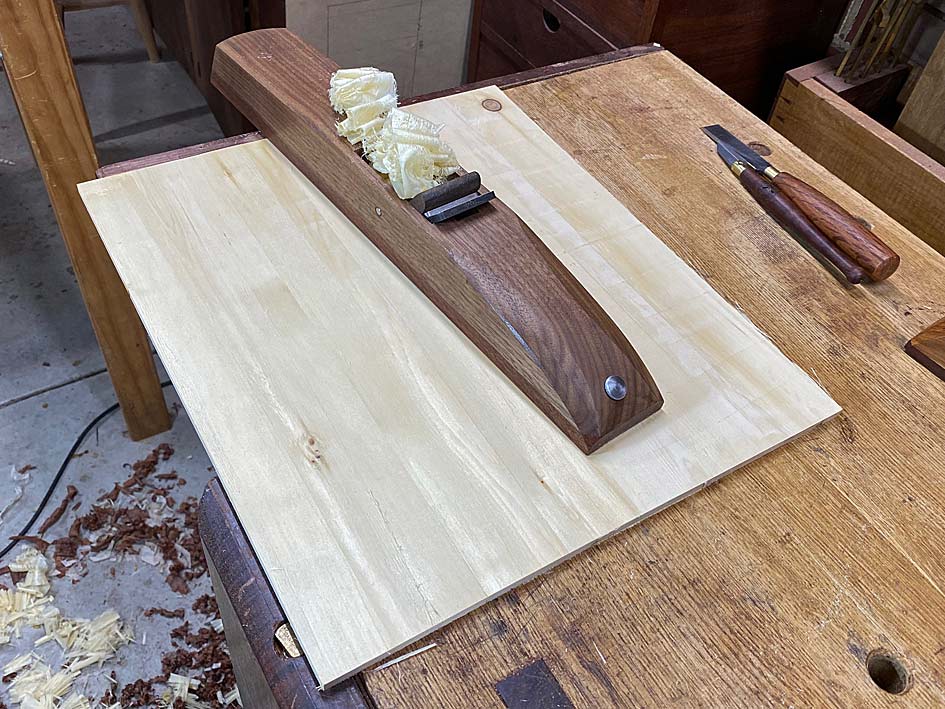
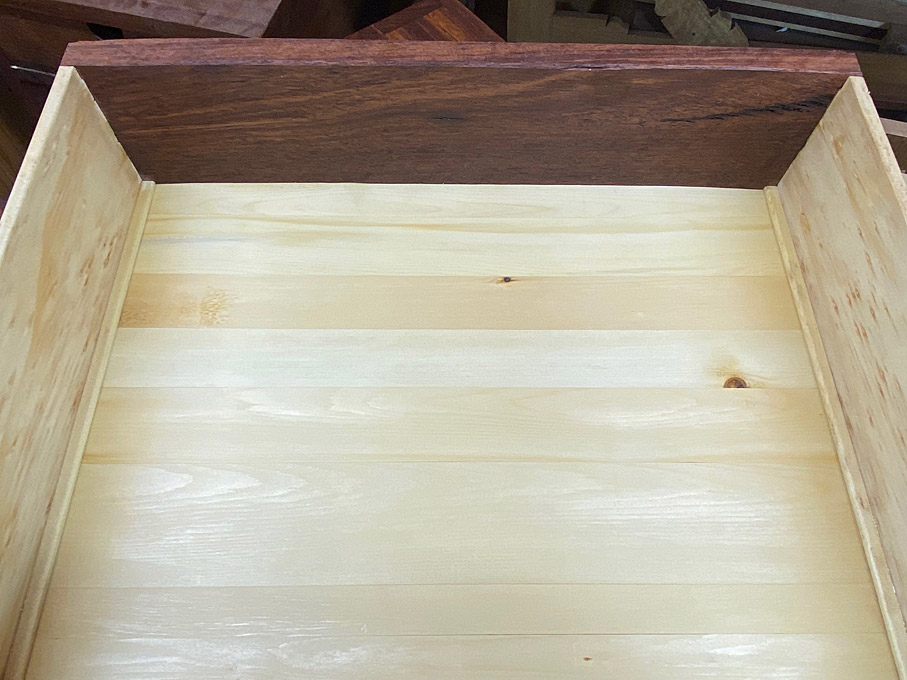
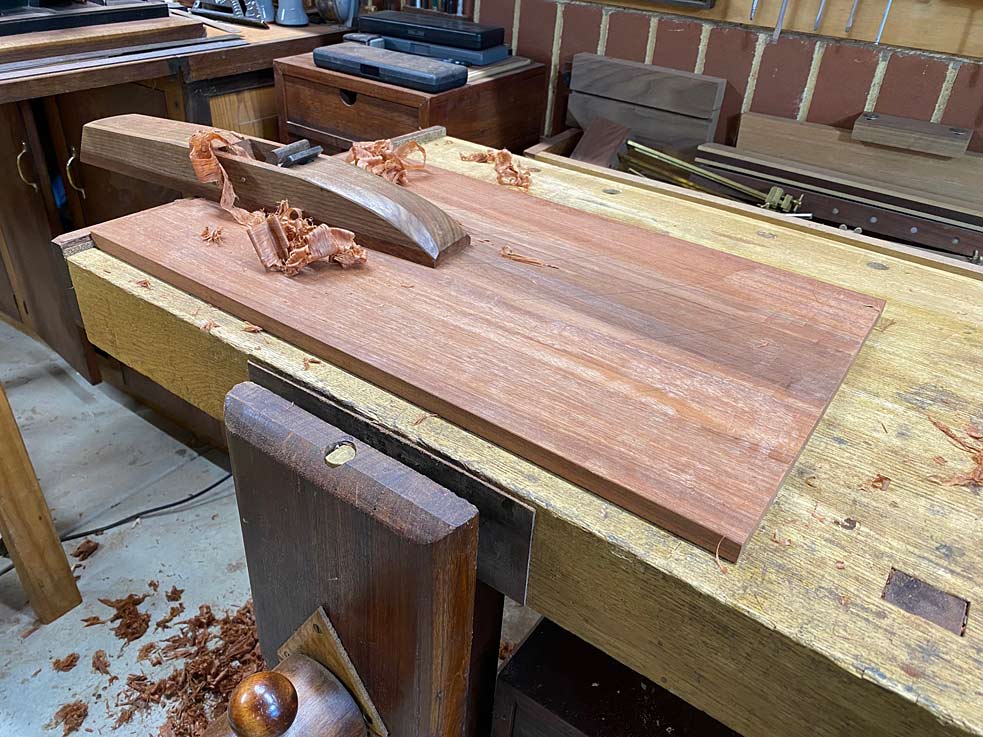
I still am amazed that these panels were made from glueing together several 90mm wide boards ...
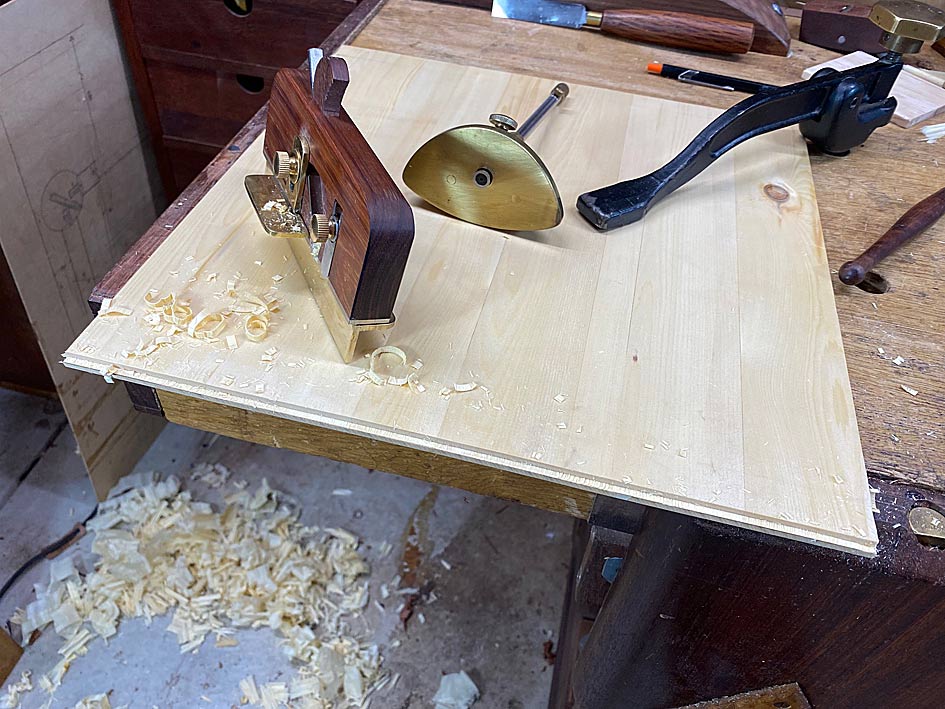
The cases are 400mm wide x 350mm deep. Construction is a mitred-through-dovetail case.
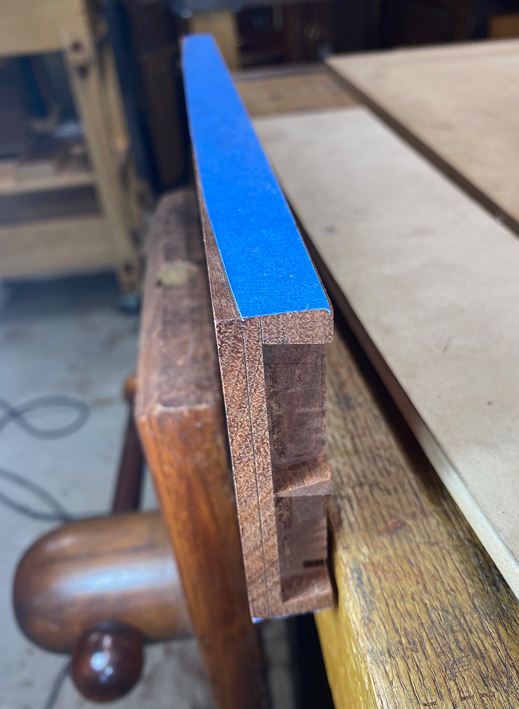
Mitred through dovetails enable rebates (at the rear) to be buried inside the case walls. Mitres at the front are neater aesthetically, and this will also make it easier to add a mild bow front to each case.
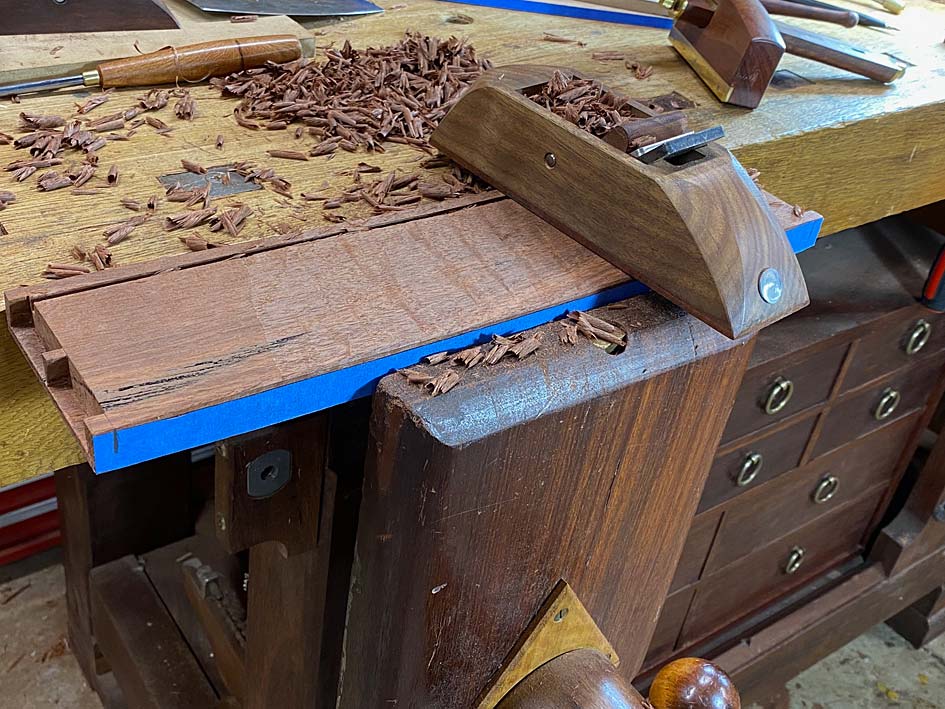
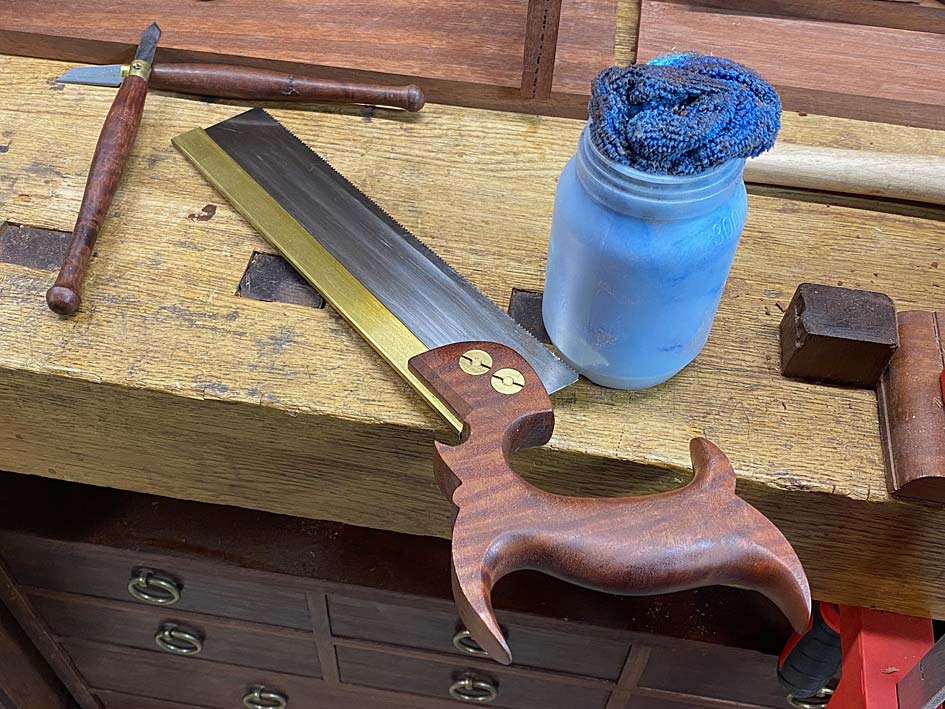
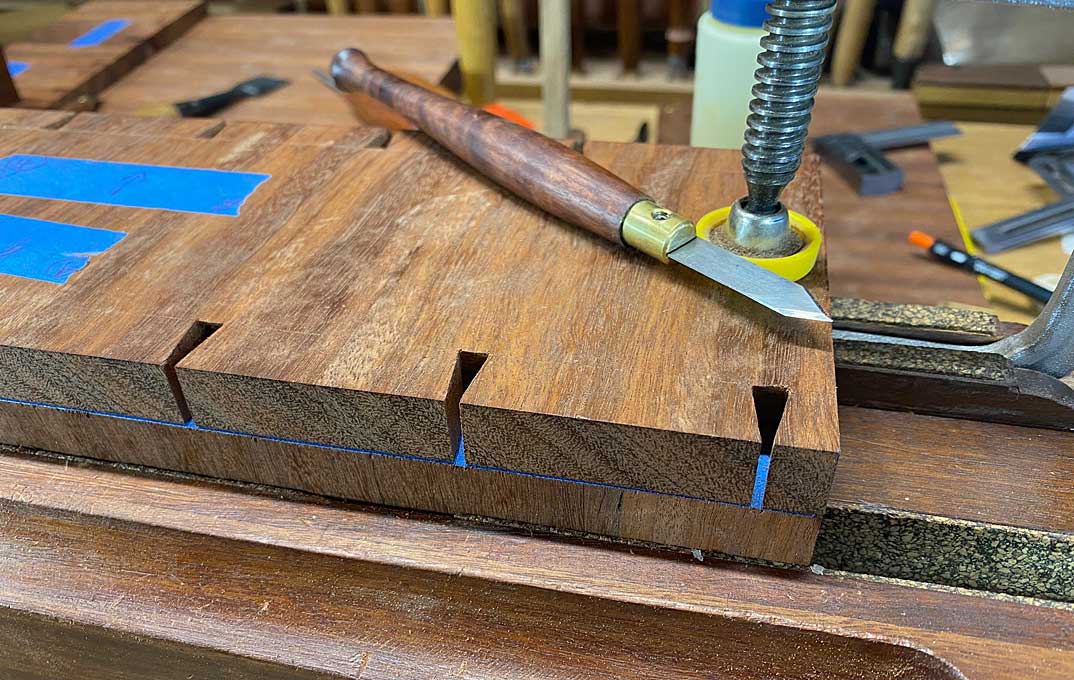
Sawing the dovetails in this very hard wood was aided with a smidgeon of oil on the saw teeth ...
I was so gratified to find how well the M2 chisels chopped through this wood ...
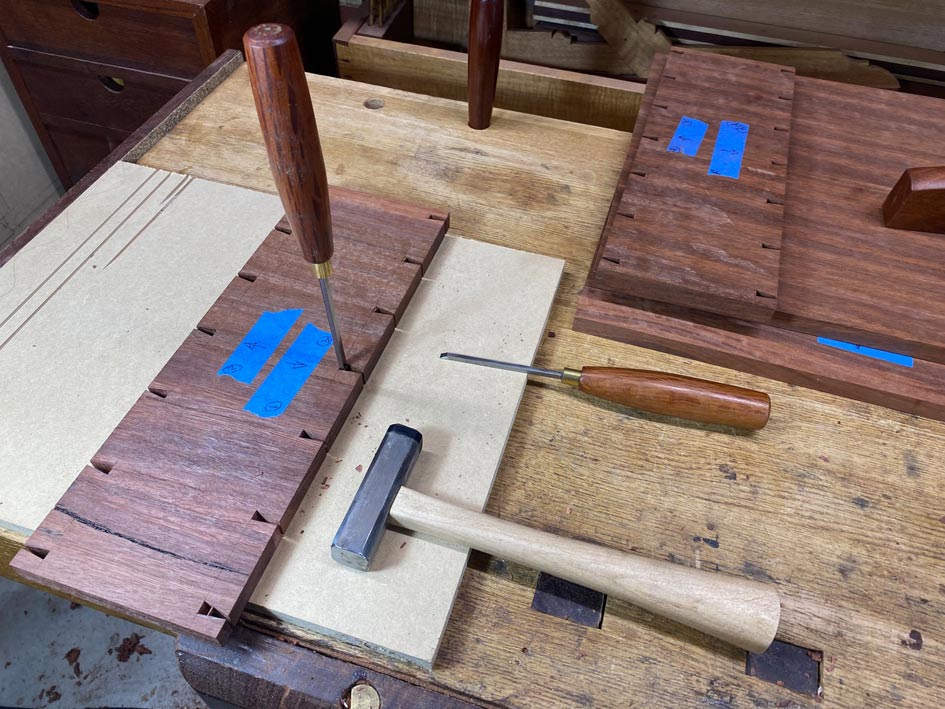
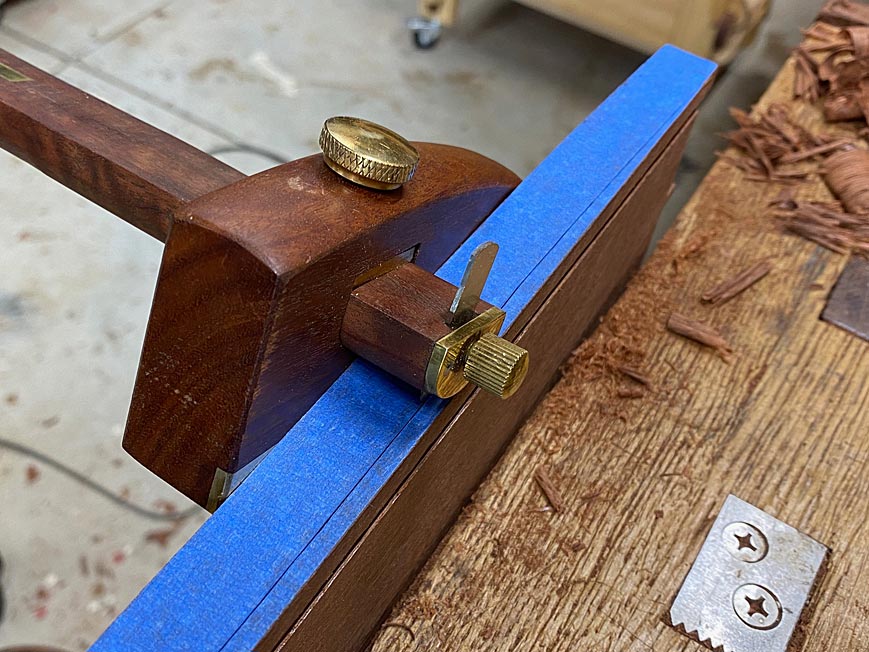
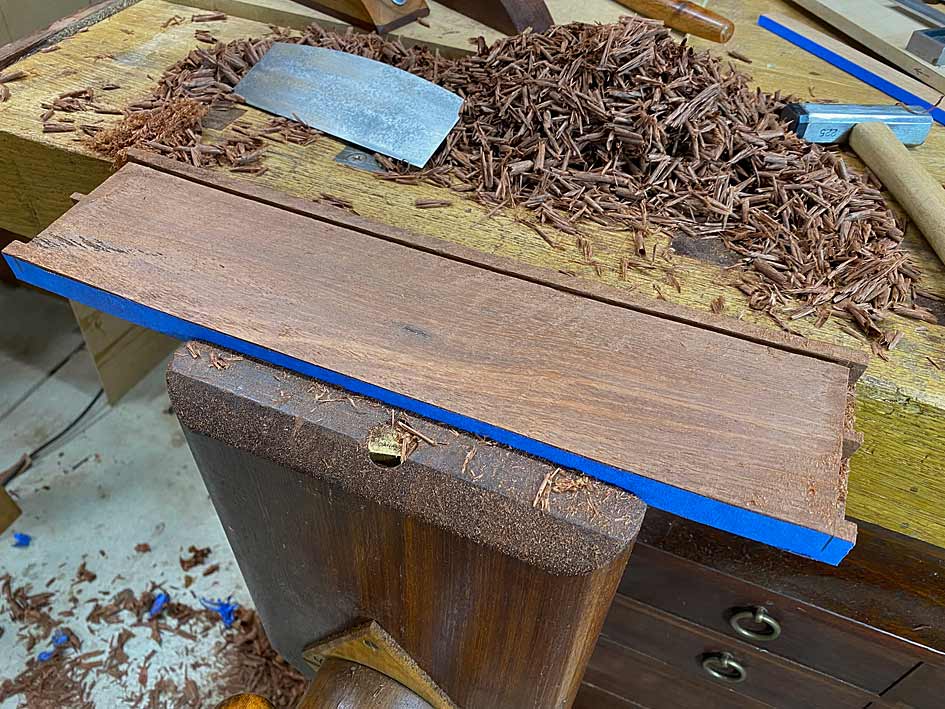
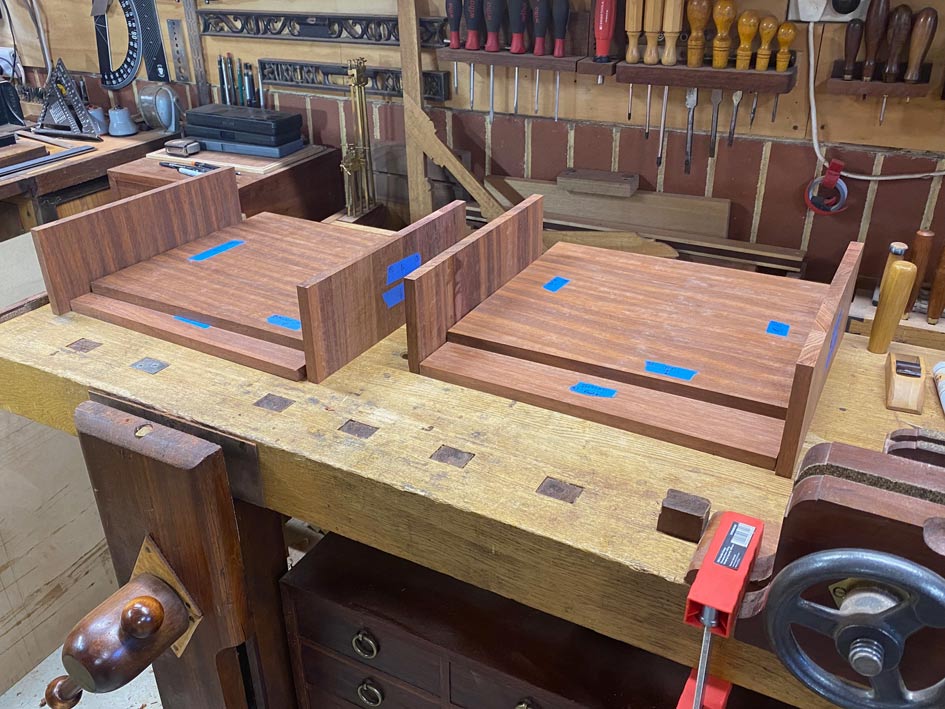
This one's for Charlie, who cannot get enough of blue tape ...
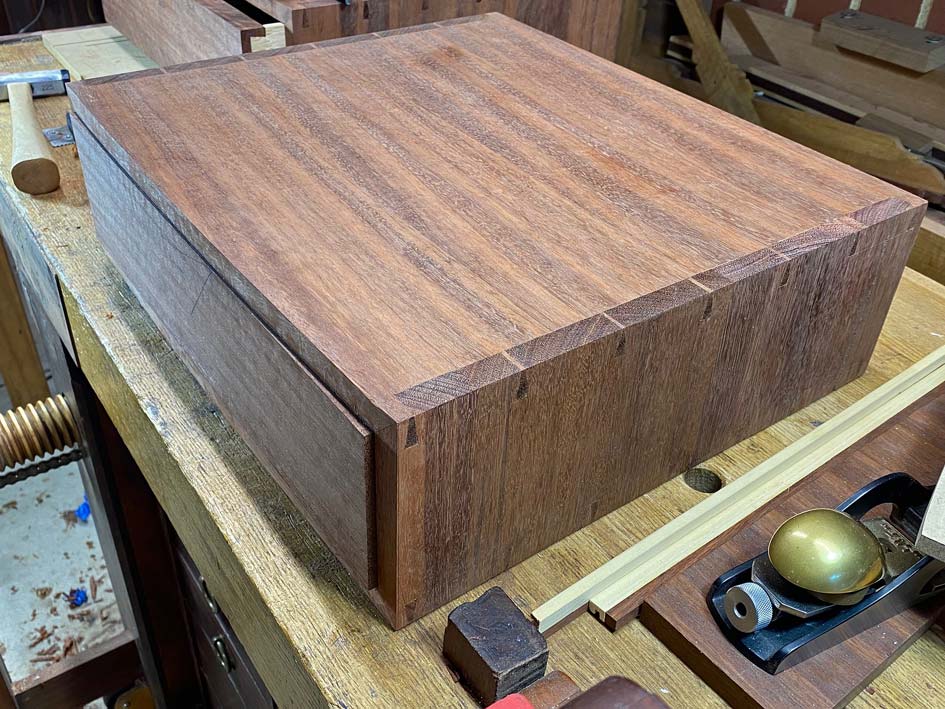
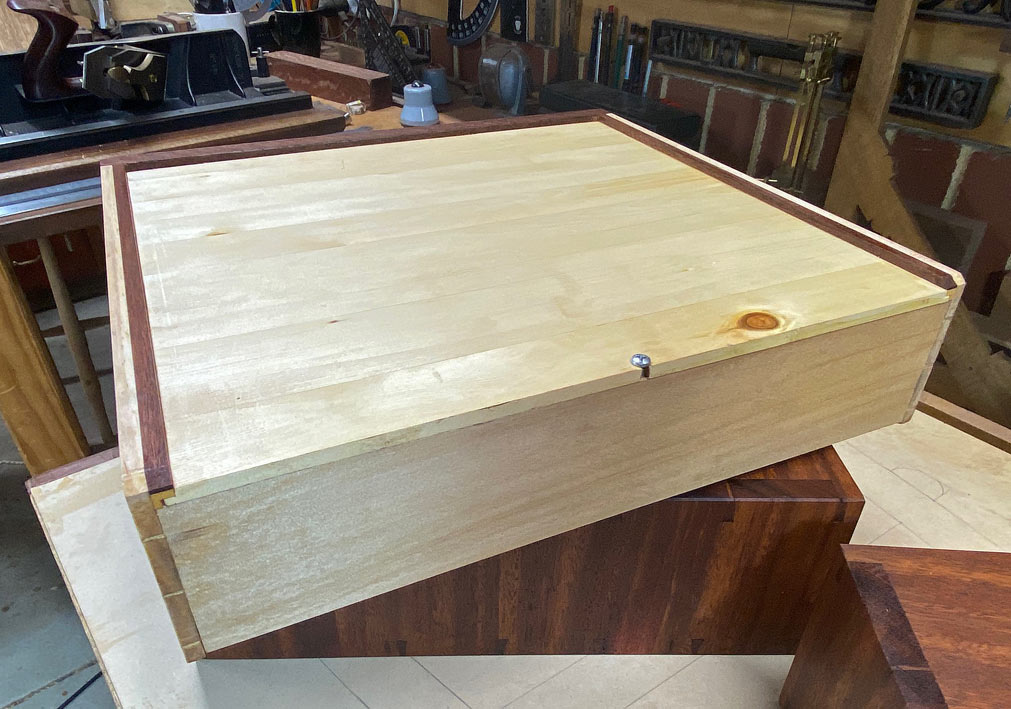
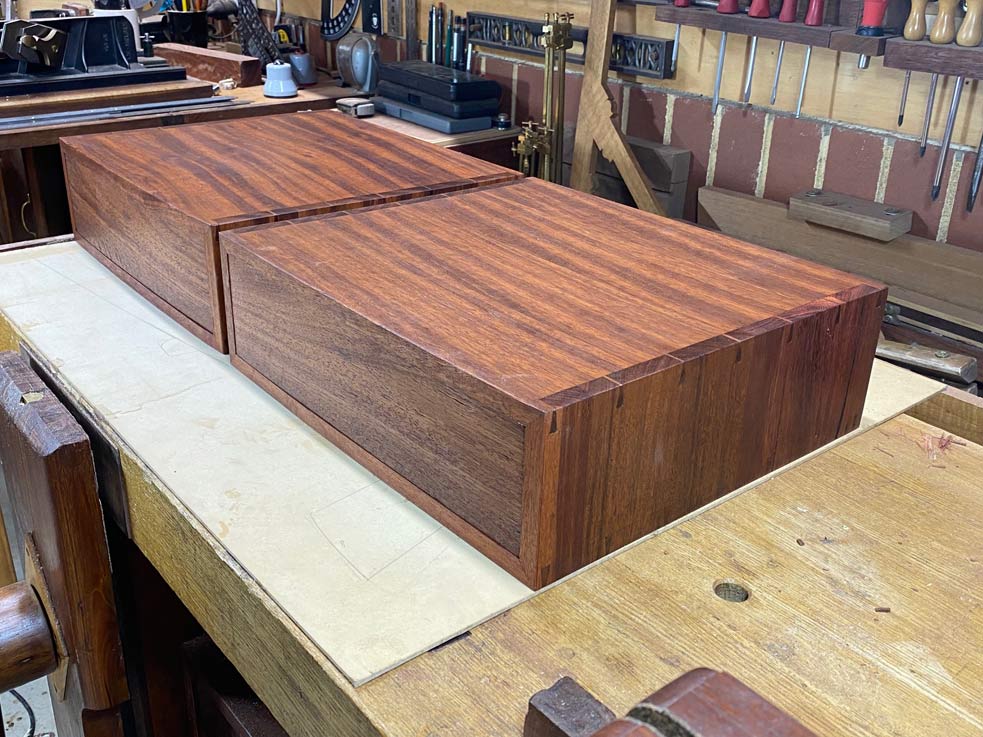
Anyway, the cases turned out well, and we shall start at the end and show them. Then I'll come back to illustrate the details.
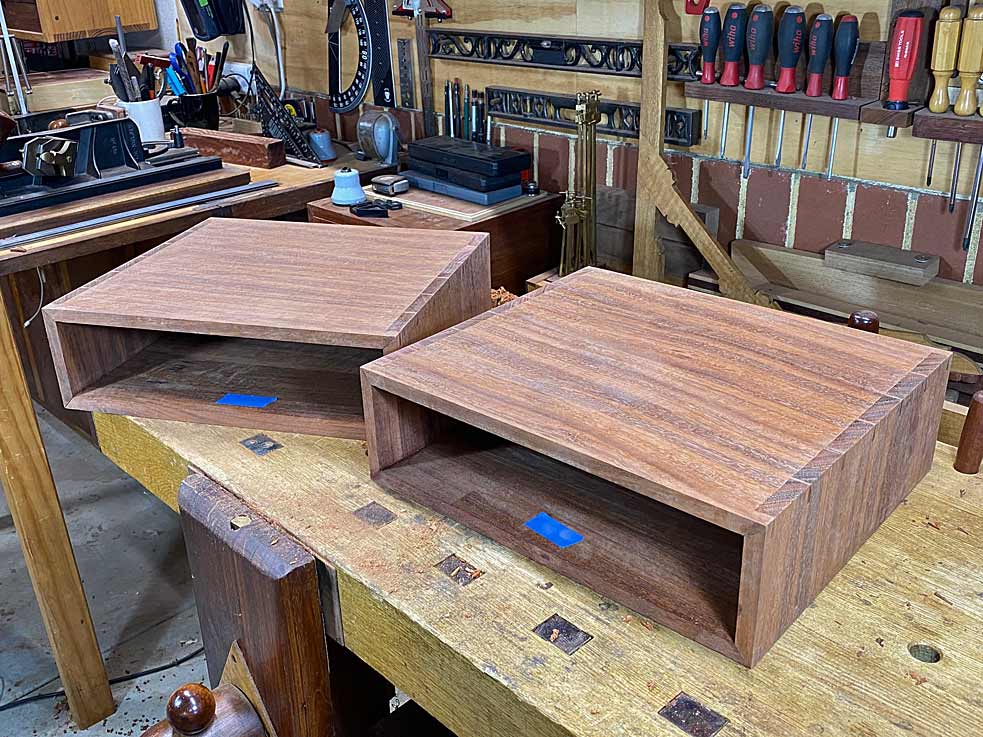
Finished with one coat of hard wax oil at this stage ...
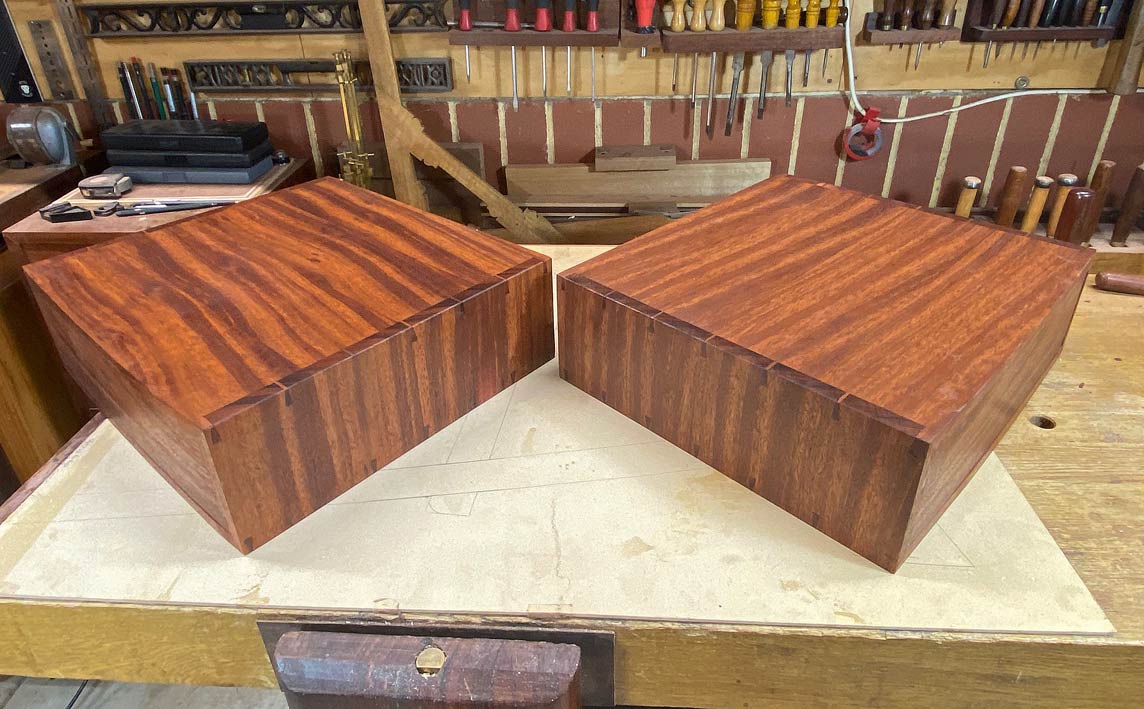
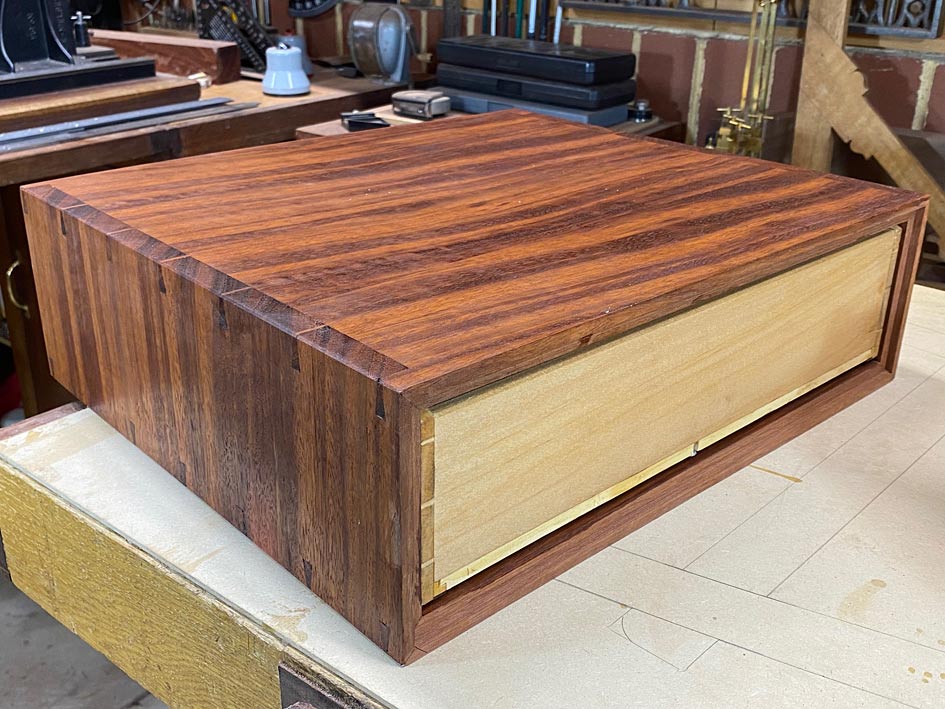
Waterfall sides ...
The ubiquitous dovetails. They have been kept simple, classic London-style ...
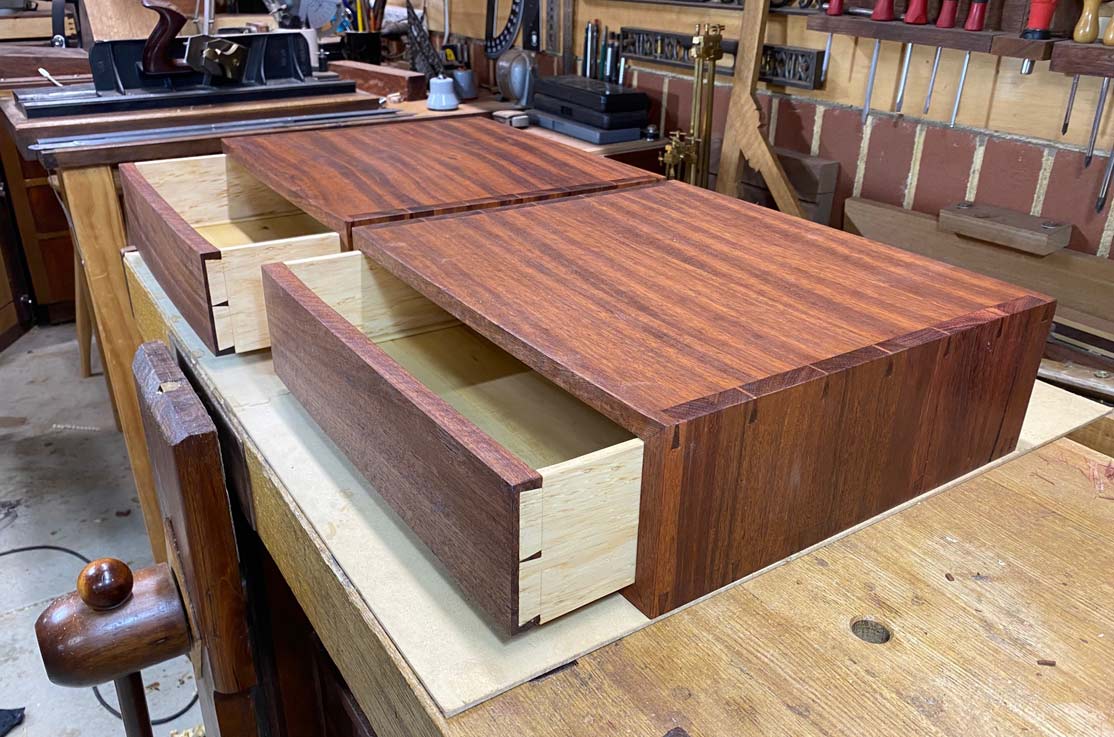
The drawers are a piston fit, slide beautifully, and have excellent extension (I am always surprised when this happens ... did someone sneak in and tune them when I was asleep?) ...
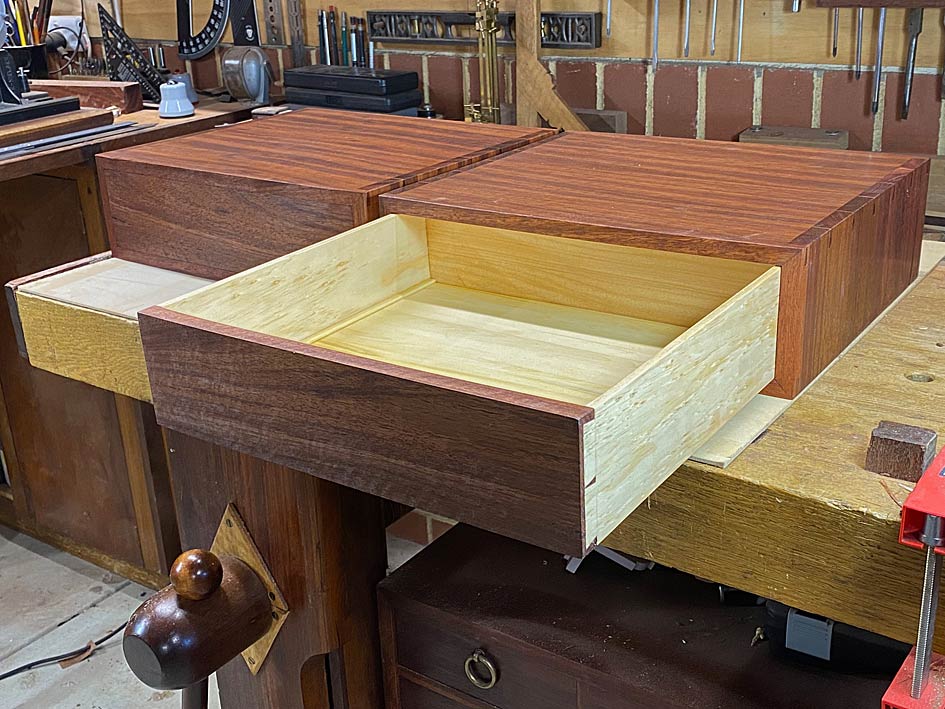
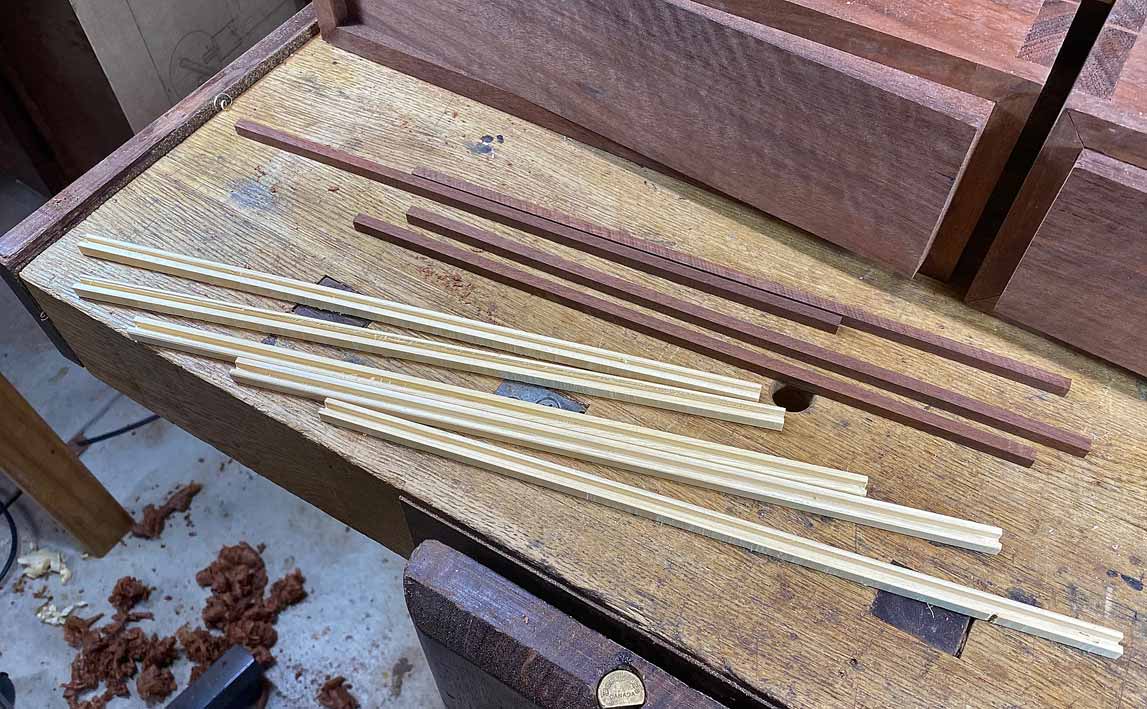
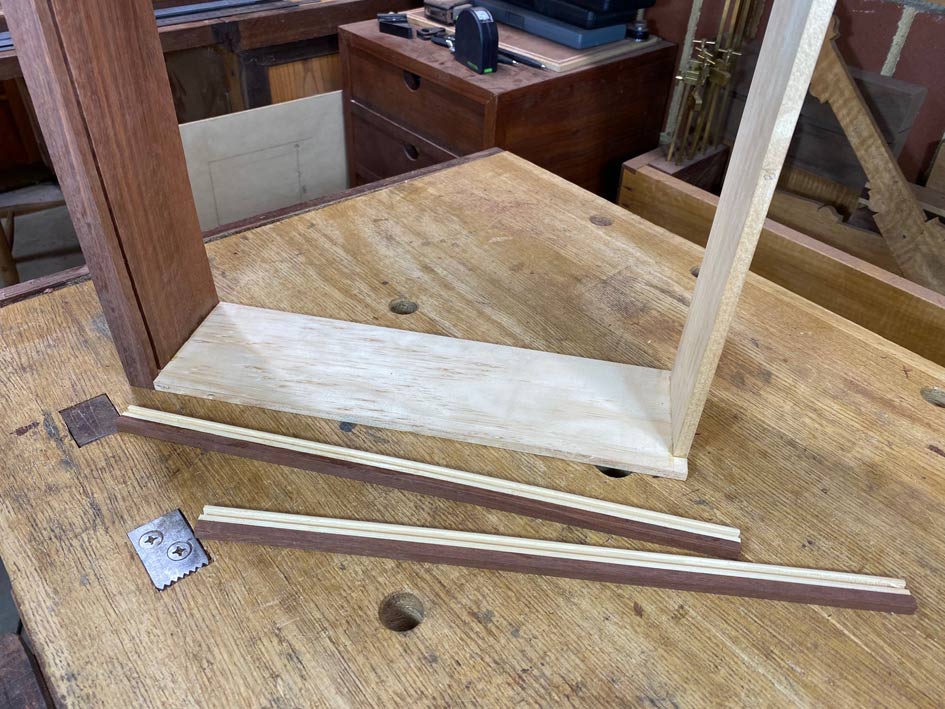
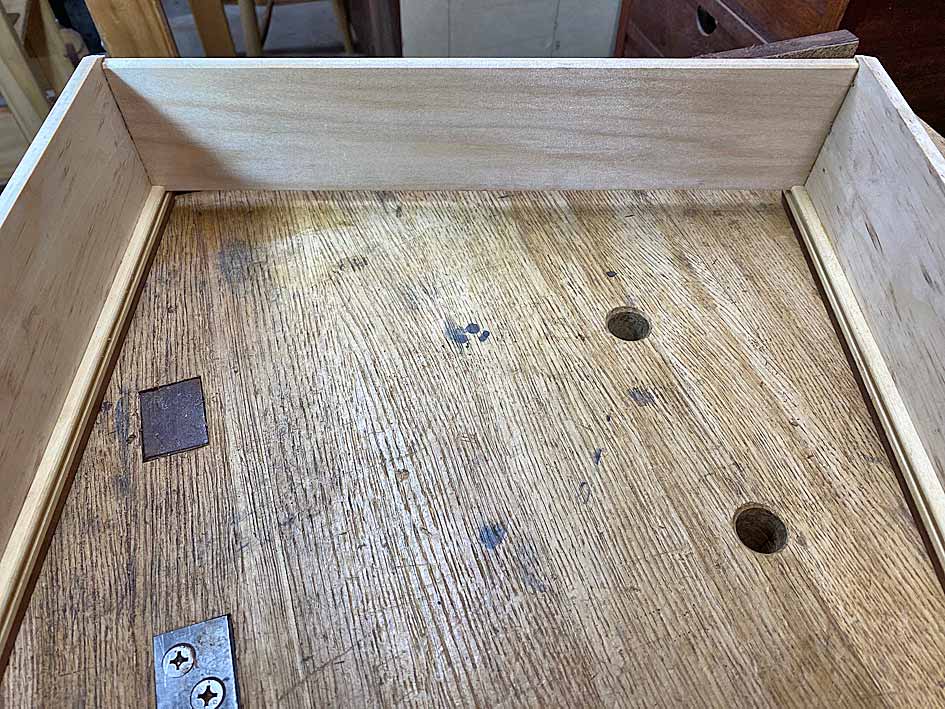
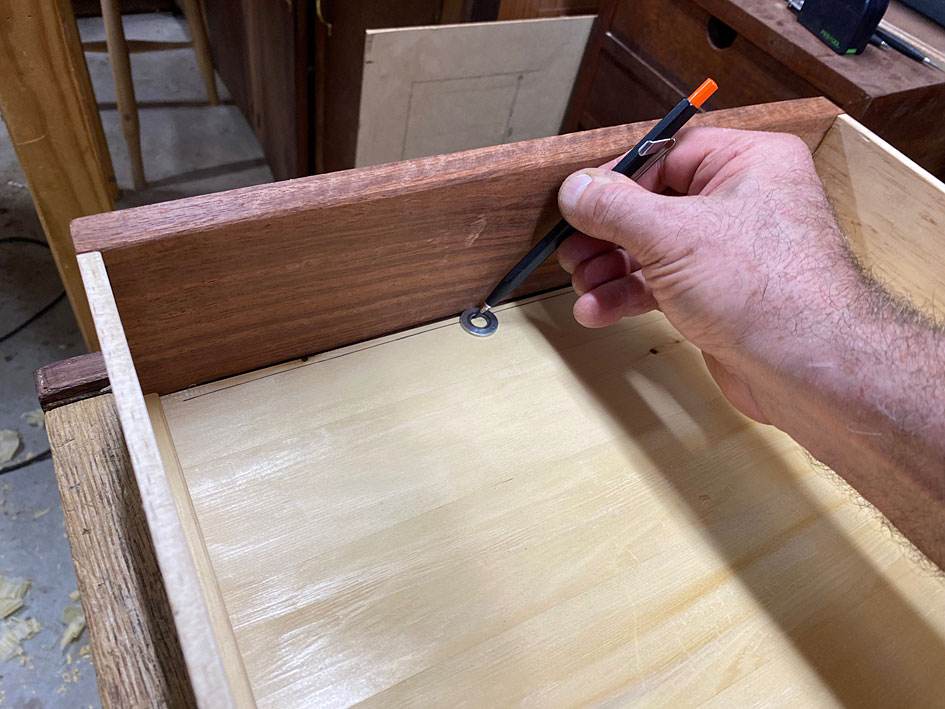
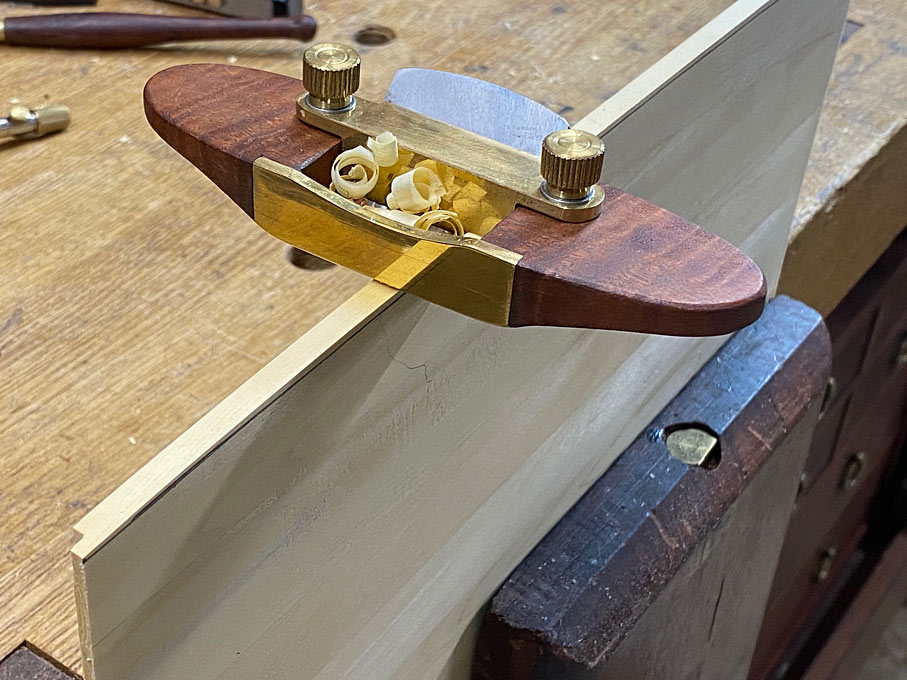
The rear panel has not been fitted as yet, and cannot until the drawers have a pull. Note here the slips at the rear - more on making these later on ...
This is a good point to stop, and the next post will illustrate how the tools were used.
Regards from Perth
Derek
Our bedroom will be smaller than now, and to make this work I need to build new, narrower bedside tables. Currently they are 600mm wide ...
To work, they need to be 400mm wide, and so I thought to model them on these, which I built 3 years ago ...
The main difference will be Jarrah throughout.
I have mentioned before that most of the Jarrah I use comes from salvaged pergola posts and roofing timber, since Jarrah, which is only ground south of Perth, is now a protected species.
This time it all turned out to be especially hard wood - sunbaked for umpteen years tends to do that. That made me pause because I was determined to build these bedside tables using the tools I recently made for the Fantasy Tool Box.
This is not going to be a blow-by-blow pictorial on how to build the tables, but rather illustrating components using the tools. I break this rule every now-and-then. Of course, you can always fast forward through these bits.
I still am amazed that these panels were made from glueing together several 90mm wide boards ...
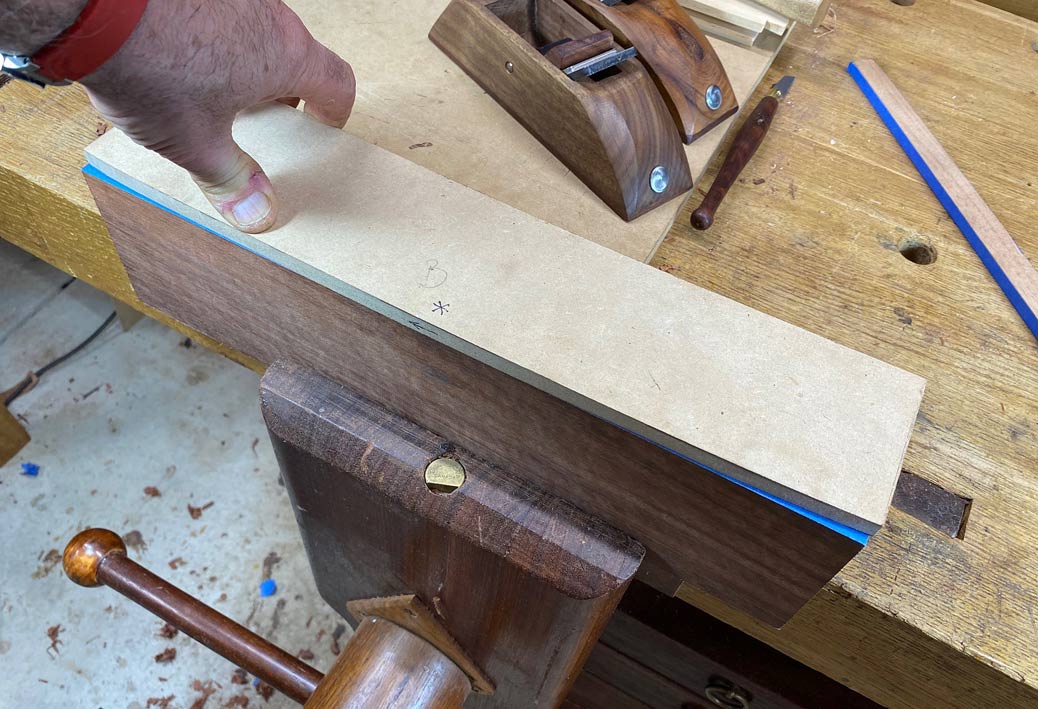
The cases are 400mm wide x 350mm deep. Construction is a mitred-through-dovetail case.
Mitred through dovetails enable rebates (at the rear) to be buried inside the case walls. Mitres at the front are neater aesthetically, and this will also make it easier to add a mild bow front to each case.
Sawing the dovetails in this very hard wood was aided with a smidgeon of oil on the saw teeth ...
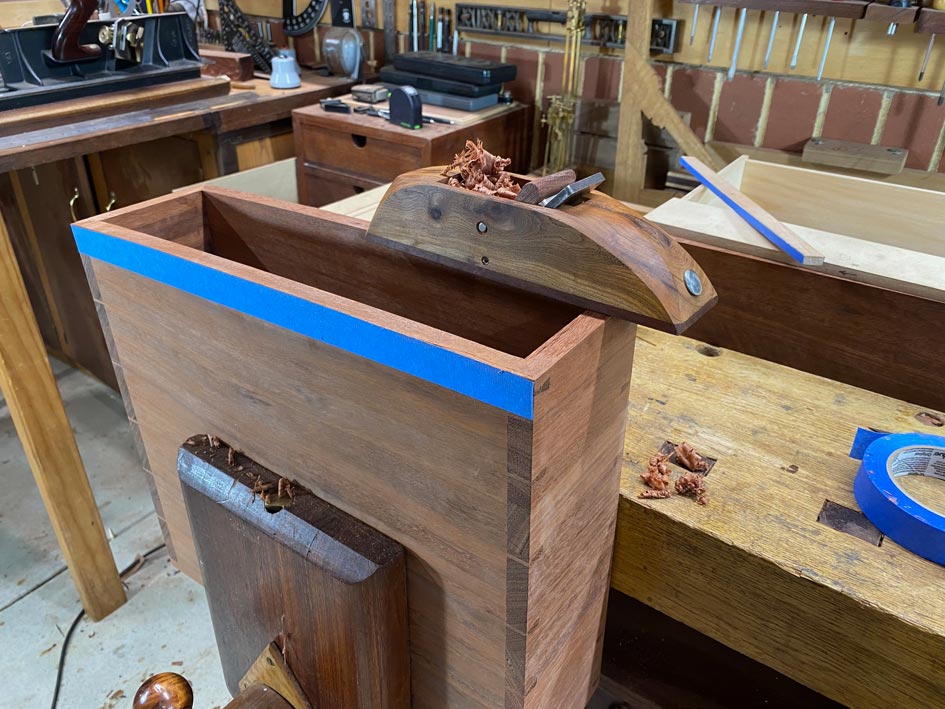
I was so gratified to find how well the M2 chisels chopped through this wood ...
This one's for Charlie, who cannot get enough of blue tape ...
Anyway, the cases turned out well, and we shall start at the end and show them. Then I'll come back to illustrate the details.
Finished with one coat of hard wax oil at this stage ...
Waterfall sides ...
The ubiquitous dovetails. They have been kept simple, classic London-style ...
The drawers are a piston fit, slide beautifully, and have excellent extension (I am always surprised when this happens ... did someone sneak in and tune them when I was asleep?) ...
The rear panel has not been fitted as yet, and cannot until the drawers have a pull. Note here the slips at the rear - more on making these later on ...
This is a good point to stop, and the next post will illustrate how the tools were used.
Regards from Perth
Derek