Not sure if this is allowed in the "projects" forum, but can I get some assistance on a kitchen pantry overhaul?
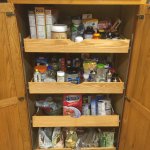
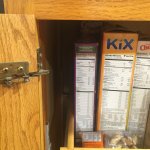
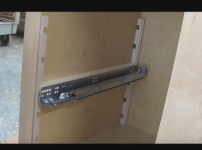
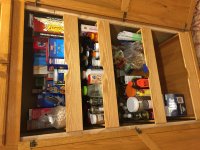
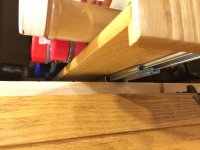
Kitchen cabinets are built very well (3/4''), however the pantry system is sub par at best. I will let the pictures do the talking, but the slides and support system for the drawers is weak one drawer has already fallen/broke.
I need to redesign the slide/support system, but am unsure about what is the best way to make this happen.
Firstly, I ordered identical size ball bearing slides, 100# rated with soft close today.
My questions are as follows:
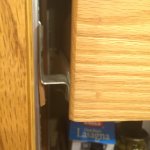
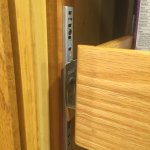
1. What is the best way to fill the gap from the side of the pantry (3/4'' plywood) and the cabinet slide? The distance is 1.875''. Should I just rip some 1.875'' wood and mount in parallel to the slides?
2. How would I mount the wood to the sides of the cabinet? Glue & screw? I have a Domino if that is an option.
3. If glue and screw, what type of glue and screw?
[attachimg=1][attachimg=2][attachimg=3][attachimg=4][attachimg=5]
Kitchen cabinets are built very well (3/4''), however the pantry system is sub par at best. I will let the pictures do the talking, but the slides and support system for the drawers is weak one drawer has already fallen/broke.
I need to redesign the slide/support system, but am unsure about what is the best way to make this happen.
Firstly, I ordered identical size ball bearing slides, 100# rated with soft close today.
My questions are as follows:
1. What is the best way to fill the gap from the side of the pantry (3/4'' plywood) and the cabinet slide? The distance is 1.875''. Should I just rip some 1.875'' wood and mount in parallel to the slides?
2. How would I mount the wood to the sides of the cabinet? Glue & screw? I have a Domino if that is an option.
3. If glue and screw, what type of glue and screw?
[attachimg=1][attachimg=2][attachimg=3][attachimg=4][attachimg=5]