Benjamin
Member
- Joined
- Oct 25, 2013
- Messages
- 171
Just like JohnymanyB me and a friend wanted to figure out how to improve on his cms fence and add a micro adjust to it,
so this is what we did.
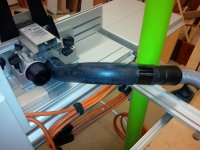
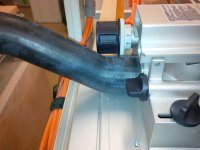
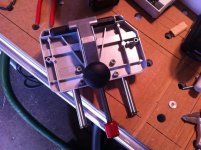
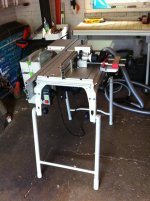
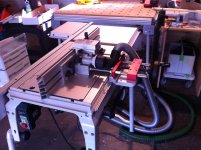
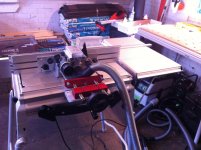
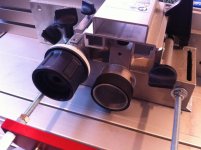
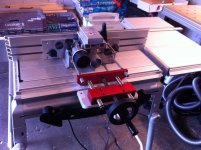
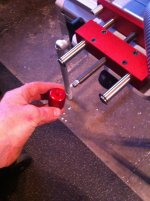
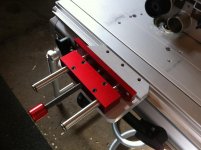
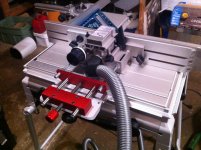
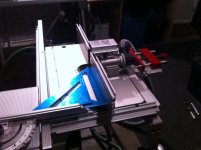
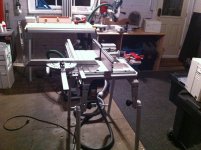
first we wanted to make it very light and simple so we to ordered the Wood pecker micro adjust as it is proportional to the rest of the cms table, rather then the larger possibilities . Next we wanted to be able to install it to the fence in a very short time period or I knew we wouldn't of used it or it would be to bulky to carry around, so we bolted the micro adjust to a festool crown stop . Next was to get around the hose connection at the back of the fence, but a couple weeks ago I figure out you could use a right angle attachment from the new tapered hose that comes with the Midi and attach it to the 36mm hose of the Y connection , and this now makes it possible to push the fence directly from the back of the table.
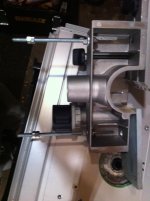
we next attached bolts to the fence that attached to the micro adjust with two nuts and there you go , a pretty simple micro adjust set up that only takes 10 seconds to attach.
and yes if you were wondering the fence is always perfectly square to the sliding table, as the micro adjust is aligned so when you attach the fence to it it puts everything in sq. as the double nuts on each rod makes it possible to do fine adjustments.
( PS you need to flip the wood pecker micro adjust up side down as its not on a T track and this will make it sit flat)
"Update"
since this post we made a few changes that I thought some might find interesting.
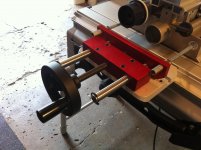
first I wanted to speed up the movement of the fence so I was able to take the knob off the wood pecker micro adjust and expose a 3/8th threading , so then I purchased a 4" hand wheel from Fastenal and attached it. It now moves very smoothly and much quicker back and forth , but also can be used for micro adjusting .
another thing we did ( which I'm guessing every one else has done by now ) is add a bunch more spacers to the festool knobs that holds the fence down, as I hated having to turn the thing 30 times before it was snug, so now with the added spacers it just turns 3 times and the fence is now snug done. (As I'm not promoting doing this for safety reasons ) but with the crown stop holding the fence in place you barley need to have any knobs at all as it almost doesn't move , but I place just one of them in for extra support.
This comes down to the point of moving the fence really fast to switch out cutters and collets, with just 3 turns of one knob and 3 turns of the crown stop you can move the whole fence right out of the way and when your done place the fence back exactly where it was before, and as mentioned before completely square to the sliding miter gauge, so theres less tinkering with the set up every time you have to change something , which can drive you crazy.
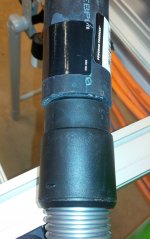
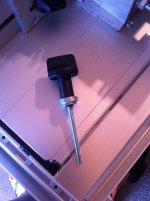
as for the right angle hose connection , the end is 50mm and the port on the fence is probably 45mm on the outside of the aluminum, so i placed a piece of the anti slip track strip around the opening and now the adapter fits nice and snug.
I hope this will be useful to those wanting to improve on there fence, as the table is a dream now that the fence is pleasant to work with.
Attachments
-
 IMG_3823.JPG387.4 KB · Views: 4,293
 -
 IMG_3885.jpg351.3 KB · Views: 3,022
 -
 IMG_3883.JPG378.8 KB · Views: 3,684
 -
 IMG_3876.JPG362.1 KB · Views: 3,453
 -
 IMG_3874.JPG353.3 KB · Views: 2,438
 -
 IMG_3870.JPG374.9 KB · Views: 2,990
 -
 IMG_3872.jpg395.4 KB · Views: 2,199
 -
 IMG_3867.JPG349.6 KB · Views: 2,952
 -
 IMG_3837.jpg403.7 KB · Views: 2,843
 -
 IMG_3822.JPG261.6 KB · Views: 4,207
 -
 IMG_3825.jpg301.4 KB · Views: 3,674
 -
 IMG_3826.JPG411 KB · Views: 4,598
 -
 IMG_3827.JPG263.3 KB · Views: 3,514
 -
 IMG_3834.JPG392.7 KB · Views: 3,299

