Cheese
Member
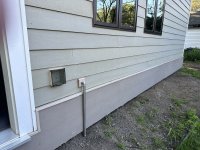
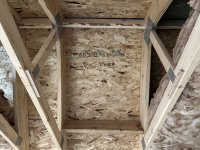
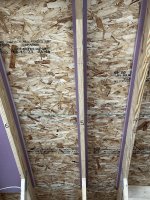
I previously mentioned some subfloor sponginess across the 30" spacing for the skylight trusses. My solution was to reinforce the middle of the floor panel with a 2x4 on edge, screwed & glued, using PL400. For the joined edges of the subfloor where the T&G engages, I used a 2x4 on the flat, again screwed & glued. This has really made the floor more solid to the extent that it now feels more solid than the 24" spans. [tongue] Will this ever end? [smile]
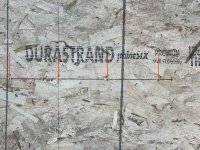
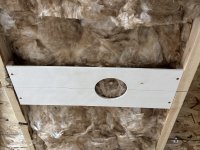
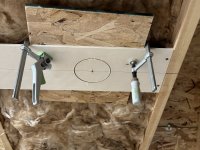
Here's a shot of the middle of the DuraStrand panel with the 2x set on the edge. 5 each #10 x 3-1/2" GRK screws spaced 6" apart and 3" from each truss edge.
[attachimg=1]
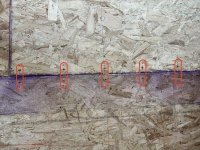
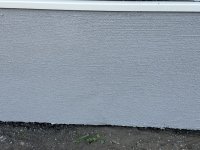
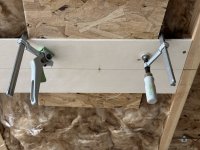
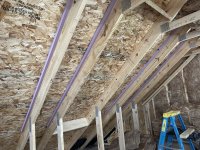
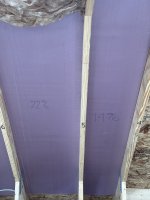
Here's a shot of the T&G joint with the 2x set on the flat. 10 each #10 x 2" GRK screws spaced as above and on each side of the T&G joint.
[attachimg=2]
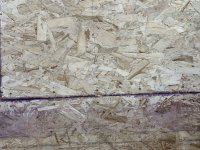
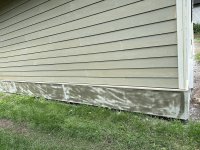
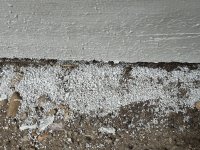
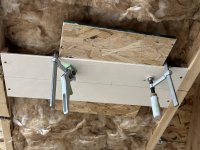
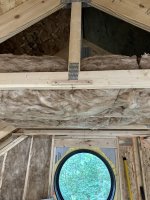
Here's a shot of the very same area after I used the Planex with 120 grit Granat to level the T&G joint. The Planex was used while standing up, so easy to do, what a pleasure. I normally feather the joined edges with a heavy Milwaukee 4" belt sander while on my hands & knees and with marginal dust extraction. [sad]
[attachimg=3]
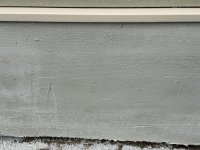
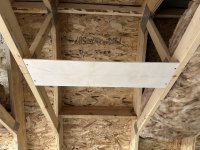
[attachimg=4]
Here's a shot of the middle of the DuraStrand panel with the 2x set on the edge. 5 each #10 x 3-1/2" GRK screws spaced 6" apart and 3" from each truss edge.
[attachimg=1]
Here's a shot of the T&G joint with the 2x set on the flat. 10 each #10 x 2" GRK screws spaced as above and on each side of the T&G joint.
[attachimg=2]
Here's a shot of the very same area after I used the Planex with 120 grit Granat to level the T&G joint. The Planex was used while standing up, so easy to do, what a pleasure. I normally feather the joined edges with a heavy Milwaukee 4" belt sander while on my hands & knees and with marginal dust extraction. [sad]
[attachimg=3]
[attachimg=4]