Jesse Hughes
Member
- Joined
- May 11, 2013
- Messages
- 12
This is an entertainment center build I just finished. The cabinet is made from maple that has been dyed with India ink, and the top is walnut, finished with Danish oil and after that cured, coated with lacquer. To finish off the area, my wife and I purchased some reclaimed barn wood and beam. I am going to try and attach quite a few pictures but I have not posted for a while so I apologize it I do it wrong. This was my first attempt at a cabinet of any type so any advice for the next time would be appreciated. Thanks for looking.
Attachments
-
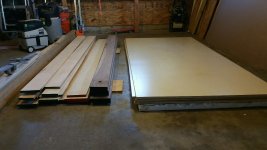 image.jpeg336.9 KB · Views: 498
 -
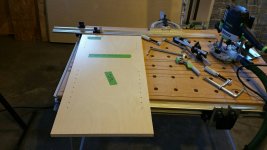 image.jpeg316.3 KB · Views: 481
 -
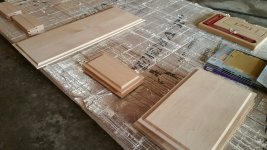 image.jpeg435.5 KB · Views: 454
 -
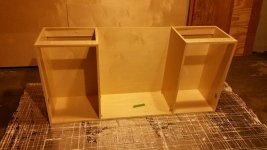 image.jpeg386.2 KB · Views: 538
 -
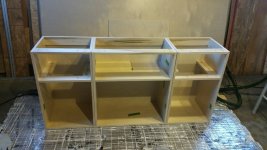 image.jpeg383.8 KB · Views: 551
 -
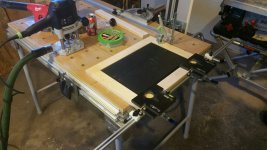 image.jpeg381 KB · Views: 486
 -
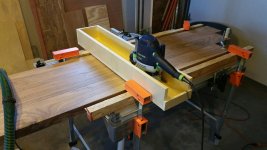 image.jpeg359.2 KB · Views: 489
 -
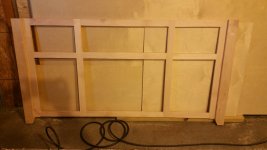 image.jpeg312.4 KB · Views: 497
 -
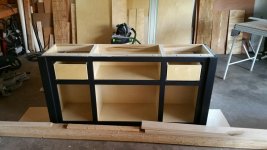 image.jpeg367.5 KB · Views: 552
 -
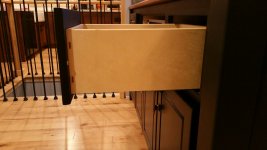 image.jpeg297.2 KB · Views: 483
 -
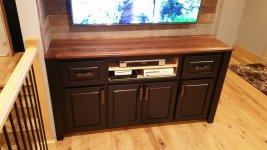 image.jpeg360.8 KB · Views: 601
 -
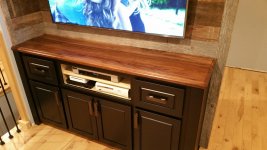 image.jpeg381.1 KB · Views: 585
 -
 image.jpeg432.1 KB · Views: 540
 -
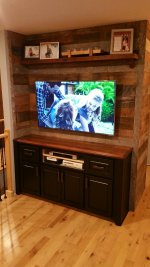 image.jpeg387.7 KB · Views: 1,005

