Rutabagared
Member
- Joined
- Jan 27, 2008
- Messages
- 296


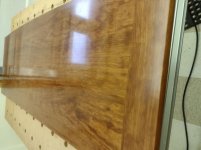
Richard/RMW said:Beautiful piece Matt, destined to become a family heirloom. Nice work.
RMW
DynaGlide said:Next project is going to be the Wood Whisperer Hybrid workbench with a Benchcrafted leg vise. I've gotten the itch to integrate hand tools more into my workflow and want to make myself a solid bench. I'll be leaning on my neighbor to assist with squaring up the lumber for that.
Matt

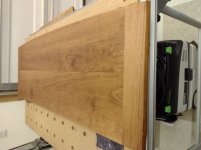
DynaGlide said:It has a little give in the middle when sitting on it.