Hi All,
Long-time lurker here, but today I thought I'd actually register and share something that I 3d printed that might be of use. I did not see anything quite like this in the forums or online, so apologies if it has already been discussed/made.
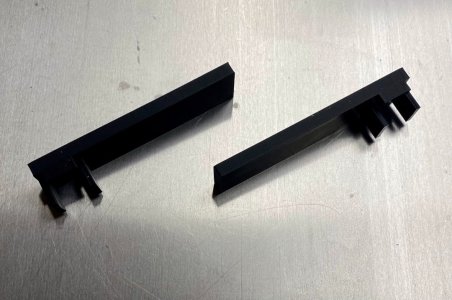
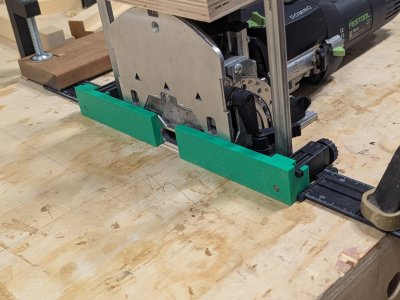
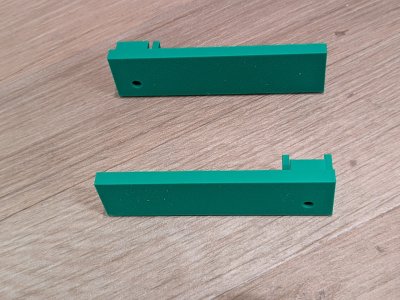
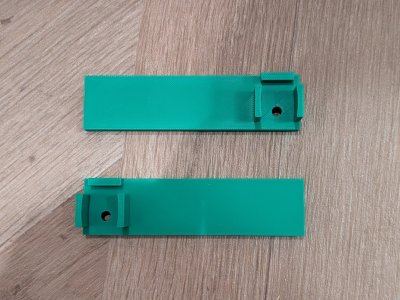
I 3d printed these attachments, which connect securely to the Festool domino cross stop system (498590). They project the spacing offset directly from the cross stop to the workpiece. The two sides are identically matched, so it is easy to achieve exact offsets on both left- and right-sided workpieces by setting the left and right cross stops to the same offset distance. No need to re-measure every piece and deal with pencil lines and hand-eye centering. Another advantage is that one can record the offsets of each mortise position and come back at a later time to cut additional pieces that will still fit together seamlessly.
I used these to position and cut 60 mortises for a set of shoji frames that I'm constructing. Each joint had either double or triple tenons of different sizes, so exactness was essential. The frames came together the first time without any screw-ups (which is a first for me), and I give credit entirely to these attachments.
Anyway, I've posted the plans here on MakerWorld. I hope someone else finds them useful!
Long-time lurker here, but today I thought I'd actually register and share something that I 3d printed that might be of use. I did not see anything quite like this in the forums or online, so apologies if it has already been discussed/made.
I 3d printed these attachments, which connect securely to the Festool domino cross stop system (498590). They project the spacing offset directly from the cross stop to the workpiece. The two sides are identically matched, so it is easy to achieve exact offsets on both left- and right-sided workpieces by setting the left and right cross stops to the same offset distance. No need to re-measure every piece and deal with pencil lines and hand-eye centering. Another advantage is that one can record the offsets of each mortise position and come back at a later time to cut additional pieces that will still fit together seamlessly.
I used these to position and cut 60 mortises for a set of shoji frames that I'm constructing. Each joint had either double or triple tenons of different sizes, so exactness was essential. The frames came together the first time without any screw-ups (which is a first for me), and I give credit entirely to these attachments.
Anyway, I've posted the plans here on MakerWorld. I hope someone else finds them useful!
") need an example
need an example