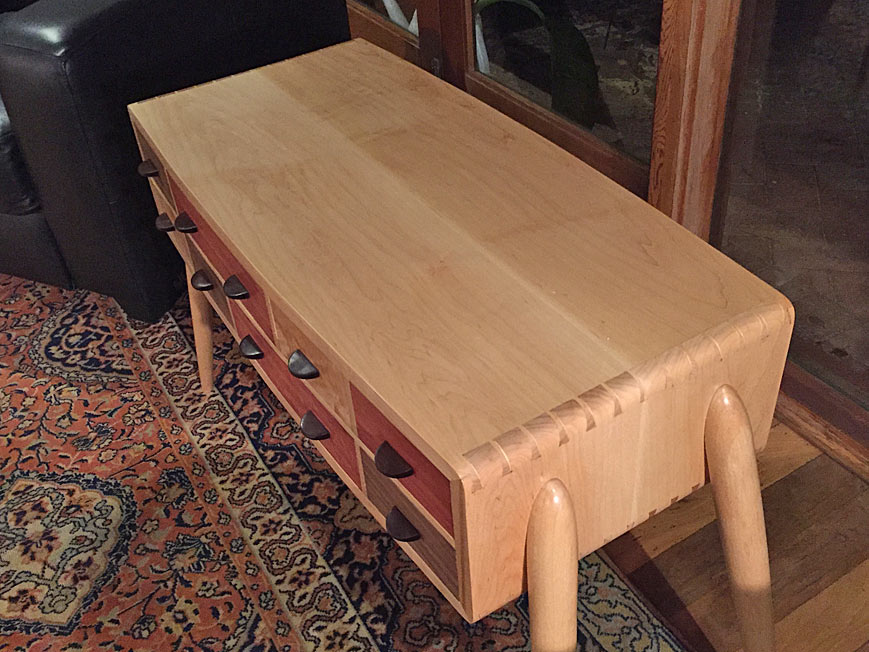
Harlequin side table

Wow! Just discovered this thread. What beautiful design and fantastic craftsmanship. Thanks you for all the posts and photos of this build, I've really enjoyed reading this and I've definitely picked up a couple of tips. Very jealous of some of your tools too :)

Thanks for posting Derek!
 
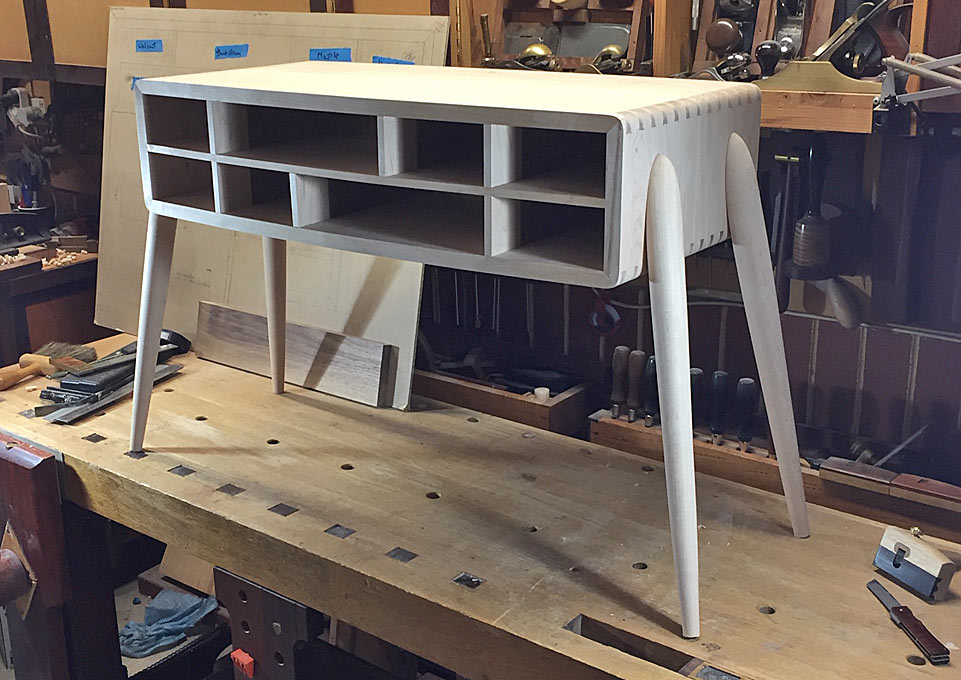
I like the concept, but there is something about the top curves of the legs that bothers me. I think those shoulders should be more pronounced, more bulging — that way the legs would appear to ‘press thru’ the cabinet in a solid curve that would connect each one to the one on the other side. (Hope you understand what I mean).

Execution flawless, as always!
 
No problem, Bert. My designs are likely to both bother and (hopefully) delight someone. Fortunately my wife likes it.:)

Regards from Perth

Derek
 
A frustrating Sunday: I began installing the horizontal divider/drawer blade, and my spatial confusion (or lack of concentration) kicked in. In went the divider ... upside down! Well, fortunately it jammed half-way and could not be glued in ...

Knocking it out, however, caused the rear section of the panel (it is made of three boards) to break off. It was glued back again, but the panel needed to dry before starting again, and so I lost my Sunday afternoon. This table is destined for the Perth Wood Show at the start of August, and I am already battling with time as weekends are generally all that are available for woodworking.

Fortunately, I had this afternoon (Monday) off from my practice, and had a couple of hours to try and catch up a little.

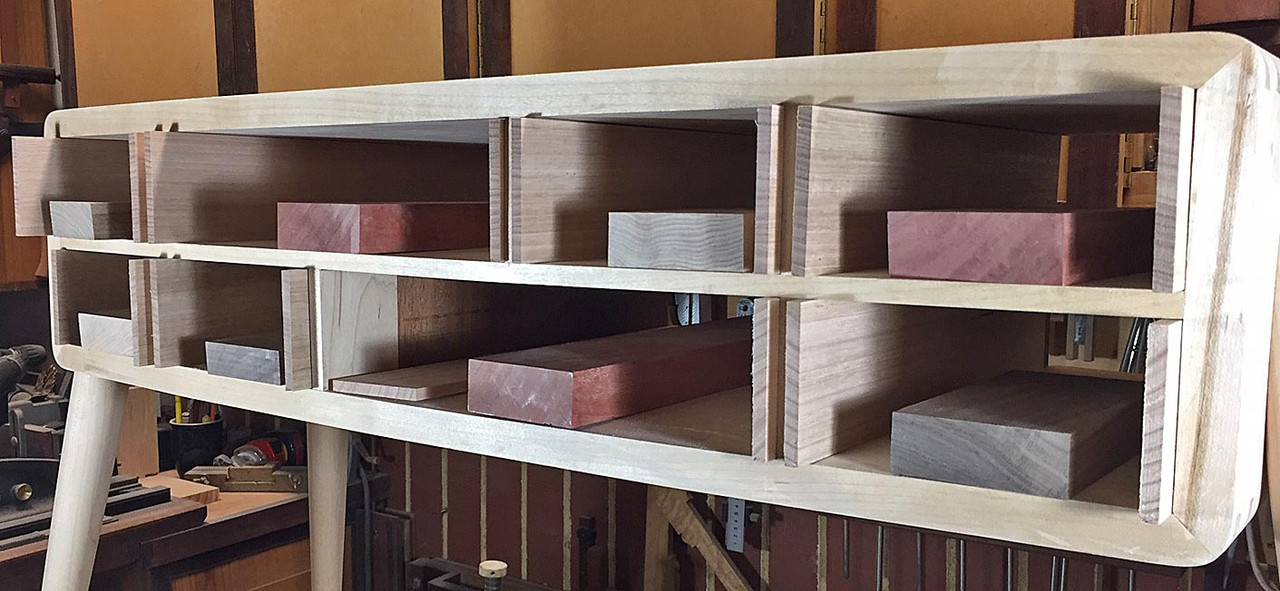
The glue dried, and the panel was fine. It was sanded to 240 grit, and then installed. Ditto the side dividers. All went smoothly ... all lined up and everything is square. Clearly I have been a good boy :)

Dividers.jpg


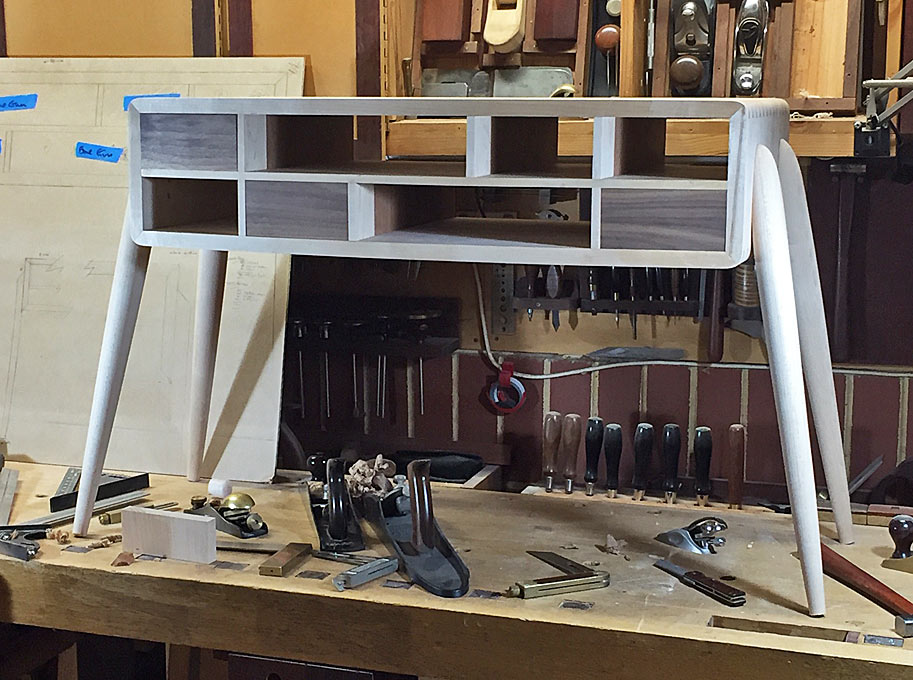
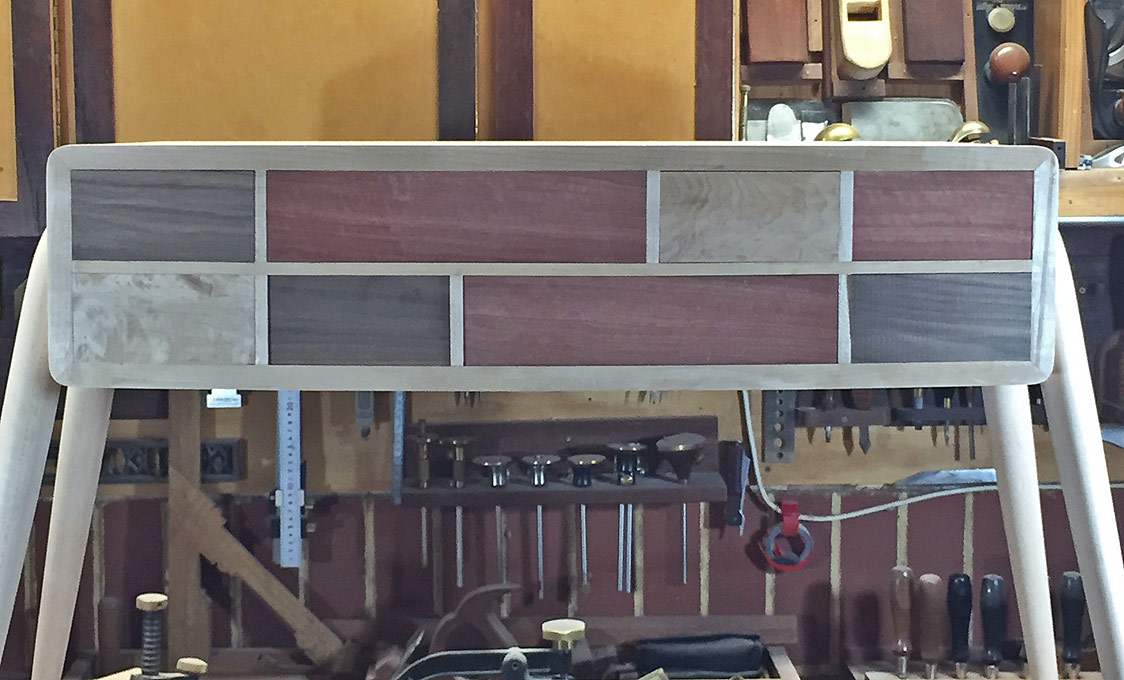
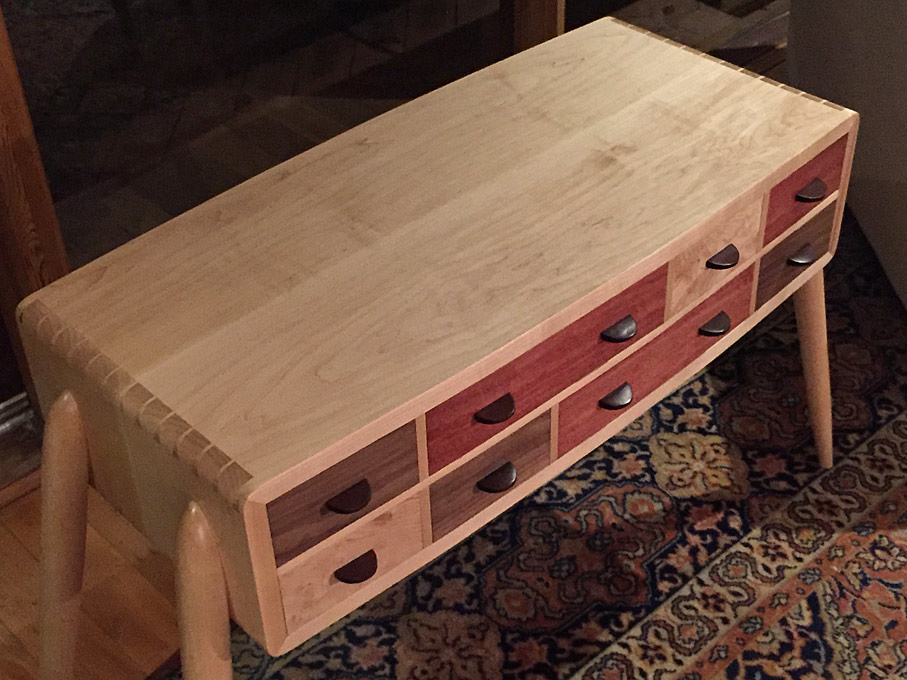
The reason why the table is termed "Harlequin" is that the drawers will be a mix of different timbers: Black Walnut (x3), Figured Hard Maple (x2) (both from the USA), and Tasmanian Blue Gum (x3) (which is local, of course).

The drawer fronts all curve, and I spent the last part of the afternoon cutting out the Walnut blanks. This will will give you an idea of the effect ..

First-drawer-fronts.jpg


Unless someone is interested in a walk through in dovetailing on the curve (which I have posted here previously), the next images will be the completed table.

Regards from Perth

Derek

 
The design of the legs makes this table look simultaneously futuristic and mid-century modern.  Awesome aesthetic!
 
I was planning to next post with the completed Harlequin Side table, however it has been two steps forward and one back. Selecting the drawer fronts .. well, I've cut and recut them a few times, and only now satisfied with the result. It is no small deal each time since a drawer front has to be fitted into a recess that is shaped like a parallelogram. And if the fit is not good enough ... well, a few would-be drawer fronts were discarded.

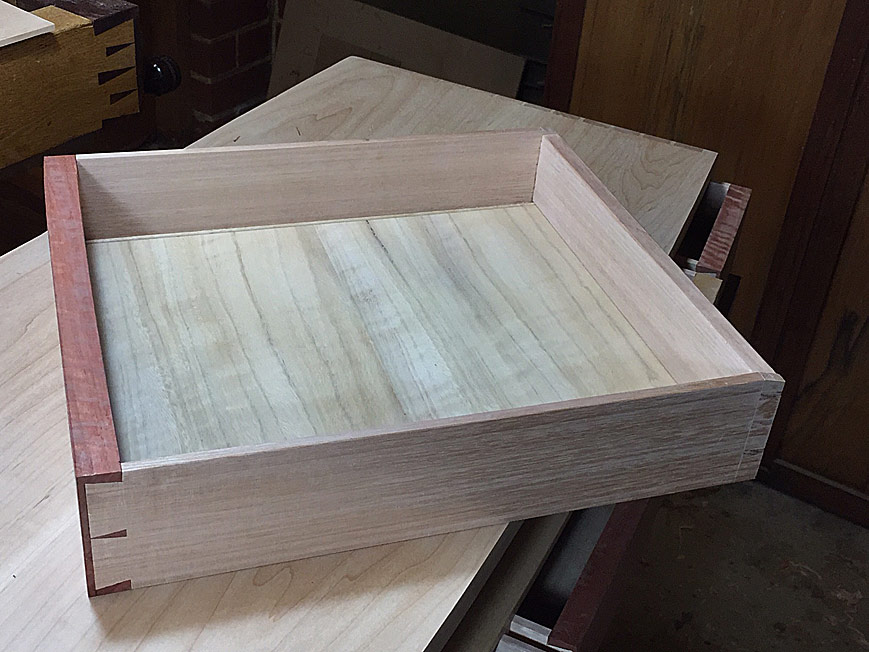
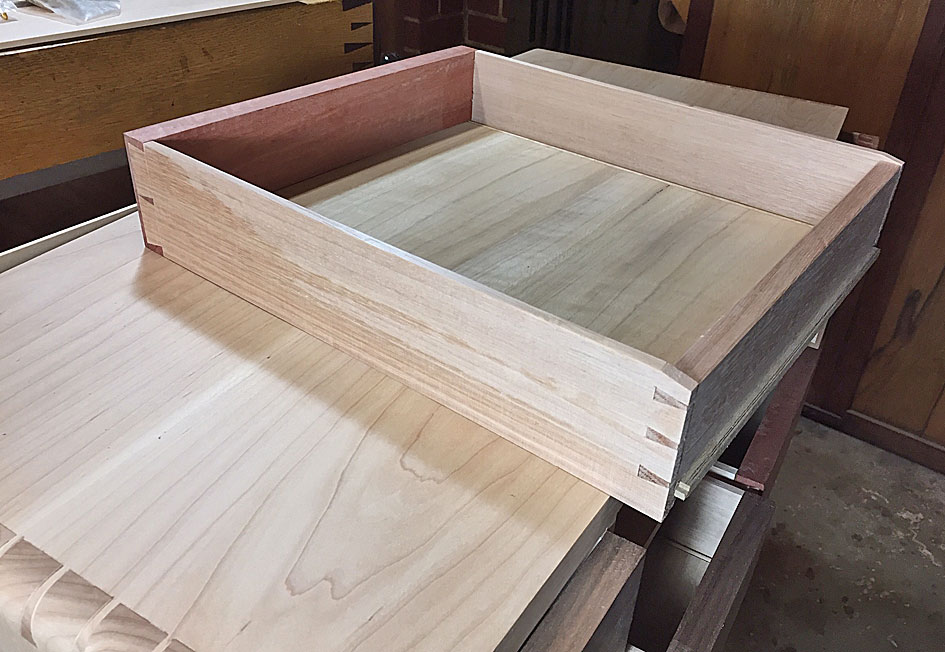
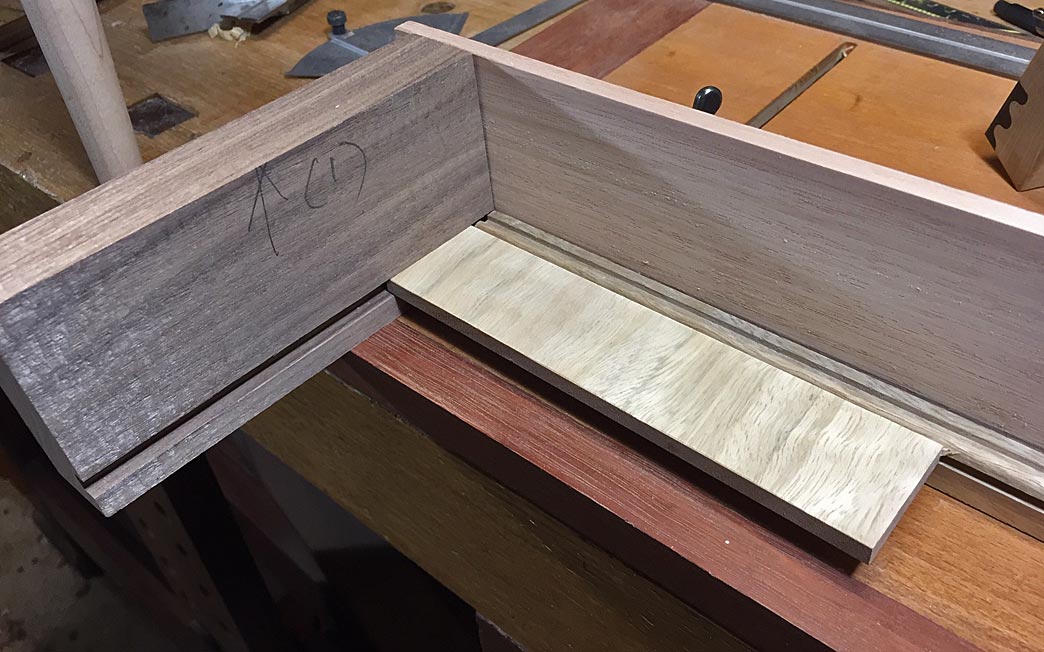
What parts are needed? Well, the drawer sides are 1/4" thick - too thin for grooves, so there will be slips to support the drawer bottom.

The drawer sides are Tasmanian Oak, which I use frequently, as it is a light wood that allows the drawer fronts to be shown to their best, and it is available quarter sawn. The drawer back will also be Tassie Oak.

The drawer bottoms are solid wood and 1/4" thick. Rather than use Tasmanian Oak, I thought I would add a little life with Tasmanian Blue Gum. It is quite similar is texture and tone (although the photos here do not show this), but has more figure.

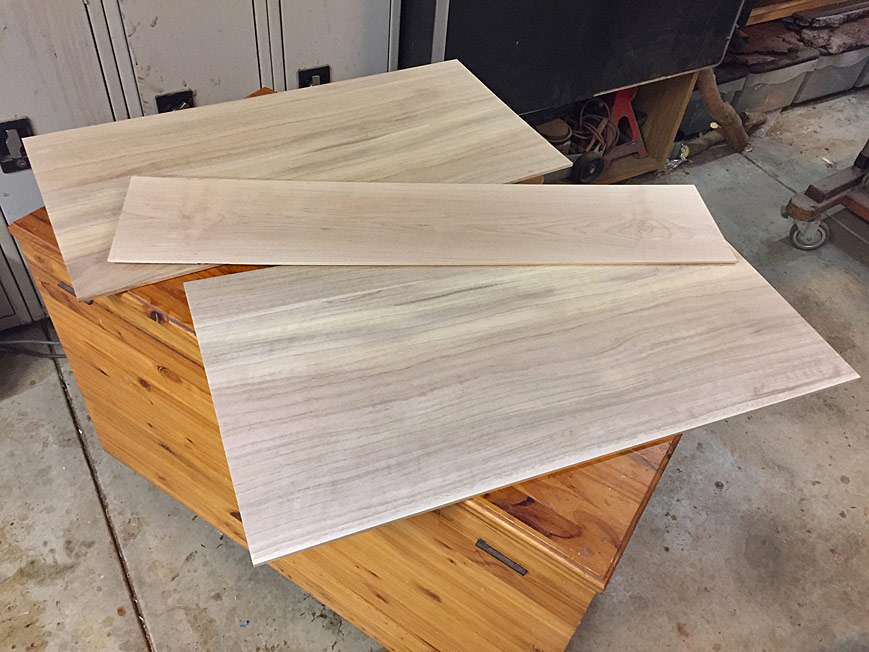
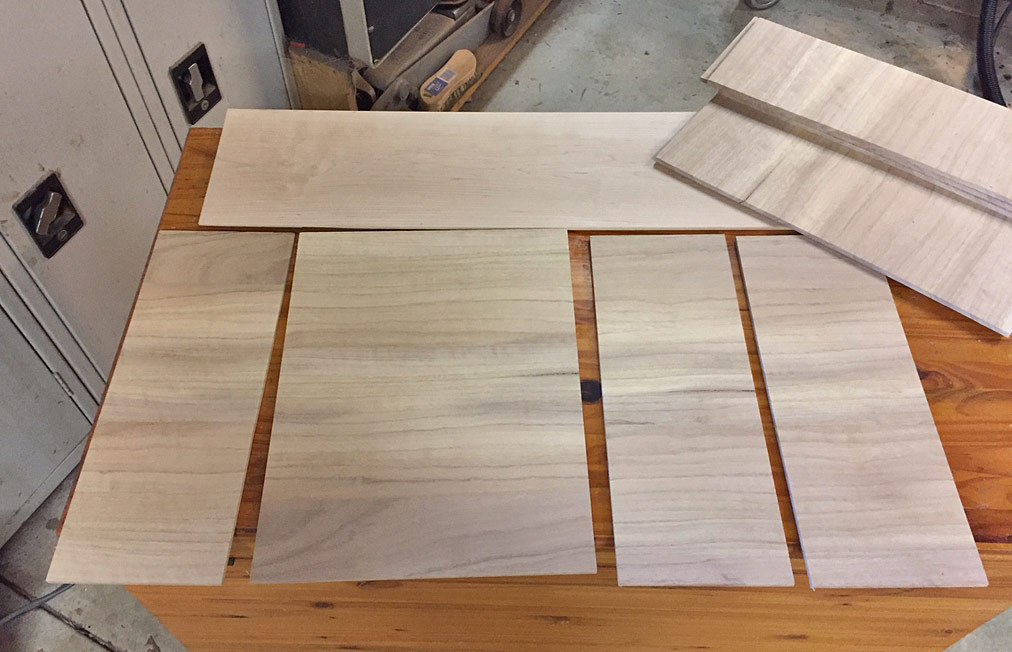
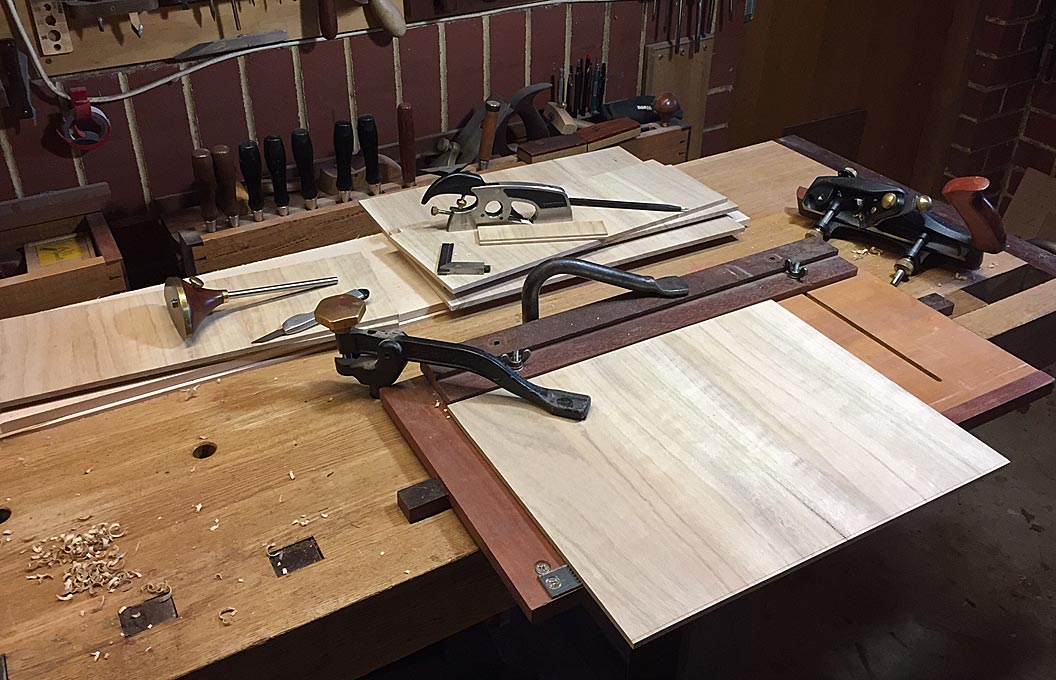
Enough here for 8 drawers ...

prep3.jpg


Drawer sides and drawer fronts ...

prep2.jpg


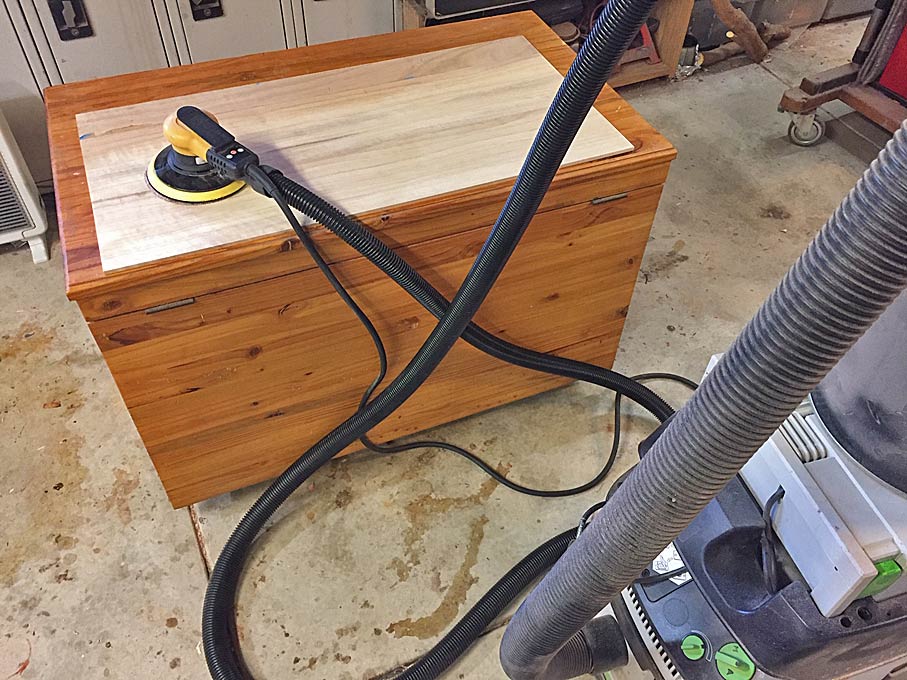
Great sander ... Mirka Ceros ...

prep4.jpg


These will be the drawer bottoms. The board in the centre is the Hard Maple case back ...

prep5.jpg


Do you think anyone will notice that the drawer bottoms run sequentially? :)

prep6.jpg


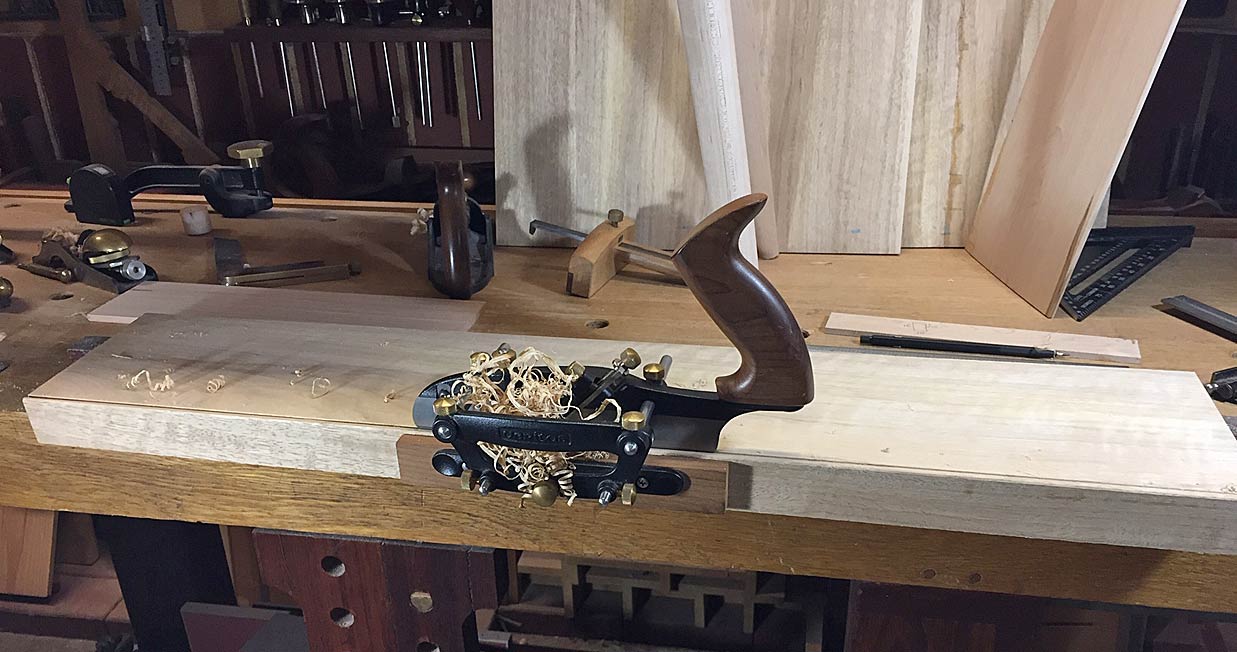
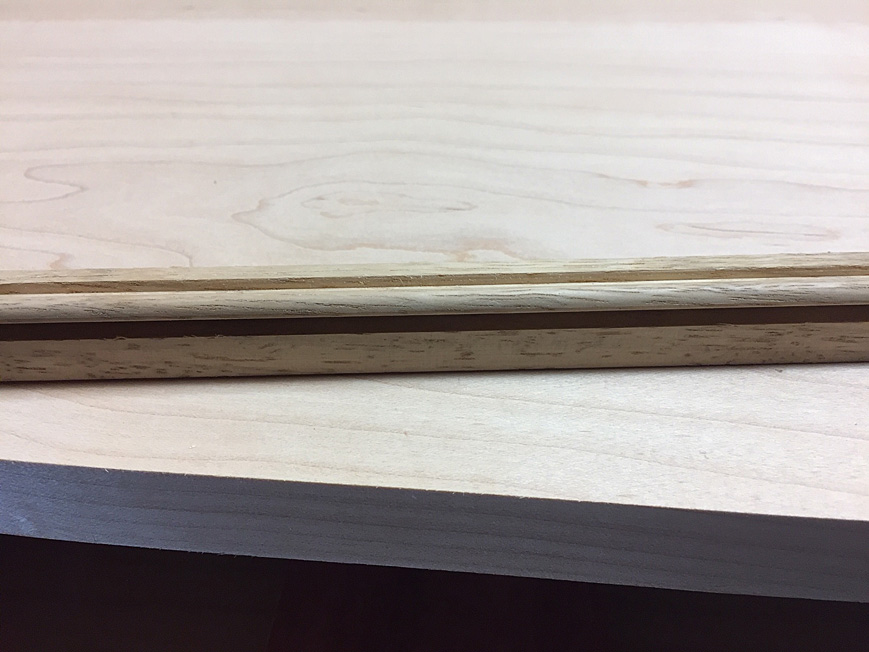
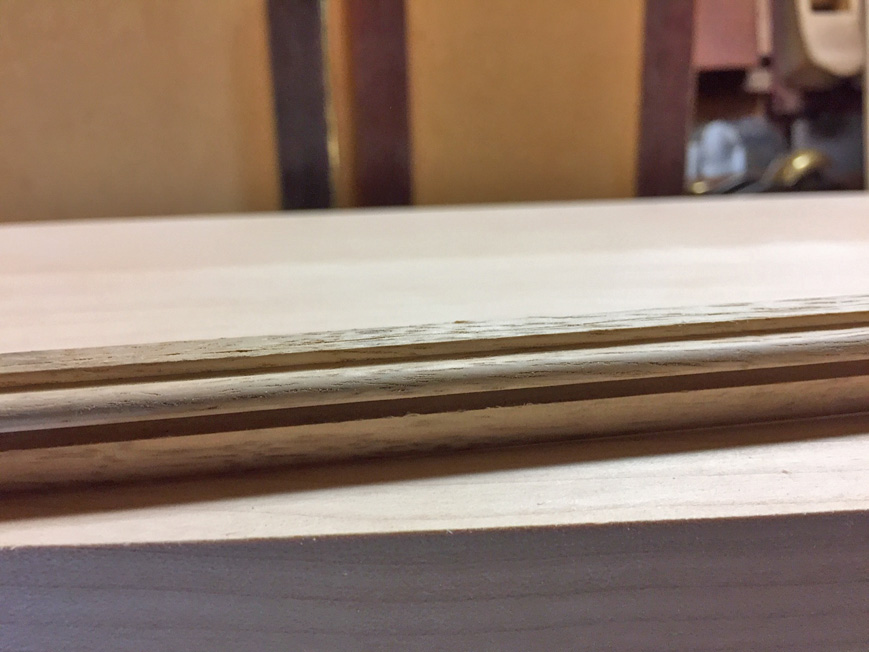
The making of the drawer slips may have some interest. I used Tasmanian Blue Gum (because it links to the drawer bottoms). This is quite interlocked and any planing with a plough to form either grooves or beads would be expected to end unhappily, with much tearout. I have posted this tip before: add a 15 degree backbevel to all plough blades to create a high 60 degree cutting angle.

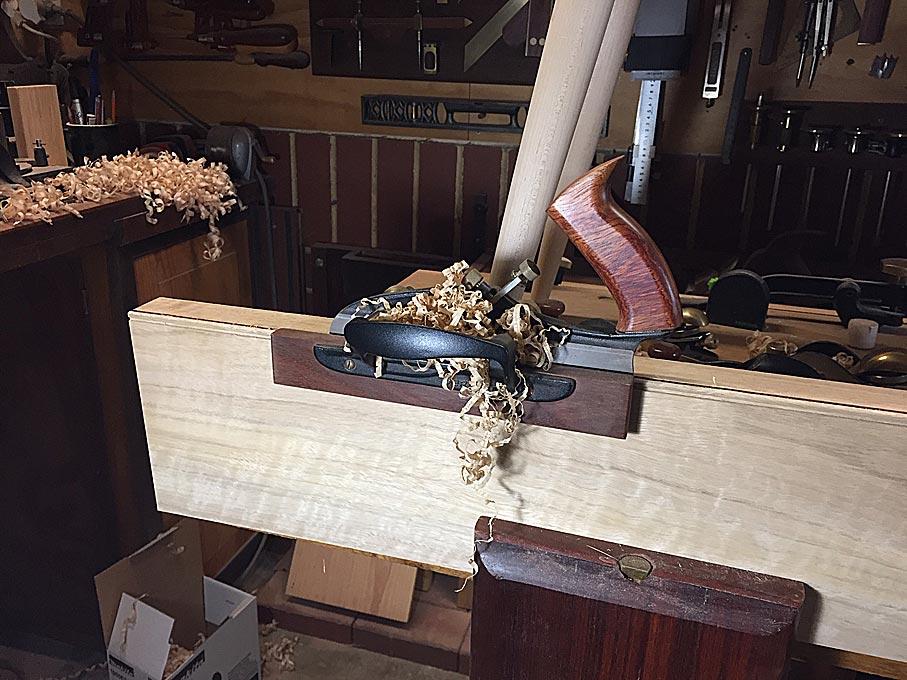
The 3/16" beads were ploughed with the Veritas Combination Plane ...

slip8.jpg


Brilliant finish ...

slip1.jpg


... and a 1/8" groove for the rebate in the drawer bottom was ploughed by the Veritas Small Plow ...

slip5.jpg


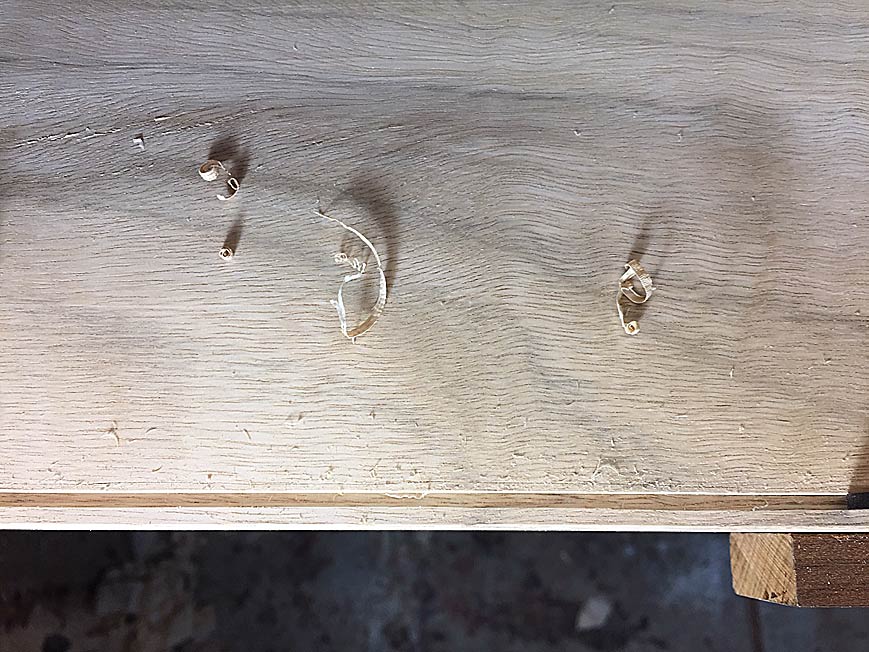
Again, tearout free ...

slip6.jpg


slip2.jpg


This is a mock up of the intersection of the drawer front (back), drawer side into drawer slip and against a drawer side ...

prep1.jpg


Note that the drawer front is straight/flat at this stage but, once dovetailed, they will be shaped to curve along the bow front of the case.

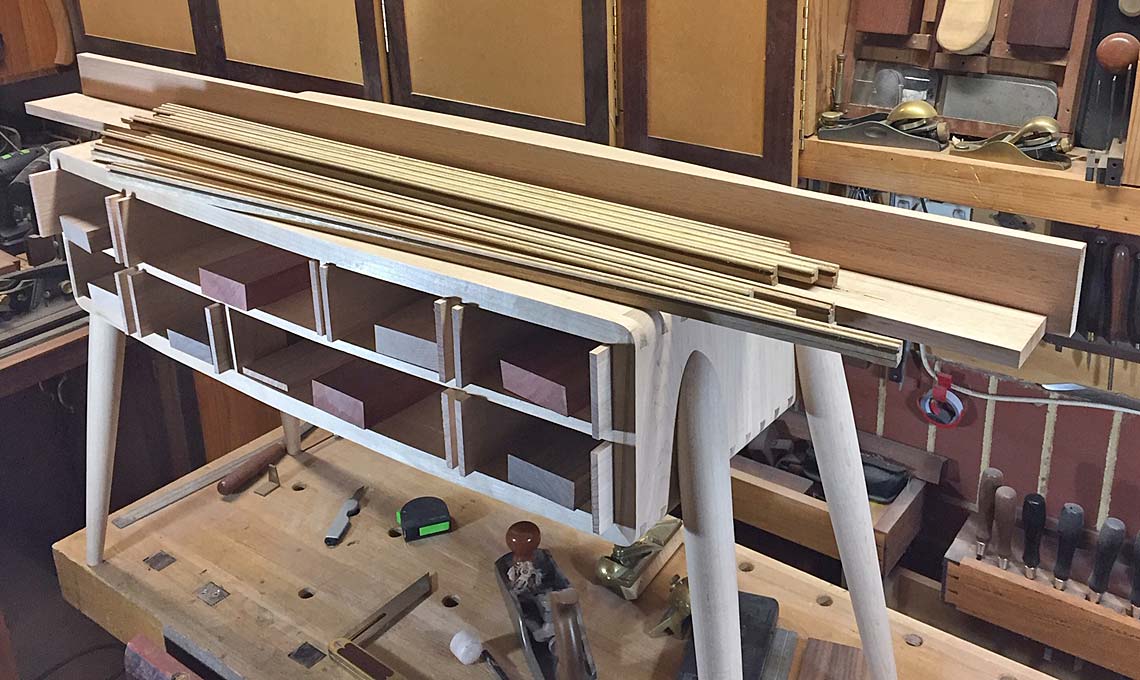
These are the timbers I have chosen for the drawer fronts. This is what gives the side table the harlequin name. Three timbers: Black Walnut, a pink Jarrah, and figured Hard Maple. Keep in mind that there is no finish at this stage ...

prep7.jpg


prep8.jpg


Next time hopefully with everything completed.

Regards from Perth

Derek

 
I am in the process of completing the Harlequin Table. I will post the finished piece in a couple of days. Here are a few pictures of making the drawer bottoms for the slips, which may interest a few.

Bill was not enamoured with the slips as they has this ruddy great groove down one side. That was a too-wide quirk from the beading blade. Not to worry Bill, I cut that section away, leaving just the bead.

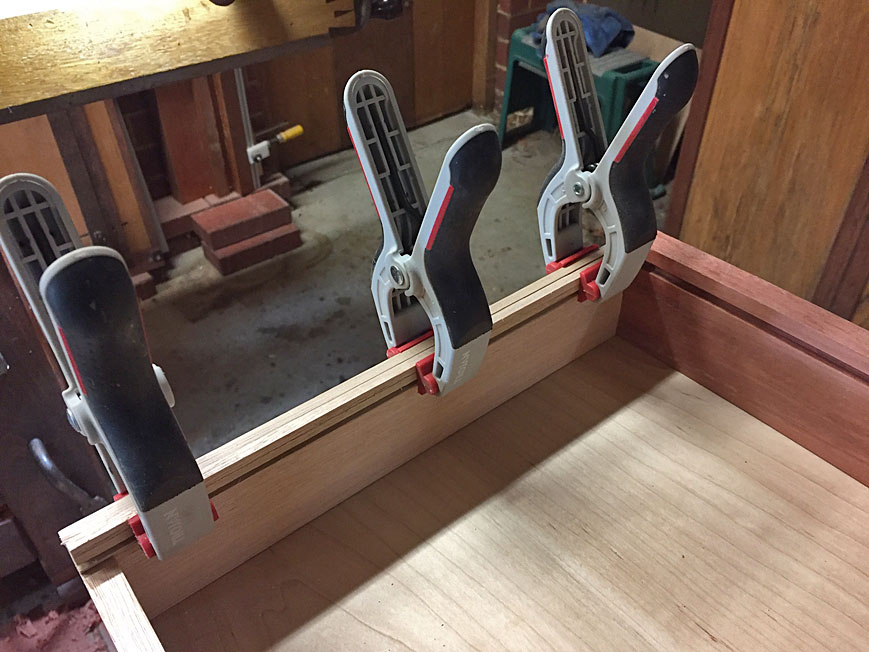
Here are the slips being glued in ...

Slips1.jpg


Slips2.jpg


The drawer slips and bottoms are Tasmanian Blue Gum. The drawer sides are Tasmanian Oak. Both are 1/4" thick.

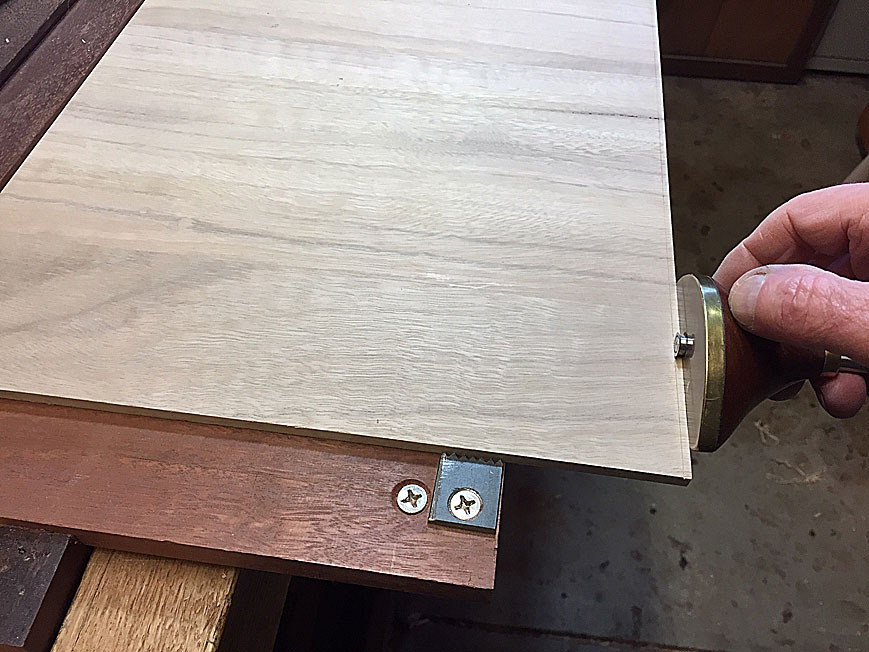
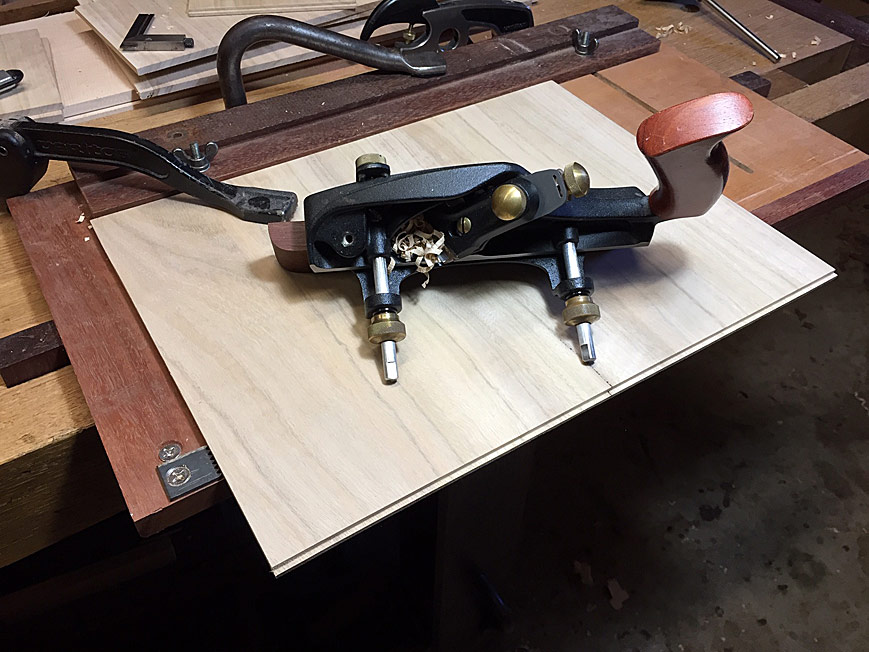
The groove in the slip is 1/8" (3mm). The slip requires a matching 1/8" rebate. This was planed with a skew rebate plane on a sticking board ...

DrawerB1.jpg


Although the plane has a nicker, I always scribe the line as well ...

DrawerB2.jpg


It is worth the effort to set up the rebate plane for a precise cut ...

DrawerB3.jpg


Once the one side is done, slide the tongue into the groove of the slip, and mark off the width of the drawer bottom ...

DrawerB4.jpg


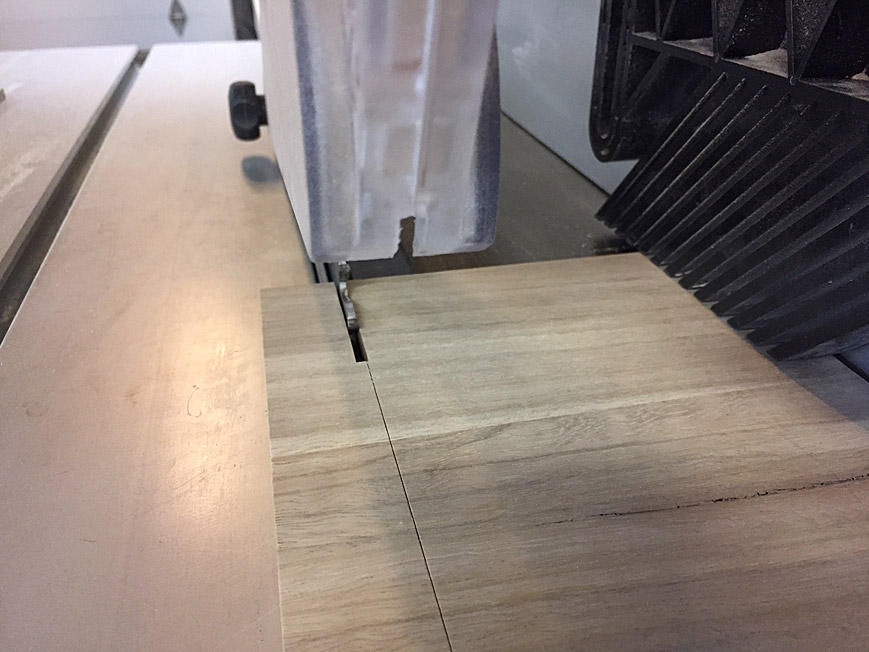
Then saw to width ...

Drawer-B4-1.jpg


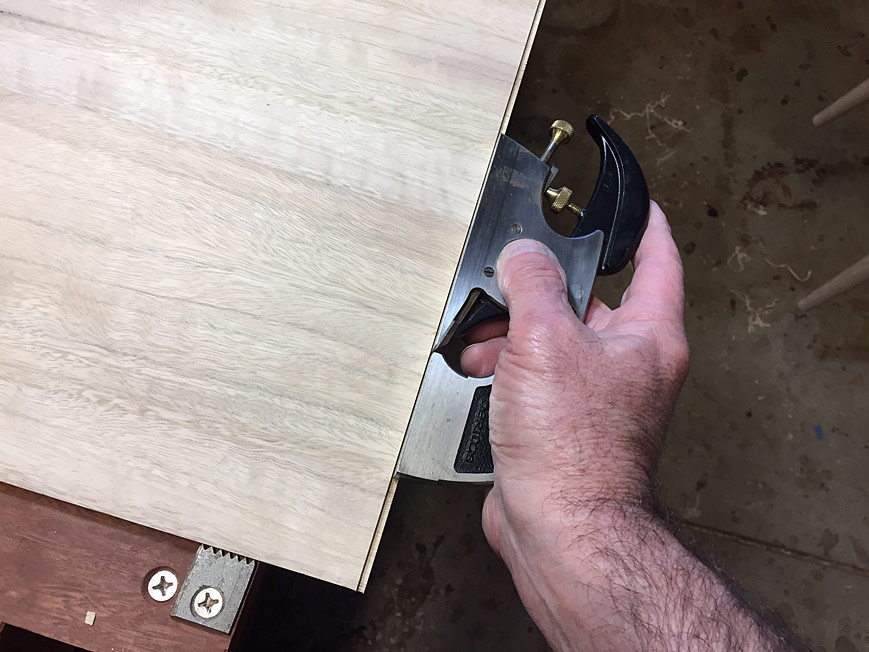
Any fine tuning is done with a shoulder plane ...

DrawerB5.jpg


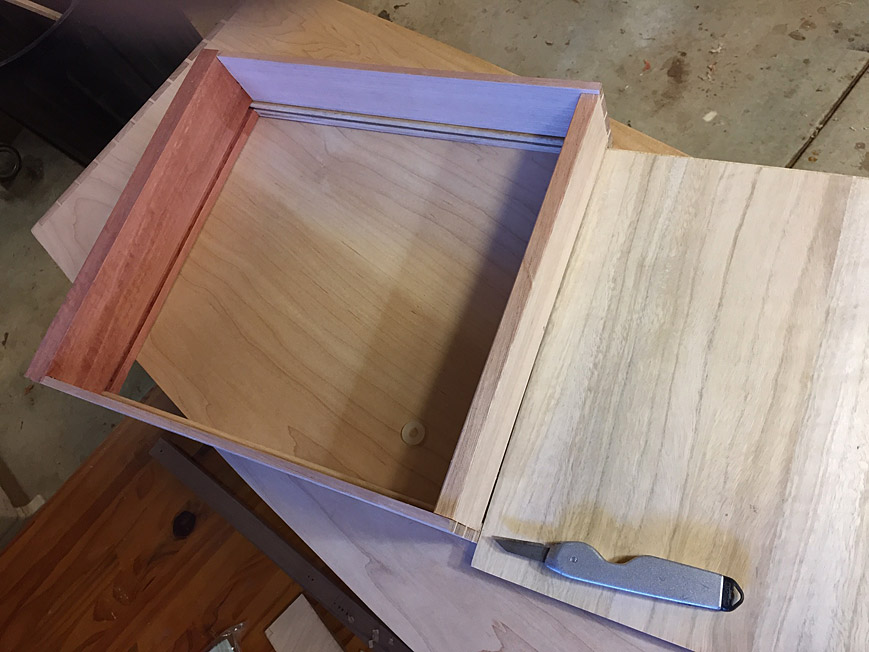
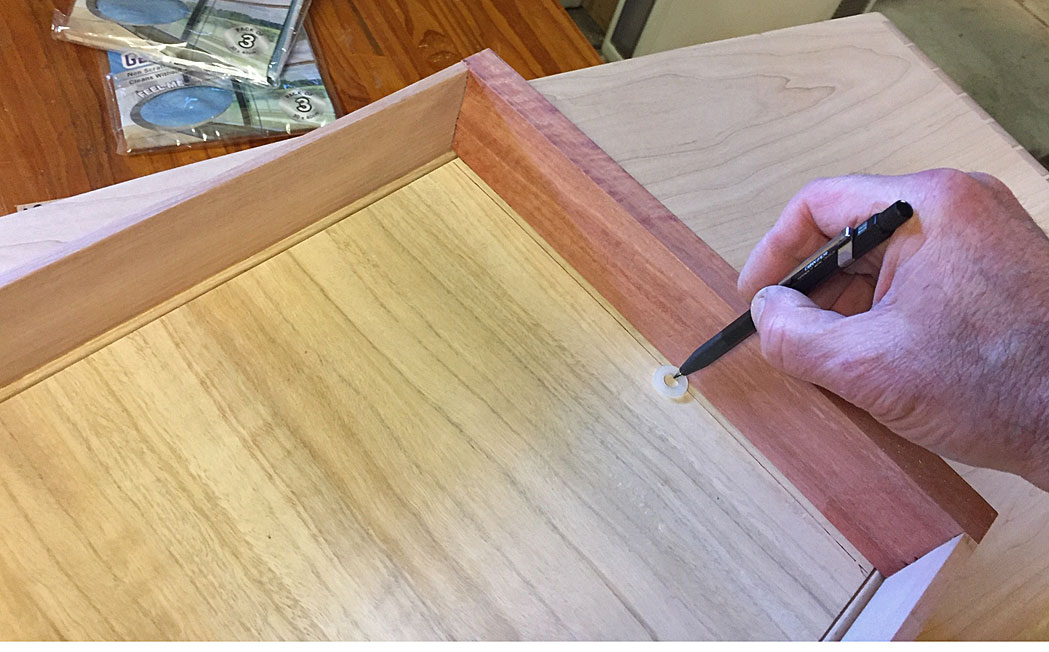
The drawer fronts are all curved, and the drawer bottom must be scribed to match this ...

DRawerB6.jpg


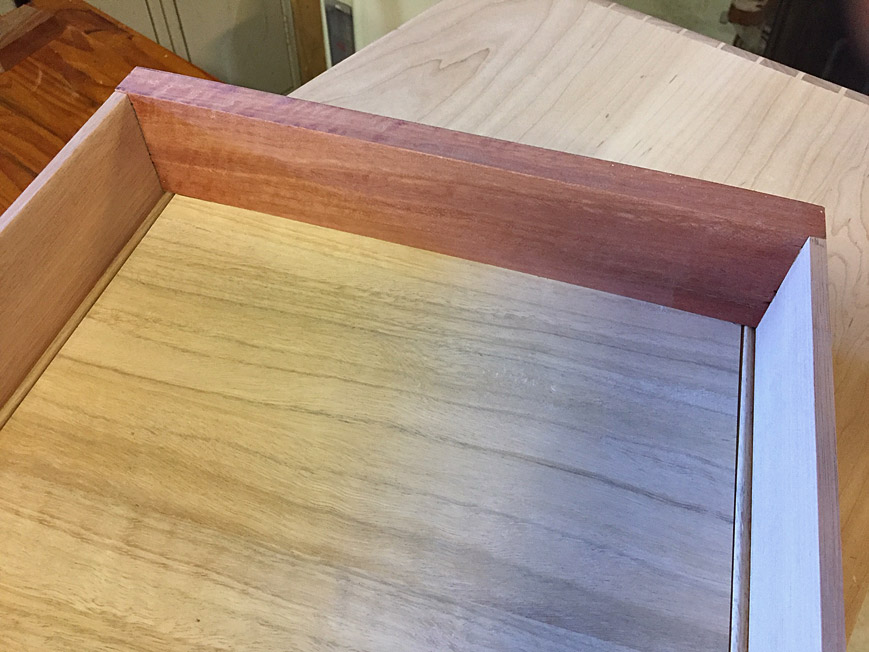
Here is the fit behind the front of the drawer, and the match with the beaded slips ...

DrawerB7.jpg


The rear of the drawer, with the added bearing surface from the slips ...

DrawerB8.jpg


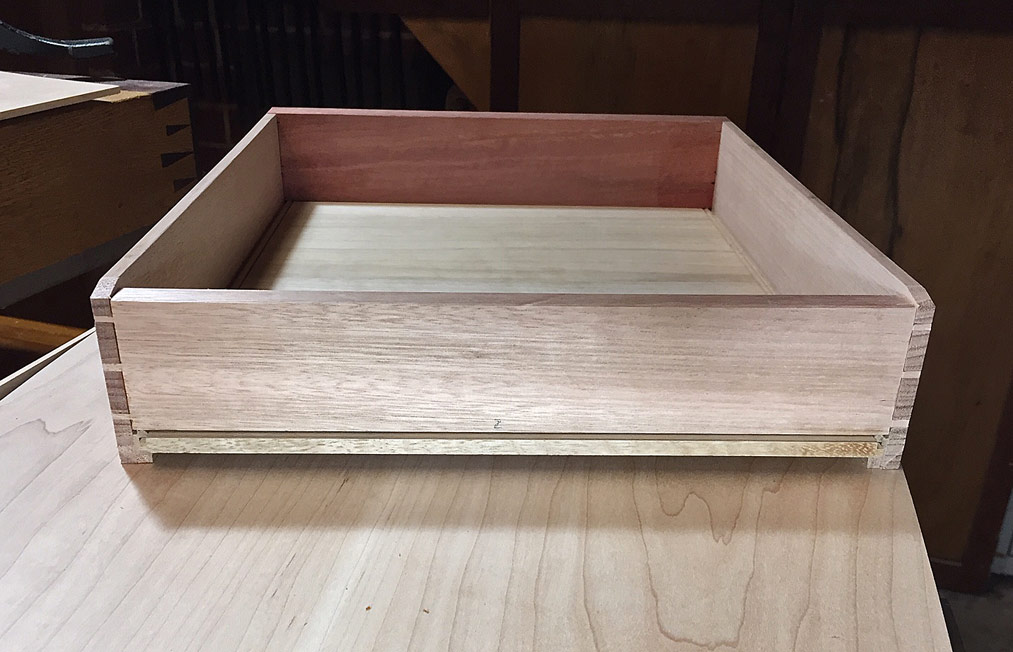
The profile of the drawer sides ...

DrawerB9.jpg


Drawer-B10.jpg


Until the final pics ...

Regards from Perth

Derek
 
Doubtful I will ever reach that skill level. But you made me something to aim for. Thanks! [big grin]

Absolutely stunning. Kudos to you sir. 

Sent from my X using Tapatalk
 
FINAL PICTURES

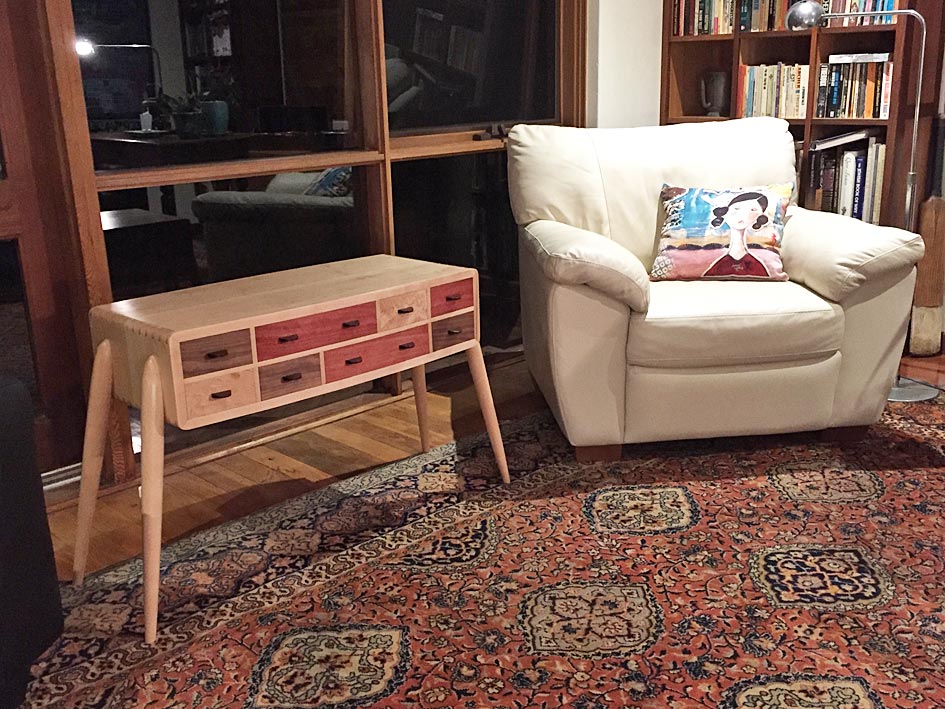
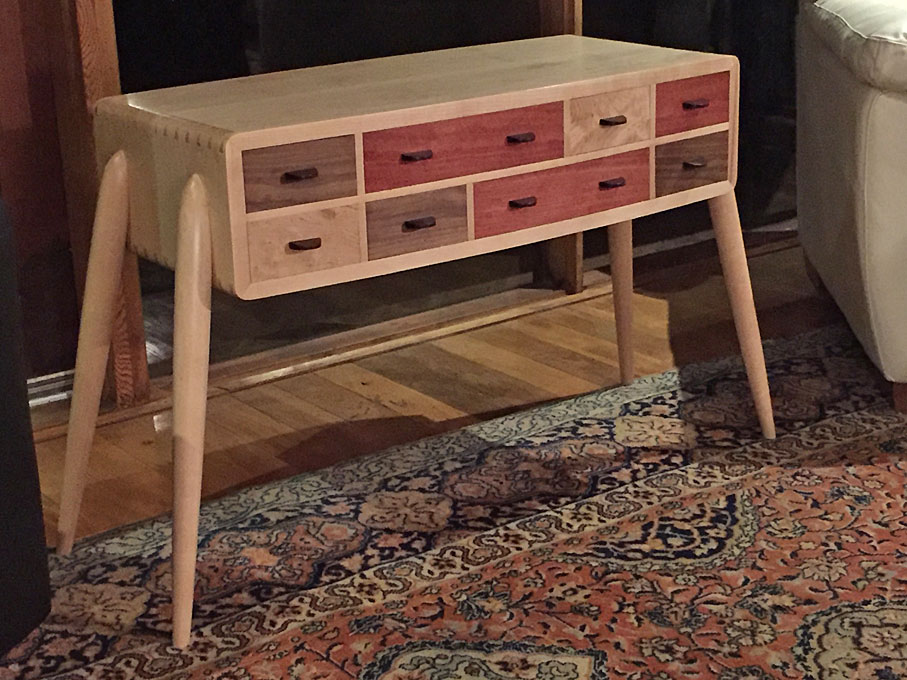
We are done building the side table. Here are pictures (taken with my iPhone6).

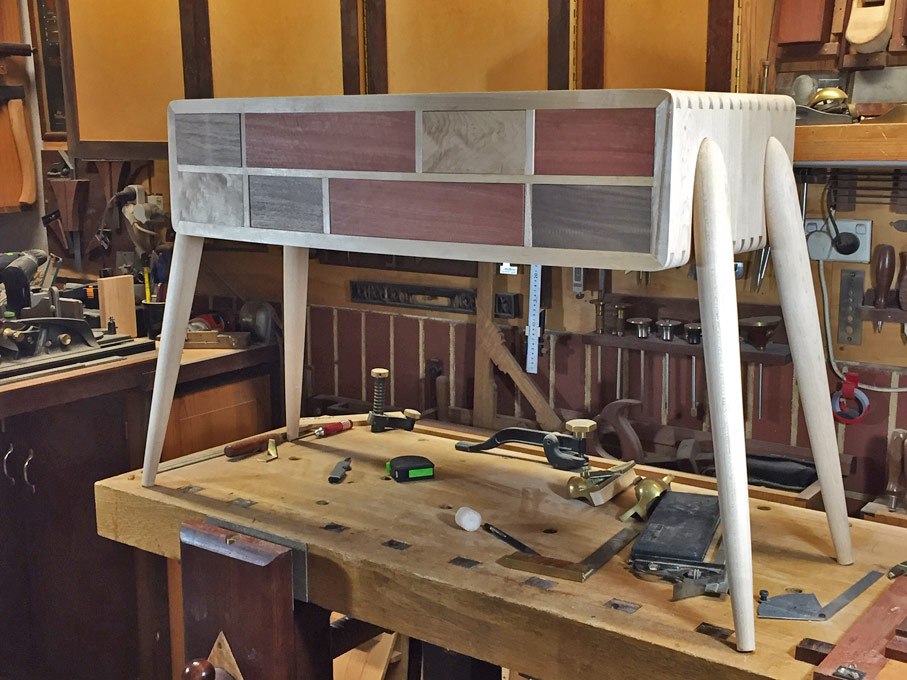
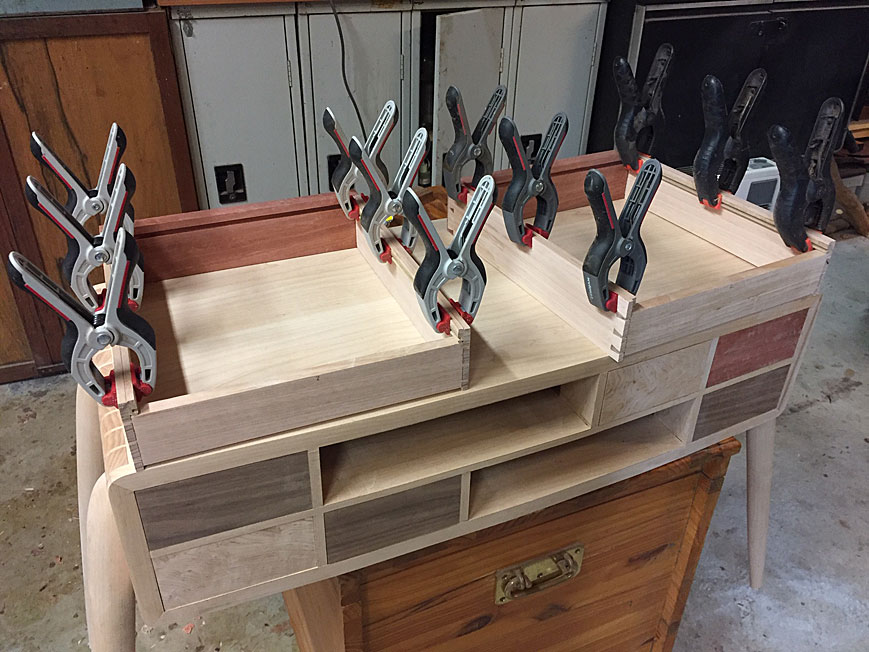
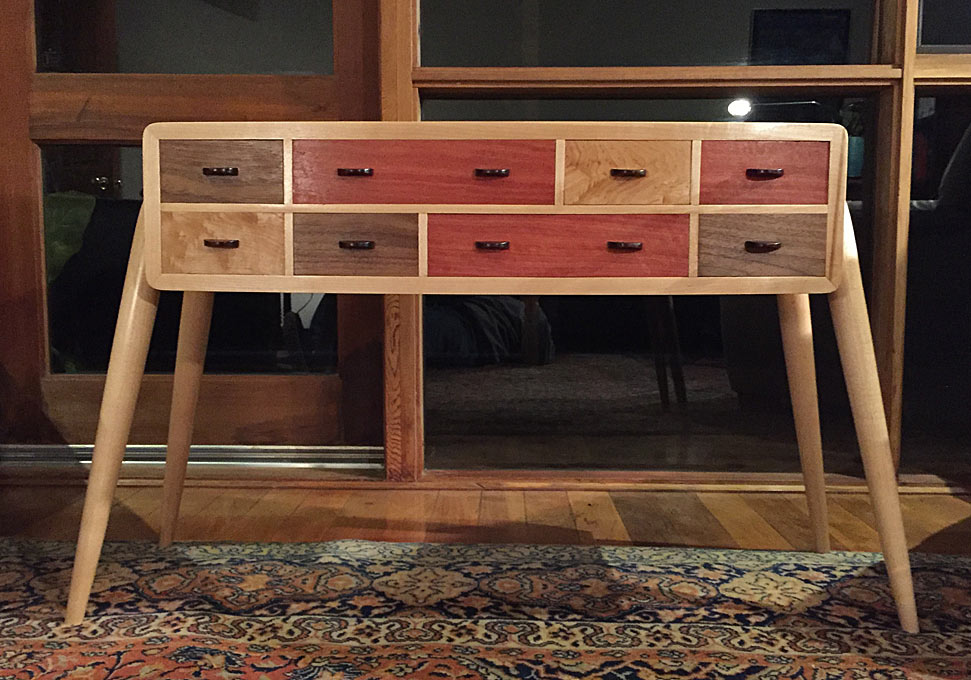
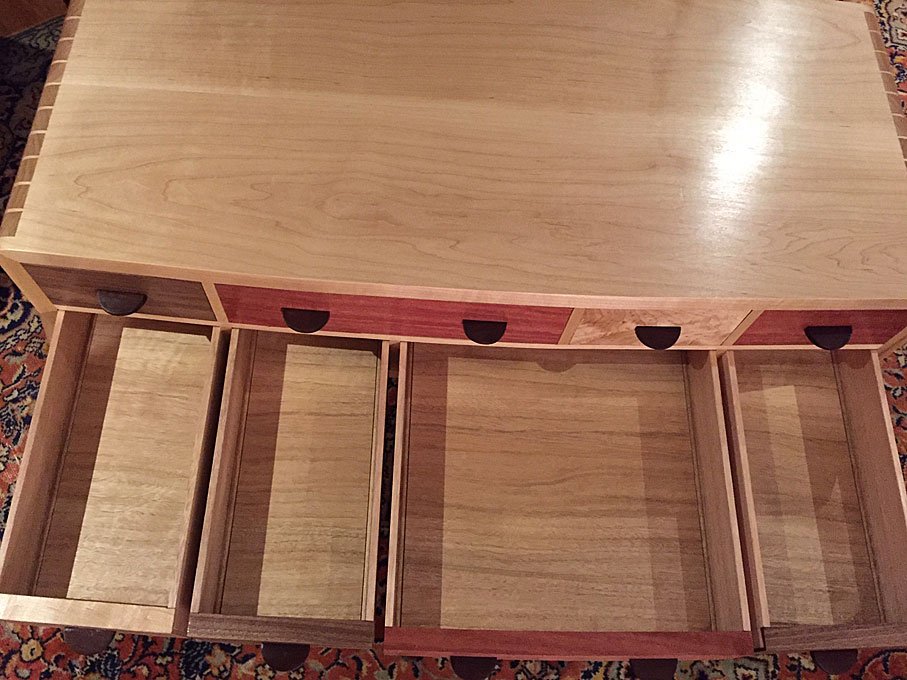
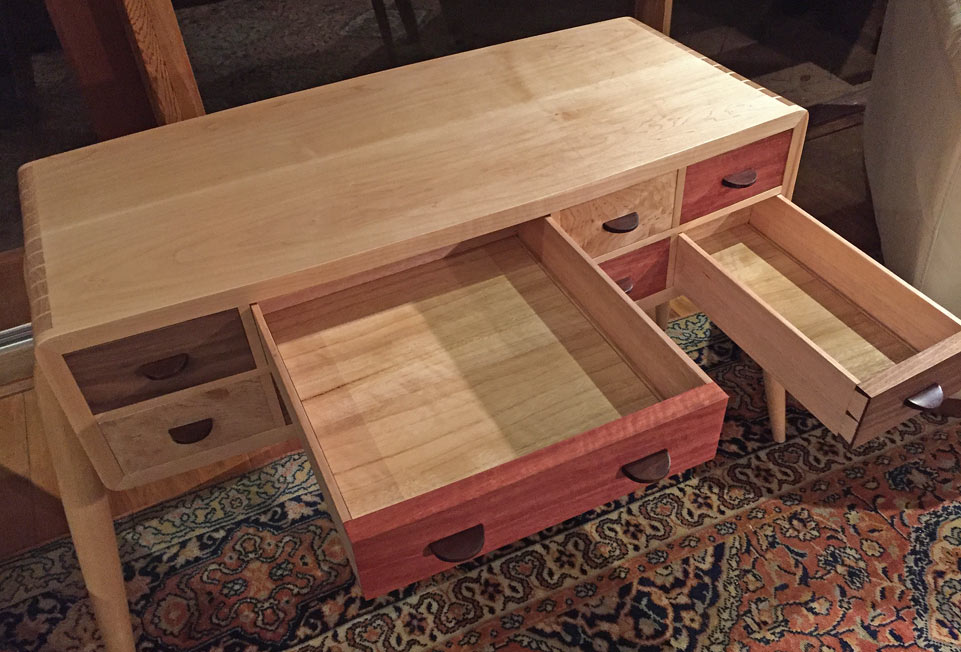
The case is Hard Maple from the USA. The drawer fronts are Black Walnut, figured Hard Maple, and pink Jarrah (hence the name, Harlequin). The drawer sides are quartersawn Tasmanian Oak, and the drawer bottoms/slips were made from Tasmanian Blue Gum.

Finish was, initially, two coats of dewaxed UBeaut Hard White Shellac (the very faint amber adds a little warmth), followed by three coats of General Finishes water-based poly (this remains clear - does not yellow the maple - and appears to have some UV protection. It is hard wearing, which is necessary for a side table).

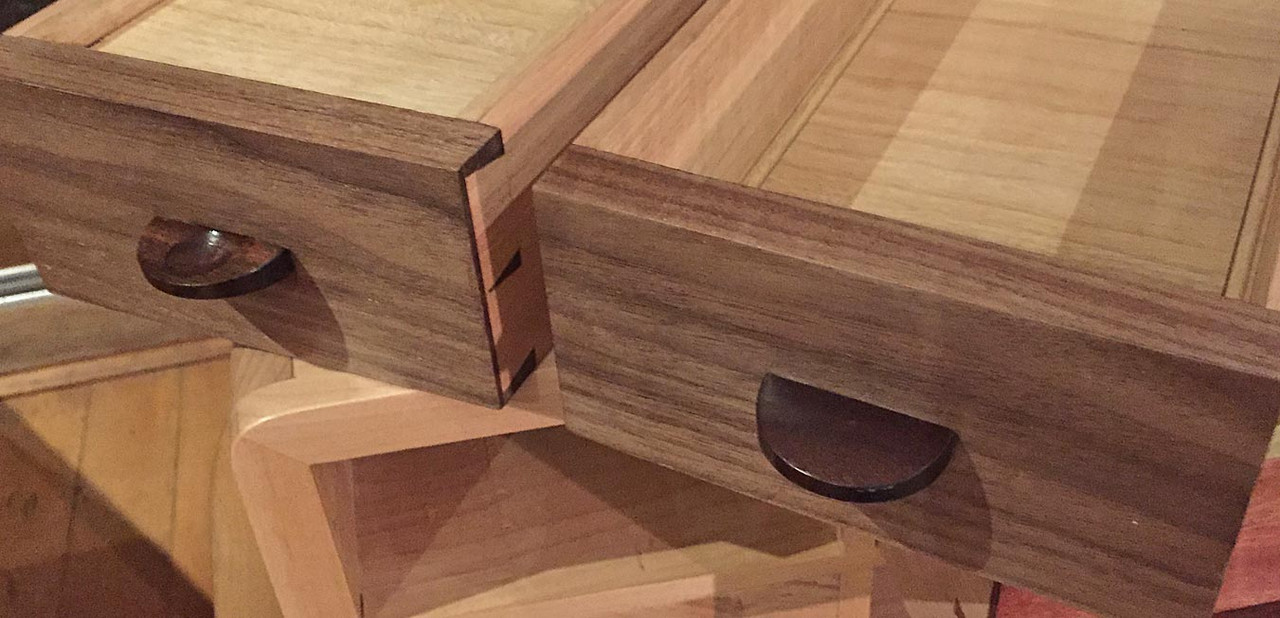
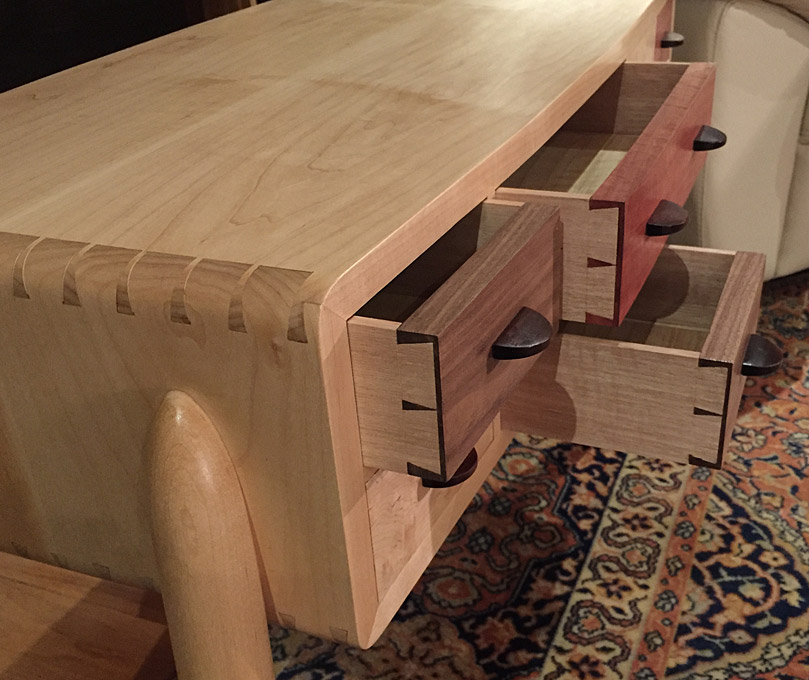
The build features mitred, rounded dovetails and bow front and back. Eight drawers featuring compound dovetailing to match the bow front. Drawers are traditional half-blind dovetails at the front and through dovetails at the rear, with drawer bottoms into slips.

About 2 months to build, mainly on weekends.

Final3.jpg


Final11.jpg


Final5.jpg


Final10.jpg


Here is the rear of the table (which will be seen through the windows, which run floor-to-ceiling along the family room ...

Final1.jpg


The pulls were shaped from what-I-believe-to-be-some-type-of Ebony ...

Final7.jpg


The obligatory dovetails ...

Final8.jpg


Do you think that anyone will notice that the drawer bottoms run sequentially? :)

Final2.jpg


And this one is for Bill, who was concerned that the chamfers at the end of the drawers (to ease entry into the case) might impair their extension ...

Final6.jpg


A last look ...

Final4.jpg


Thursday morning I haul the table to the Perth Wood Show for the annual furniture competition. Wish me luck.

Regards from Perth

Derek
 
It looks amazing Derek, you must be so pleased with the end result.
I wish you the very best of luck but, I don’t think luck will come into it if the judges know their stuff.  [thumbs up]
 
You set the bar for design and execution.  It's really a great piece. 

A style I'd call Derekonian Modern!

Good luck in the competition and thank you for sharing the entire build -

neil
 
Fascinating work Derek thank you for sharing, it is appreciated. 
Best of luck in the competition!

 
Back
Top