Stevenski
Member
I came across Hatagane clamps by accident about a year ago. They only deliver light clamping pressure - holding pressure really - but their diminutive size make them very good for small pieces. On top of that, I just love they way the look 
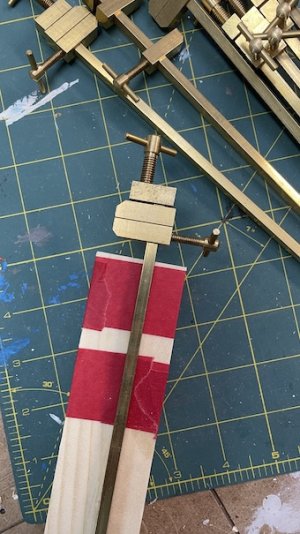
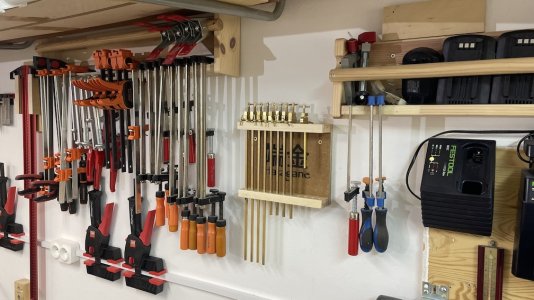
After one year I finally got round to making a storage/display solution for them rather than have them stuffed away in a cardboard box.
Pine off-cuts together with some left over 18mm MDF. Finished with beeswax.
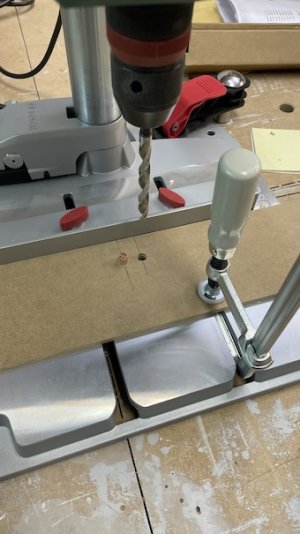
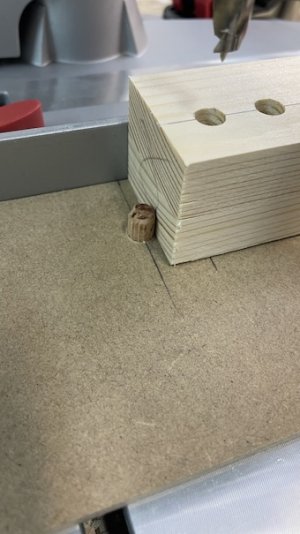
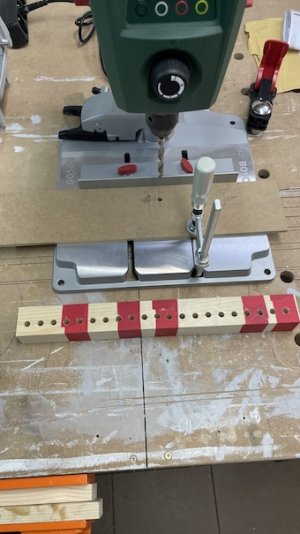
I made a simple jig to facilitate drilling a row of 8mm holes. It of works in a similar way to the pins on a domino router or a finger joint jig. Drill a hole, slide over and drop onto the dowel, drill next hole, slide over...... rinse and repeat. Top and bottom slates were taped together and drilled at the same time.
I laser etched a design into the MDF backing plate. According to google the symbols are Japanese for "Hatagane" but who knows, maybe it's actually Chinese for pickled herrings....?
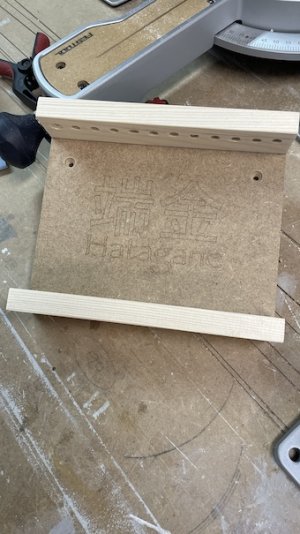
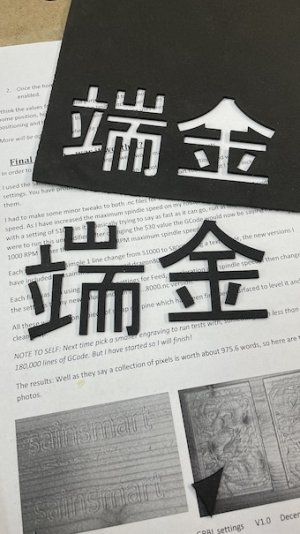
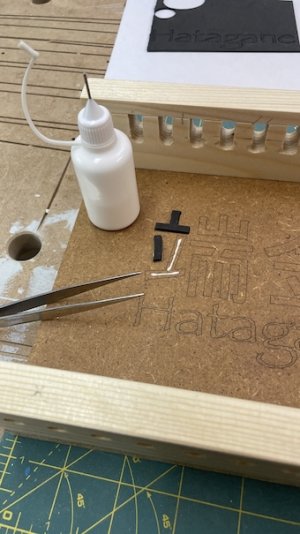
To save time I only etched it as a line drawing but I was disappointed with the barely visible result. Not willing to spend 1 hour on a filling etch, I simply re-cut the design in 2mm EVA foam and glued it on top with white glue. 5 minutes vs 60 mins
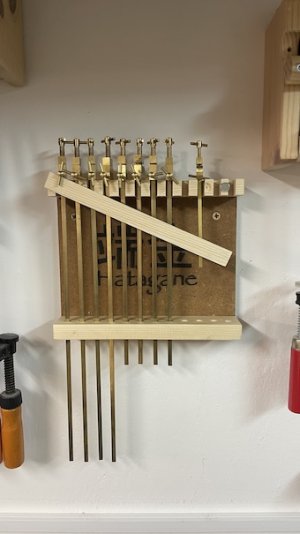
After the first test fit I made a piviot and turned the top row of holes into slots and made a holding strip held in place with magnets. Now instead of having to pull the longer clamps 40cm into the air, they can simply be tilted forward to remove them.
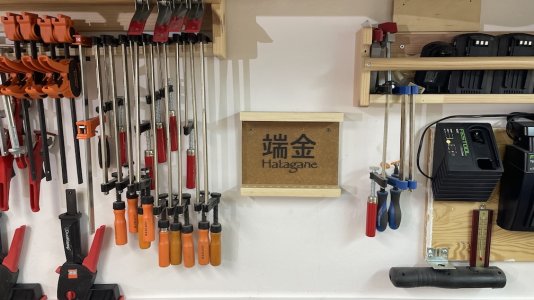
I think that the final result actually looks quite nice for a scrap wood shop project and it gives me real pleasure to be able to just look at those little jewels - almost like wall art

After one year I finally got round to making a storage/display solution for them rather than have them stuffed away in a cardboard box.
Pine off-cuts together with some left over 18mm MDF. Finished with beeswax.
I made a simple jig to facilitate drilling a row of 8mm holes. It of works in a similar way to the pins on a domino router or a finger joint jig. Drill a hole, slide over and drop onto the dowel, drill next hole, slide over...... rinse and repeat. Top and bottom slates were taped together and drilled at the same time.


I laser etched a design into the MDF backing plate. According to google the symbols are Japanese for "Hatagane" but who knows, maybe it's actually Chinese for pickled herrings....?

To save time I only etched it as a line drawing but I was disappointed with the barely visible result. Not willing to spend 1 hour on a filling etch, I simply re-cut the design in 2mm EVA foam and glued it on top with white glue. 5 minutes vs 60 mins


After the first test fit I made a piviot and turned the top row of holes into slots and made a holding strip held in place with magnets. Now instead of having to pull the longer clamps 40cm into the air, they can simply be tilted forward to remove them.

I think that the final result actually looks quite nice for a scrap wood shop project and it gives me real pleasure to be able to just look at those little jewels - almost like wall art
