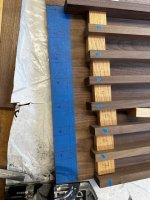
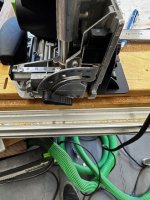
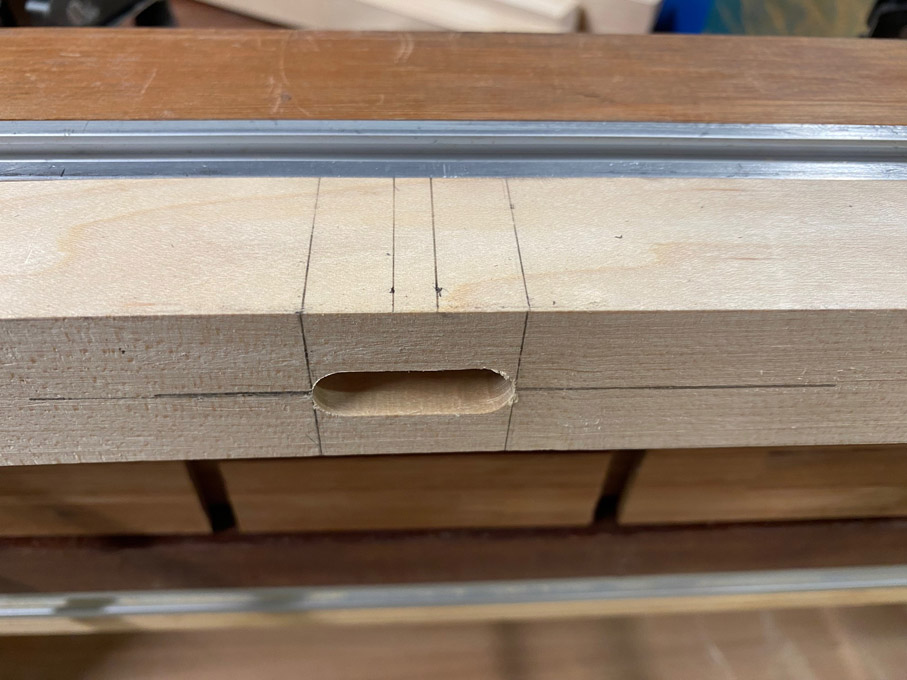
I am trying to use dominos to attach 5/8" x 1.25" x20' wood pieces to a wood base. I have made a jig to hold the pieces while I plunge (Festool Trim stop equivalent) and it has worked fine.
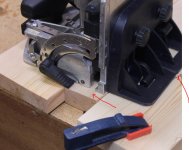
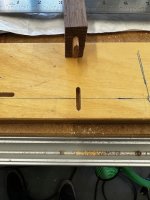
I know how to plunge down on the base if the pieces were going paralel to the edge, but how do I get very accurate and consistent resulkts while plunging perpendicular to the edge?
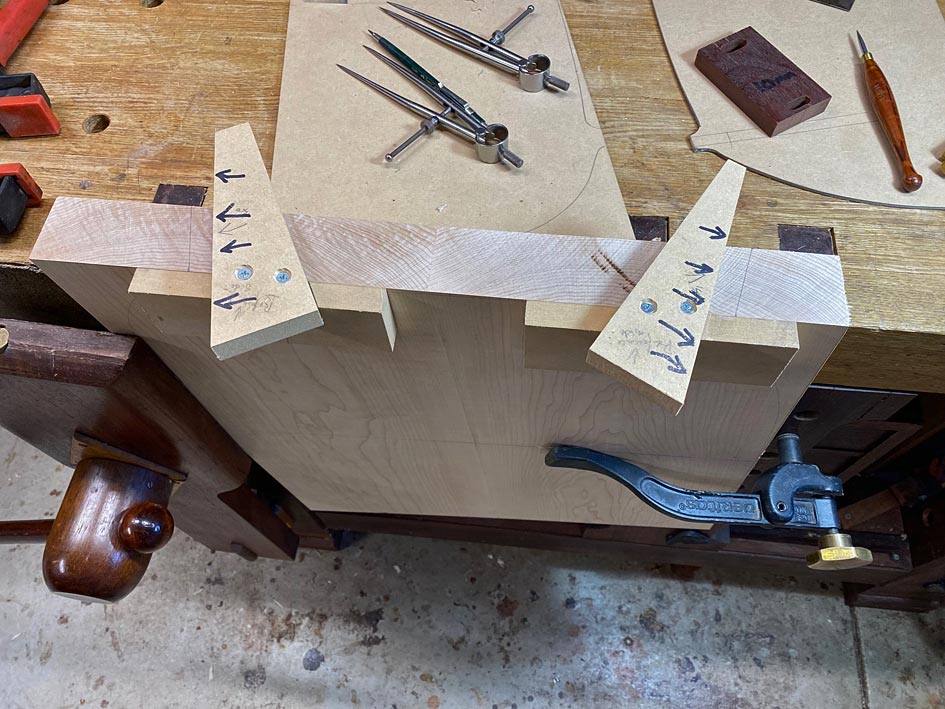
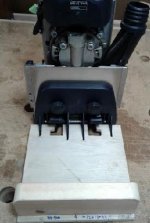
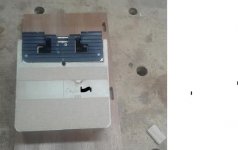
Do I need to make some kind of jig??
I have attached a picture for clarification
Thank you!
I know how to plunge down on the base if the pieces were going paralel to the edge, but how do I get very accurate and consistent resulkts while plunging perpendicular to the edge?
Do I need to make some kind of jig??
I have attached a picture for clarification
Thank you!