Just a little background...
My son's school was suppossed to close back in May since the previous owner basically ran up a bunch of debt and could no longer pay the bills. The school however is in an awesome location, has great teachers and the city of Clayton really wanted to see it stay open. Fortunately, the majority of parents are Type A personalities so we formed a board of directors and made it happen. Through lots of hard work and some highly committed people, the school not only stayed open (under a new name without any connection to the previous owner) but it's flourishing.
Due to all the class rooms being once again filled, the infant parents had no where to put their infant carriers, so they had to hike them up to the 3rd floor every morning. I was asked to build some "cubbies" for the school. We didn't want them to look like some pieces of junk so I first designed them in google sketchup and got the okay from the director. I also wanted to build something that could be repurposed fairly easily if the infant carriers found a new home down the road.
In the end, the parents LOVE them. Also my son is so proud and says "Daddy Built" everytime he passes them.
The construction consisted of 6, 3/4" Birch ply sheets and 3, 1/4" Birch bead-board sheets and all the trim made from poplar. After using my plywood layout program, I used the Parallel Guides and TS55 to break down the sheets into the correct dimensions. The LR32 system was used for shelving and the stationary shelves are held in place with Dominoes. I broke out the OF2200 for all the router work (my first time really using the router despite having it for a few years).
Here is how I did the finish:
The original 3D model:
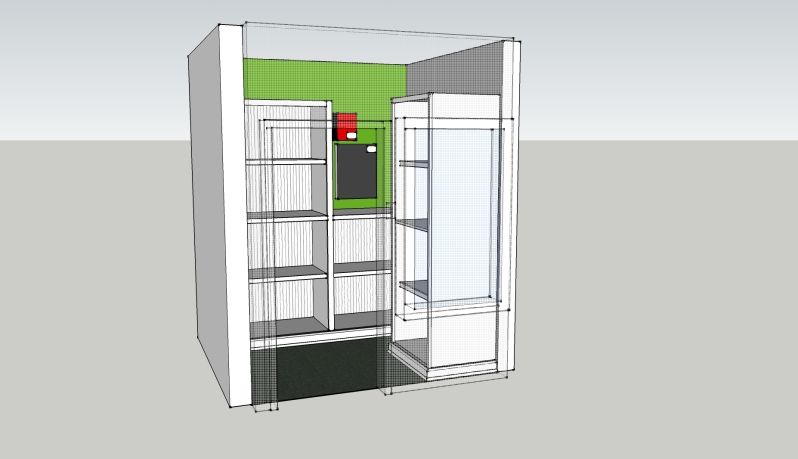
The only thing I changed up was the size of the top Rails - the sketchup model had them 2" wide, but I went with 4" wide in the final design. The 2" just wasn't enough "heft" for the size of the shelving.
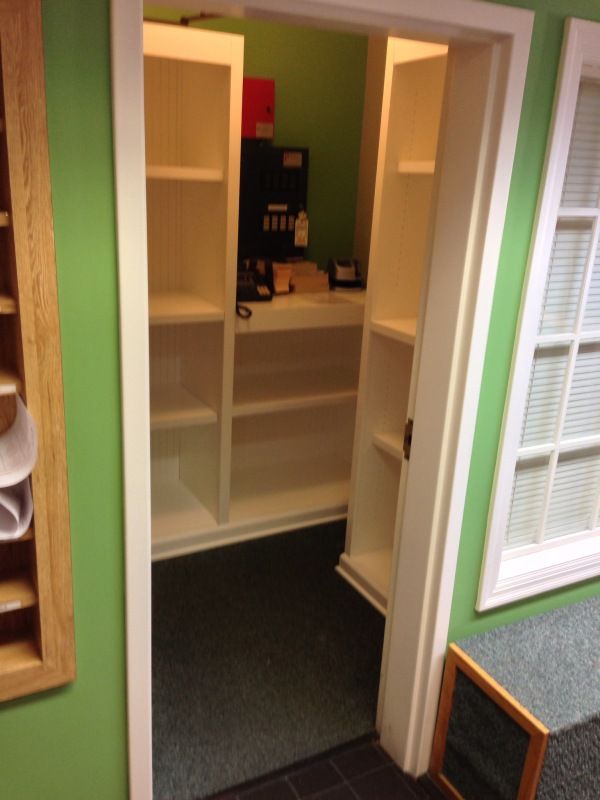
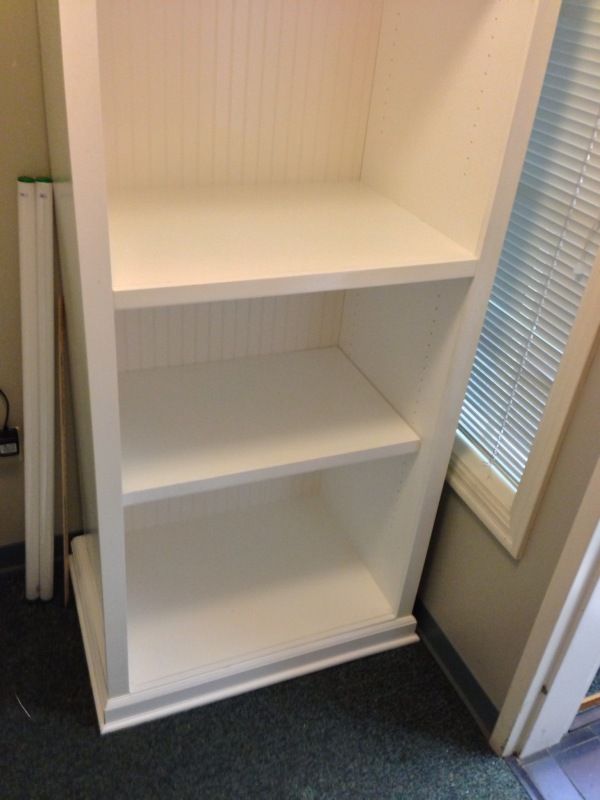
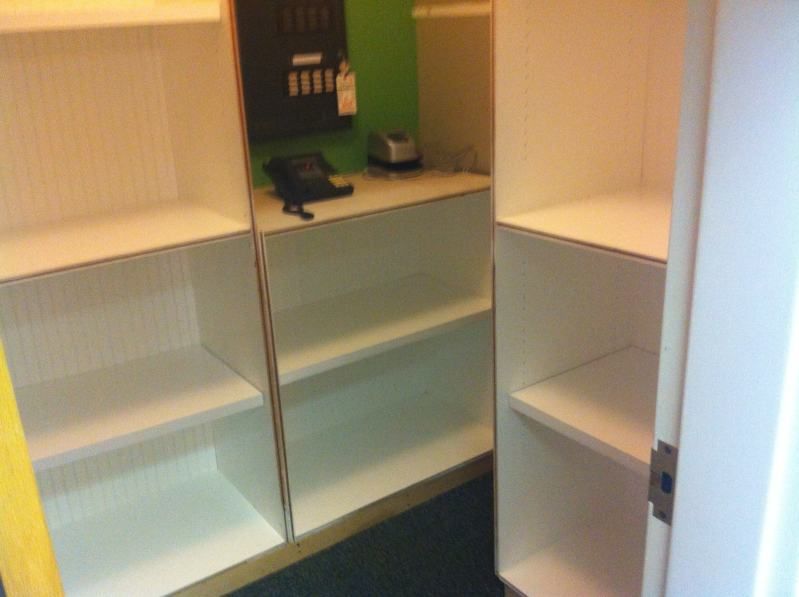
The actual shelves:
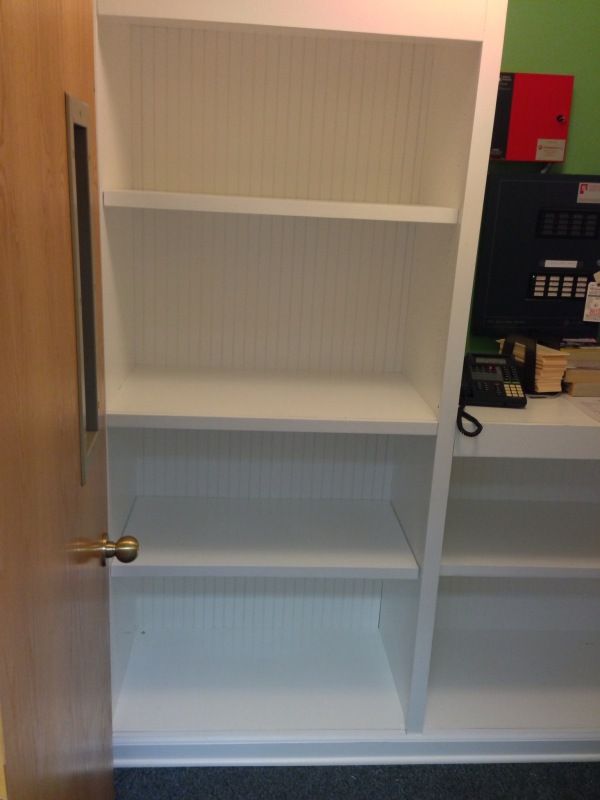
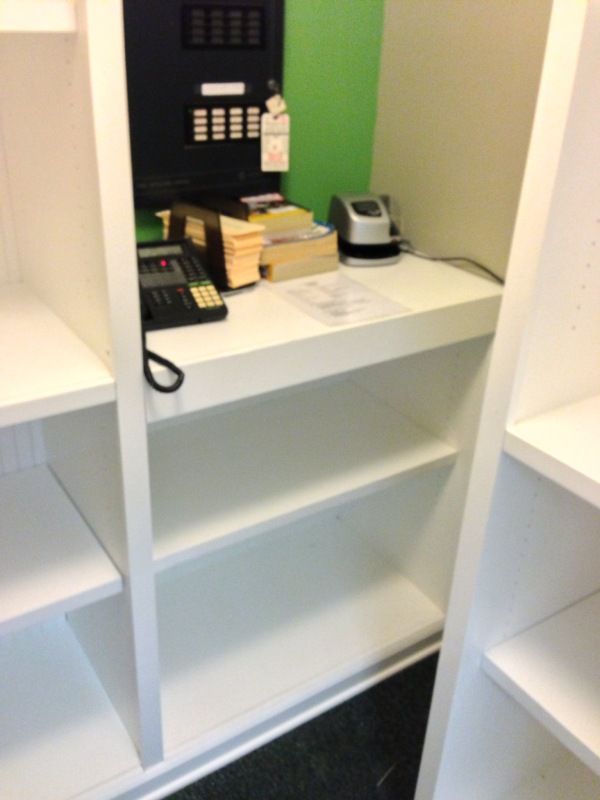
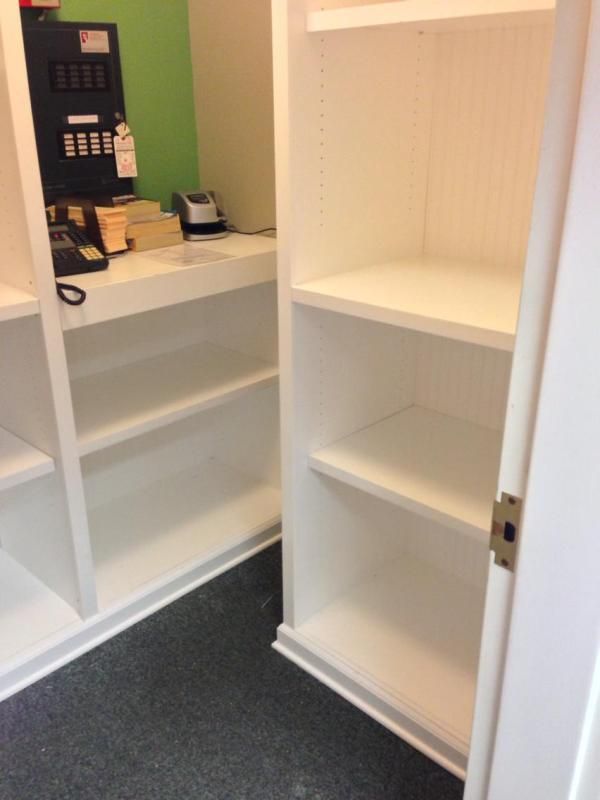
This is a picture before I installed all the trim. I routed a 1/4" dado around all the edges of the ply and on the backs of the trim so that everything could be pre-finished easily and assembled on-site. I then used 1/4" strips of hardwood and glue to attach the trim. That sure made things super easy!!!!
My son's school was suppossed to close back in May since the previous owner basically ran up a bunch of debt and could no longer pay the bills. The school however is in an awesome location, has great teachers and the city of Clayton really wanted to see it stay open. Fortunately, the majority of parents are Type A personalities so we formed a board of directors and made it happen. Through lots of hard work and some highly committed people, the school not only stayed open (under a new name without any connection to the previous owner) but it's flourishing.
Due to all the class rooms being once again filled, the infant parents had no where to put their infant carriers, so they had to hike them up to the 3rd floor every morning. I was asked to build some "cubbies" for the school. We didn't want them to look like some pieces of junk so I first designed them in google sketchup and got the okay from the director. I also wanted to build something that could be repurposed fairly easily if the infant carriers found a new home down the road.
In the end, the parents LOVE them. Also my son is so proud and says "Daddy Built" everytime he passes them.
The construction consisted of 6, 3/4" Birch ply sheets and 3, 1/4" Birch bead-board sheets and all the trim made from poplar. After using my plywood layout program, I used the Parallel Guides and TS55 to break down the sheets into the correct dimensions. The LR32 system was used for shelving and the stationary shelves are held in place with Dominoes. I broke out the OF2200 for all the router work (my first time really using the router despite having it for a few years).
Here is how I did the finish:
- Everything was pre-finished in my shop before assembly.
- Sanded the Ply and Poplar to 180 grit using the ETS150-3 and Rubin Paper.
- 2 coats of Target Coatings EM6500 Sprayed using my Fuji HVLP.
- Imperfections sanded using the ETS150-3 and 400 Grit Brilliant Paper.
- Single coat of Target Coatings SuperClear 9000 Polyurethane. This really gives that glass smooth top finish. When spraying it, keep the gun moving as it runs pretty easily and doesn't take much to achieve an incredible finish. For perspective, I used 3 gallons on EM6500 on the project and only 2/3 of a gallon of 9000.
The original 3D model:
The only thing I changed up was the size of the top Rails - the sketchup model had them 2" wide, but I went with 4" wide in the final design. The 2" just wasn't enough "heft" for the size of the shelving.
The actual shelves:
This is a picture before I installed all the trim. I routed a 1/4" dado around all the edges of the ply and on the backs of the trim so that everything could be pre-finished easily and assembled on-site. I then used 1/4" strips of hardwood and glue to attach the trim. That sure made things super easy!!!!