@Todd
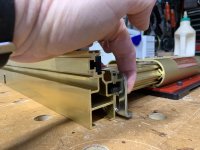
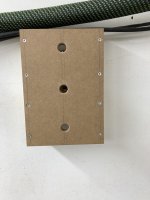
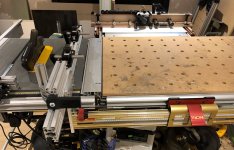
same issue here. I used a pair of washers on each srew between the plate and the red base.
In Future i will drill the six holes in the gold LS base, but it‘s hard to get inch screws here in germany.
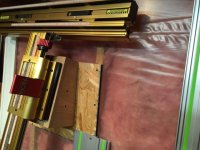
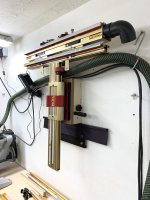
This setup is very exciting to use, thoisands times better than the CMS fence.
Greetings from Germany,
WilliamT
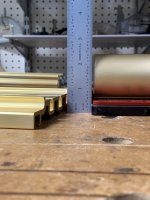
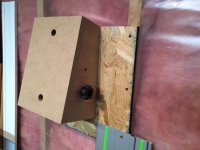
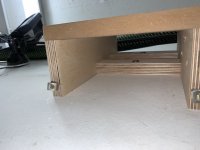
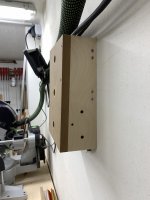
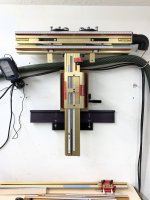
picture shows the LS in my wall mount for storage
same issue here. I used a pair of washers on each srew between the plate and the red base.
In Future i will drill the six holes in the gold LS base, but it‘s hard to get inch screws here in germany.
This setup is very exciting to use, thoisands times better than the CMS fence.
Greetings from Germany,
WilliamT
picture shows the LS in my wall mount for storage