Yea those nylon inserts. When I said that they won't come out , I went thru hell trying to get one out. Drilling holes on each side of it being carefull not to drill all the way through the face. Pulling and drilling. Those things are tough. Looks like I'm in good company
")
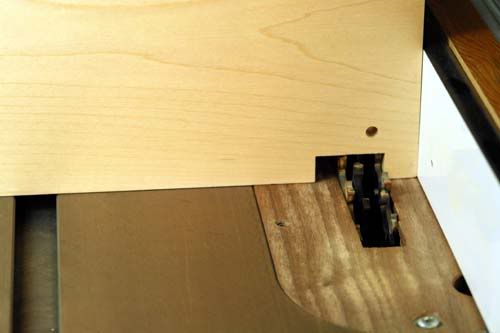
I think the old school way of drilling an over sized hole through the front of drawer works just as well.
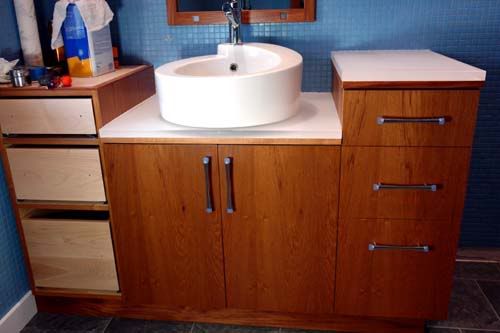
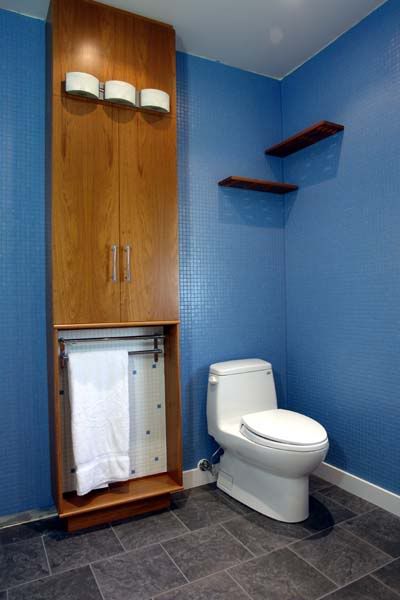
fshanno - I was going for a modern kind of minimal look and to keep the cost down by using less solid stock. And ended up with ply for the final design. I was concerned with all the negative aspects you mentioned and gave some serious thought to going this route. Slab doors and drawer fronts with continuous grain when possible. How hard could it be ?
I thought - well I can get square cuts so that's a start. Furniture grade ply for slabs and drawers is all new to me.
Getting quality ply is the best way to great results. I used to wonder about the good ply with the MDF core or veneer. I did not use it on this project and have never used any yet but I have to think that it would help greatly with the flatness and warping issue.
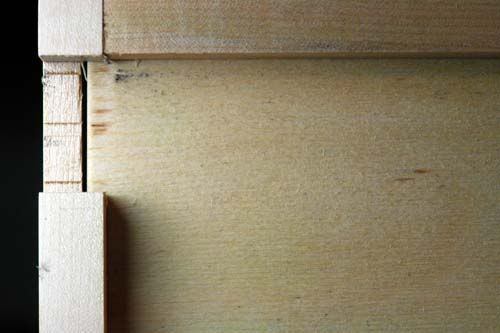
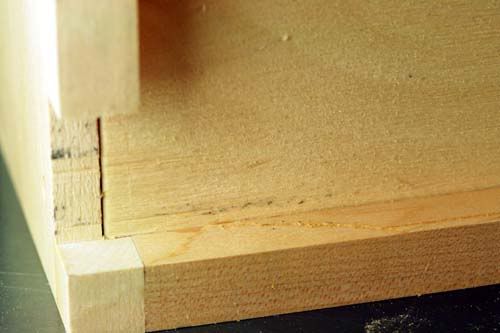
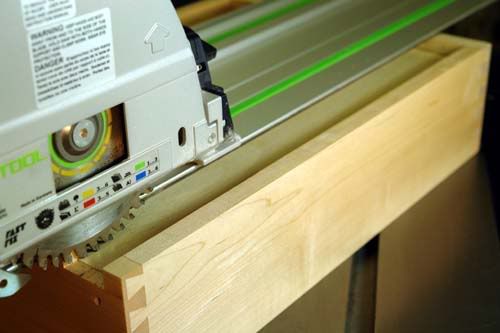
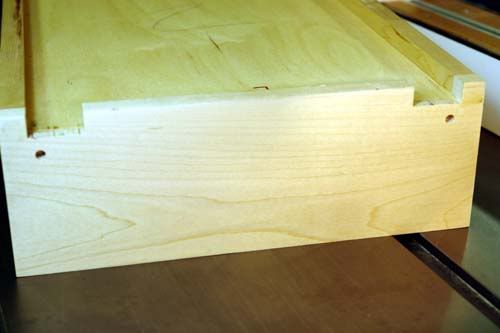
I used mostly 3/4" teak ply and some solid for some trim and shelves and the toe kick. The cabinets are sitting on a separate platform to give a toe kick look.
I did have some minor trouble with warping. And I had a hell of a time with finishing, more like a bump that was the most troublesome of the project. But I learned allot. For me building the project is almost always easier than the finishing.
I'll start a thread in the projects section with more on those details soon.
I have seen very similar stuff like the kerf design.
The stuff I saw looked like they used ApplePly by State Industries then just plain ole formica or wilsonart p-lam. Clean edges with a bull nose. I thing some good Baltic birch would work just fine and if you ran into a void at an edge most likely it would be small and bondo would be just fine. Give that extra utilitarian, industrial, loft like look at no extra charge ;D
")