fignewton
Member
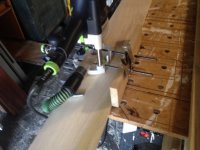
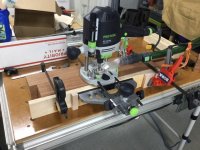
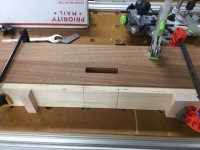
Howdy everyone. Getting ready to build the Wood Whisperer’s XL big green egg table, and will be mortising 3/4 wide, 1 1/4 deep mortises in the 3 inch legs. Just got my edge guide and started playing with it yesterday on some practice mortises. My problem is that with the dust attachment on the top, I can’t see the edge of the bit to stop at my markings. Watching the video, it looks like he drills the stop and start holes at the marks, and then removes the waste between them, going left to right. I tried that, but still have a hard time trying to see where I am in the cut.
In a couple of other videos, one guy set up for each end hole and then made a mark on the surface where the edge of the router base was. This might work for the lower stretcher mortises, but not so good for ones close to the edge of the workpiece. I think I set the router and mark the right end of the edge guide on the side for stop and start references.
What do you all do to make sure you get your mortises right without going outside the marking lines?