Rick Herrick
Member
- Joined
- Feb 7, 2020
- Messages
- 799
If all goes well, I will be moving into a new house at the end of May. One of the features why we bought this house is the basement has a nice 50' x 15' work area. The long wall is a full cinder block wall. I will most likely just line things (tools, benches, etc) up along that wall. I know I will be moving stuff around to fine tune the space so I don't want to keep attaching things to the block wall. Any suggestions? I could just attach full plywood sheets to it so drilling into the block would be a one time thing. Long ago I had a similar situation and I just made a studded wall (2x4s, sheetrock, etc). I want to make this as efficient as possible and only have to adhere things to the wall once. Thanks for any pointers.
 It is nice however to mount anything you want to wherever you want without worrying about finding the studs to fasten to.
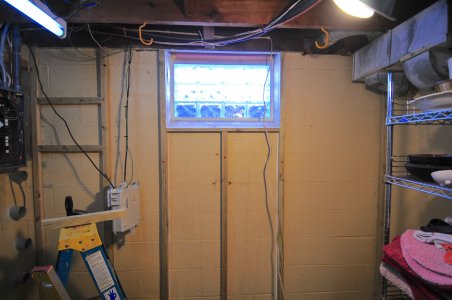

 )
)")
