squall_line
Member
I've mostly been using my tools for "handyman" work, tearing out an old deck, cutting out a vinyl tub, etc, and I used my HK55 early last year to build out a reclaimed bookshelf, but I think this is my first "real" project with my Festool kit. Only took me 20-ish months to start to use them...
I tend to wait until I'm almost done to post anything, which ends up garnering fewer views and comments, and this time is no exception. I also don't take many pictures as I'm going unless I'm texting my brother to keep him up to date on my progress or if I run into an issue that I need to research further.
So, this is a smattering of "in progress" photos of a three-wide sysport build out of pre-drilled particleboard shelving pieces from Menards.
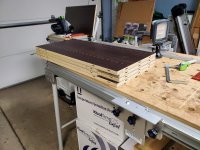
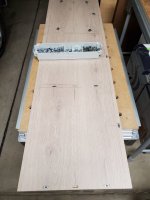
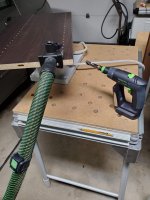
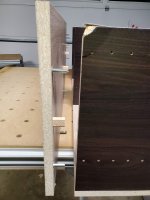
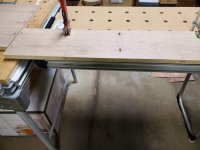
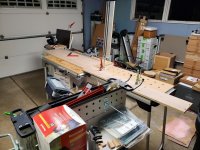
I first cut the sides to length on my MFT with the Dashboard PWS rail hinge. Once I got the fence locked in square, the flag stop made repetitive cuts easy and consistent, although I was still paranoid.
[attachimg=1]
[attachimg=2]
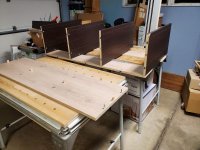
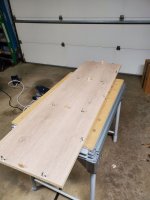
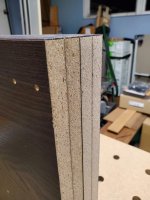
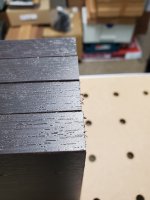
One of the three shelves was a different depth than the other two (note for the future: check this before you take it to the counter and all the way home). I needed stretchers for the back, so I ripped the narrower shelf down the middle. It also turns out that piece was only square on the edge-banded faces, so this gave me two pieces with a good square edge to register at the top and bottom when using it as a stretcher.
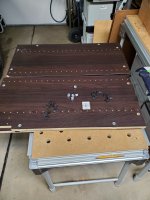
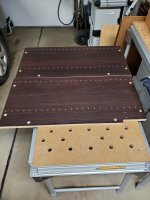
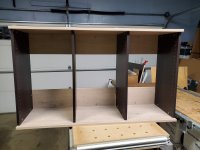
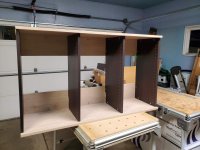
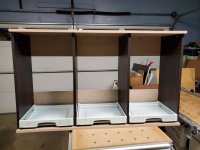
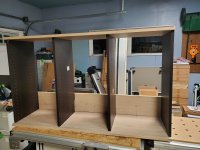
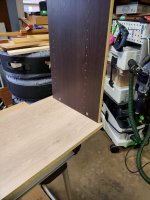
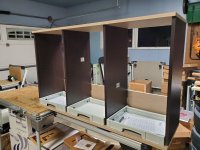
I decided to go with a three-wide port for my first ever big build and also the KV D8 knockdown connectors because apparently I'm a glutton for punishment and wanted to try all sorts of new-to-me techniques all in the same project. I cut the top and bottom a few millimeters long in case the sides weren't a consistent thickness. Here's a mockup before any mortising with SYS-AZ drawers in place to gut-check everything.
[attachimg=3]
Did a quick practice run with the remaining scraps to work out the mortising and drilling techniques and order of operations for using the D8 knockdown connectors.
[attachimg=4]
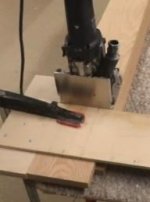
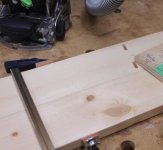
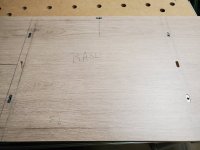
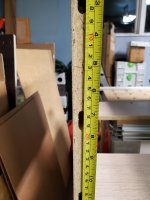
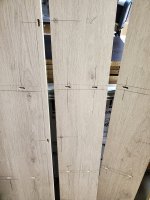
I had issues with the centeredness of the extensions on my domino on my last project, and I don't fully trust the paddles to be centered, but the sight window/line is reliable for me, so I chose to mark out mortises at 50mm instead of the typical 37mm from the paddles, and then centered around 201mm for a center mortise. The 200mm pocket-T square made these markings trivially repeatable. I occasionally used the marking guides on the 1282SS as well. My eraser will get a very good workout after this!
[attachimg=5]
[attachimg=7]
[attachimg=8]
"Order of operations" is the biggest name of the game at this point... With dominos in all directions, I had to be deliberate about which order I assembled so as to prevent interference on fitting everything. I almost punted and pulled out the Zeta P2 to reduce protruding depth for assembly, but it was one more learning curve that I didn't want to try to throw in the mix this time around.
Considering all of the mortises were cut at the narrowest width, I was still able to dry fit everything together, which I credit fully to the accuracy and repeatability of the measuring/marking tools instead of eyeballing and marking with a tape measure.
[attachimg=6]
Next up (tonight?) is drilling all of the grub screw openings for the connectors, which already sounds tediously relaxing, like all of the erasing I still need to do, and pre-drilling for the cabinet feet.
Attachments
-
 20221025_210628.jpg339.2 KB · Views: 736
 -
 20221114_205538.jpg335.3 KB · Views: 700
 -
 20221114_205529.jpg357.7 KB · Views: 709
 -
 20221114_211857.jpg393 KB · Views: 701
 -
 20221114_222632.jpg856.3 KB · Views: 709
 -
 20221111_142124.jpg379.3 KB · Views: 704
 -
 20221111_203913.jpg359.4 KB · Views: 739
 -
 20221025_210642.jpg243.3 KB · Views: 734


