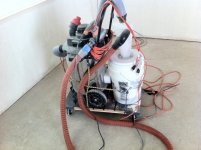
The easiest way to turn your standard dust deputy into a (NS) version Ultimate Dust Deputy is to make a top plate for your vac and screw it all together, with a ton of silicone.
This is very simple and only took 15-20 mins to do.
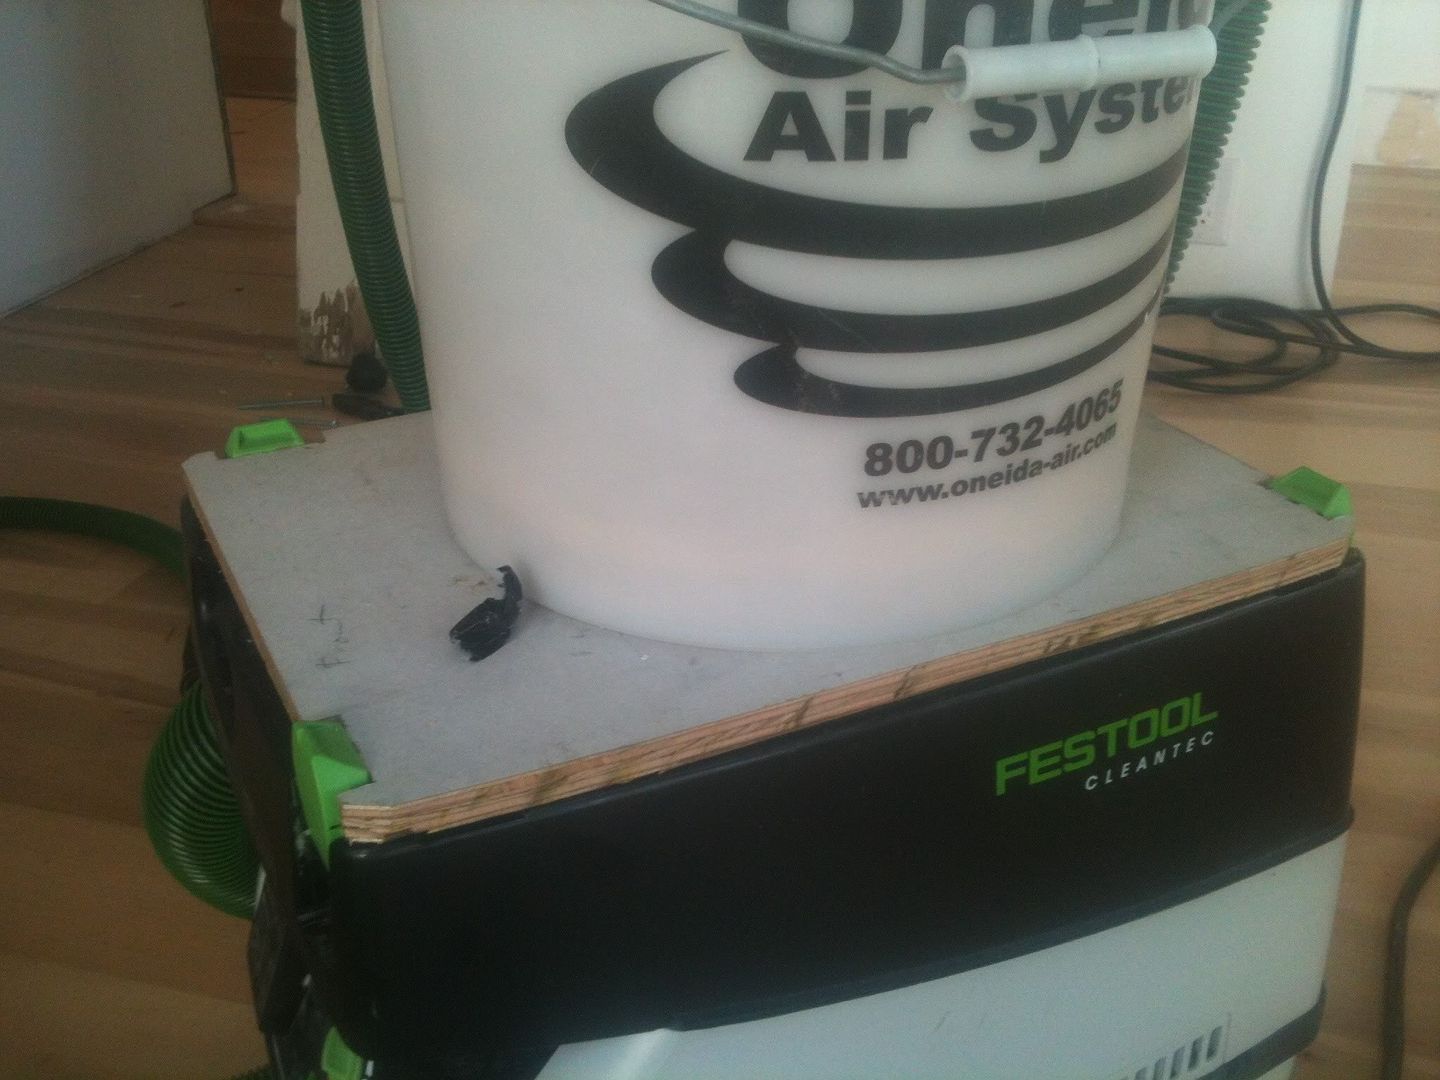
Simply place a systainer on top of a piece of 1/2" plywood and line up two sides of the plywood with the outside edge of the latch teeth on the long side of the systainer and the outside edge of the teeth on the sort side.
Then take a pencil and trace it by eye, this has to be close but nowhere near perfect.
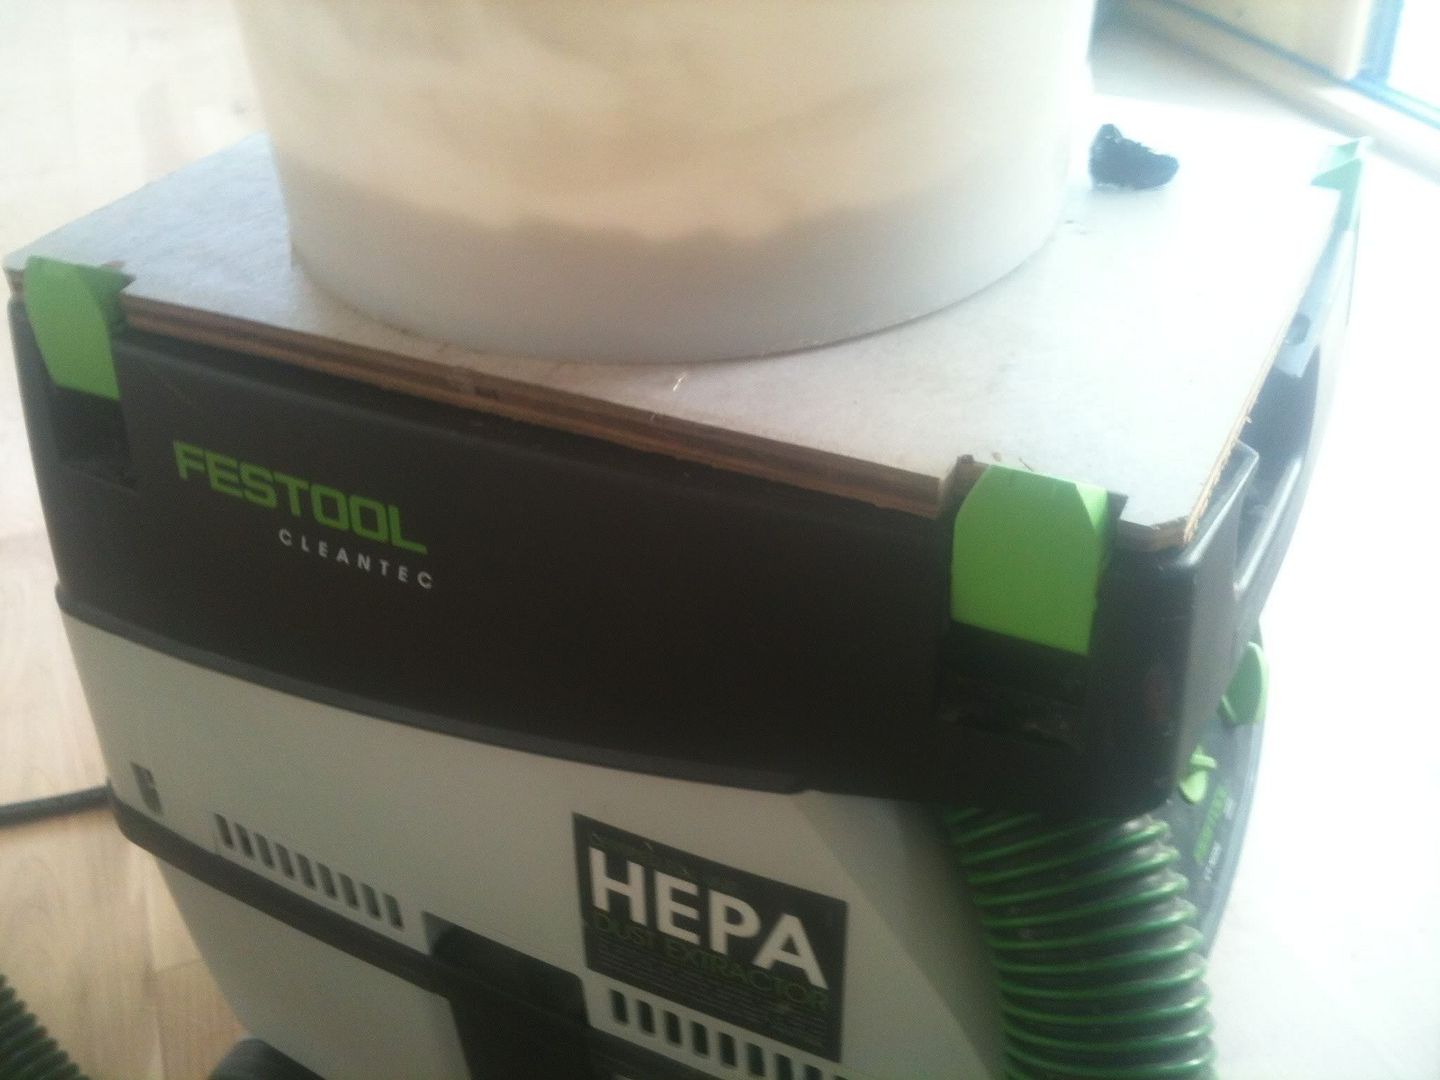
Jigsaw or coping saw the lines, fine tune the plate size so it doesn't overhang the top of your vac.
Then cut a piece of plywood what ever shape or size you like, so long as it fits in the bucket ( i used a circular piece with about a 3" diameter), and screw it down to the plate piece that fastens to the vac. Make sure to put a lot of silicone between to bucket and plate and also bucket and scrap piece that is the top of the plywood sandwich.
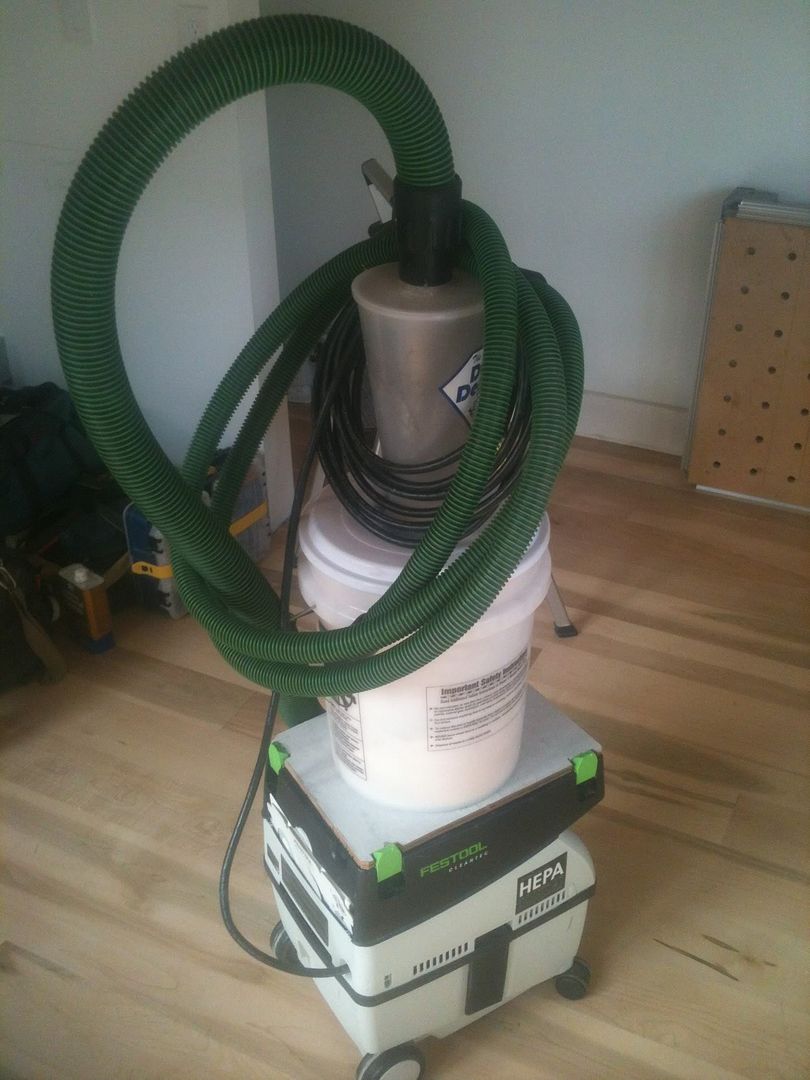
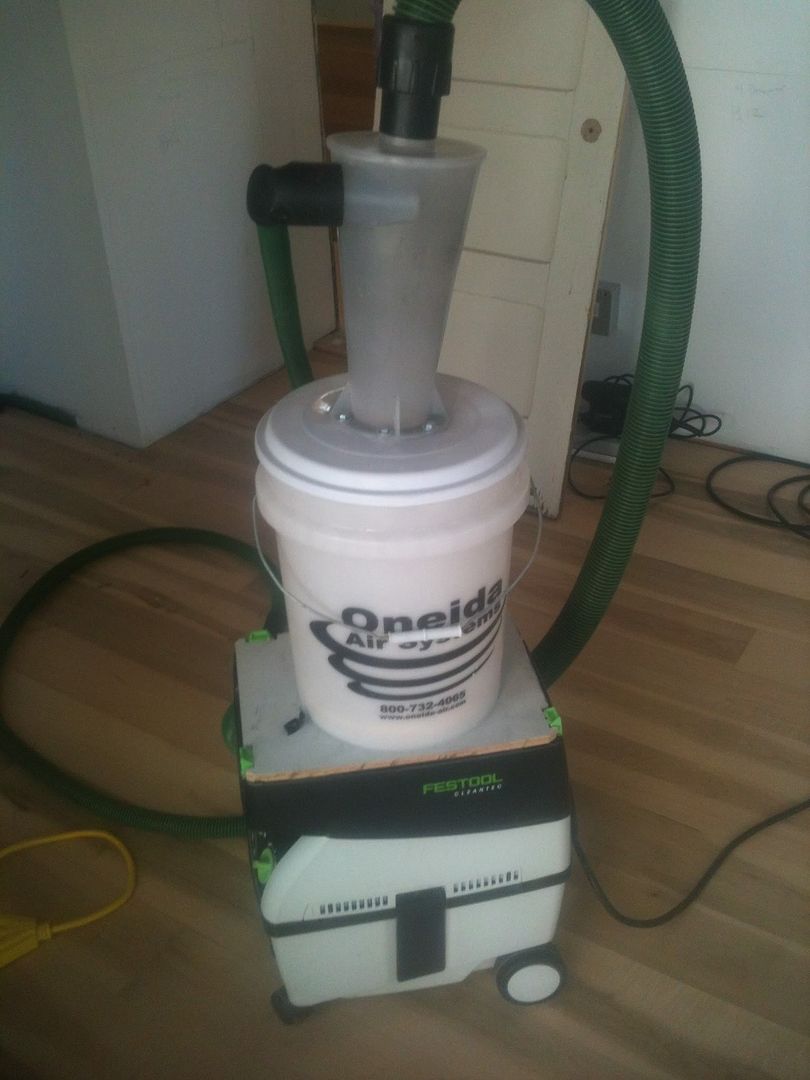
One thing not shown in the pictures is the zip tie that I used to tie the hose to the bucket handle so that it wouldn't lean over at all.
The next time I do this ill probably put a hole on the plate to let the extractor hose come straight up rather than having it bend as soon as it comes out of the entry port.
This has saved me a ton of time already. I used to ratchet strap the bucket to the vac because it tipped over all the time. Also, now the whole thing is a Pull-a-Long. The other benefit is this gets the hose up at chest height giving you a couple of extra feet when sanding stairs or ceilings which is unfortunately what I've been doing recently.
You could also turn this into a box and put the Dust Deputy cyclone on that without the bucket. Since this is working well I'm going to stick with what I've got for now.
This is very simple and only took 15-20 mins to do.
Simply place a systainer on top of a piece of 1/2" plywood and line up two sides of the plywood with the outside edge of the latch teeth on the long side of the systainer and the outside edge of the teeth on the sort side.
Then take a pencil and trace it by eye, this has to be close but nowhere near perfect.
Jigsaw or coping saw the lines, fine tune the plate size so it doesn't overhang the top of your vac.
Then cut a piece of plywood what ever shape or size you like, so long as it fits in the bucket ( i used a circular piece with about a 3" diameter), and screw it down to the plate piece that fastens to the vac. Make sure to put a lot of silicone between to bucket and plate and also bucket and scrap piece that is the top of the plywood sandwich.
One thing not shown in the pictures is the zip tie that I used to tie the hose to the bucket handle so that it wouldn't lean over at all.
The next time I do this ill probably put a hole on the plate to let the extractor hose come straight up rather than having it bend as soon as it comes out of the entry port.
This has saved me a ton of time already. I used to ratchet strap the bucket to the vac because it tipped over all the time. Also, now the whole thing is a Pull-a-Long. The other benefit is this gets the hose up at chest height giving you a couple of extra feet when sanding stairs or ceilings which is unfortunately what I've been doing recently.
You could also turn this into a box and put the Dust Deputy cyclone on that without the bucket. Since this is working well I'm going to stick with what I've got for now.