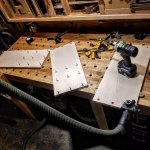
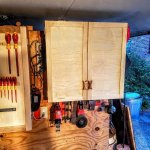
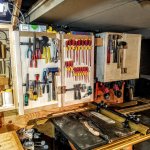
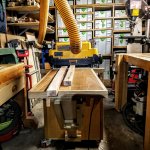
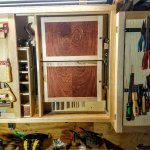
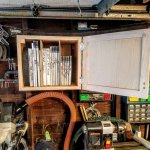
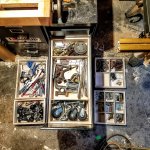
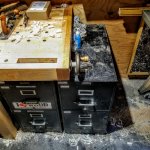
One of the legacy storage items I have in my shop is a pair of steel filing cabinets, that are 28" deep
[attachimg=1]
Funny story how I got them. I worked for a while in the mid-2000s as an installer at the PS1 museum in New York, and it was during that period that the MOMA museum in Manhattan had temporarily relocated to Queens near PS1 while undergoing major renovations. When it came time to move MOMA back, they sent over a bunch of us from PS1 over to the MOMA Queens space to pick up some remaining items, but they also said we should go ahead and take any remaining furniture or accessories for ourselves, since it was just going to be chucked or donated some place. So after we had made the run to deliver the desired items, we went back with the moving truck and loaded it up with anything we could get our hands on, and then spent the rest of the day delivering it to each others residences. I got an early generation flat screen TV, a few ergonomic office chairs, some other random stuff that I no longer remember or held onto, and then these filing cabinets. Still being in school and surviving mostly on Rice and Beans or Ramen, I felt like a millionaire getting that haul. So the cabinets are a bit sentimental.
I thought about getting rid of them when I did the shop reorganization, and instead installing some more efficient wooden cabinets, but decided in the end to keep them. I built my bench to accommodate them, and left enough clearance to still get my hand in to secure knobs from the underside above the cabinets. Even if they are a great place to put tool manuals and file away receipts, for most other things the drawers are horribly inefficient, and so they have gotten cluttered up over the years with random hardware that I have to fish through every time I need to grab a hinge or a strap.
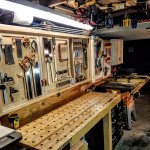
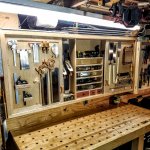
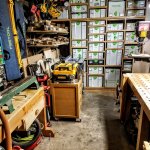
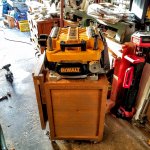
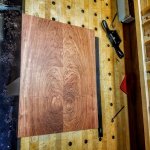
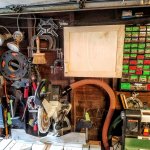
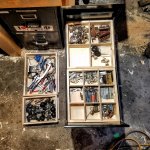
I think I've solved the space issue now by building stacking, removable trays:
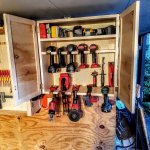
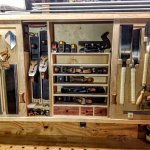
Clamps and bench accessories on the top level
[attachimg=2]
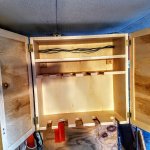
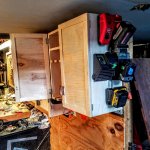
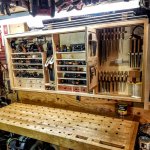
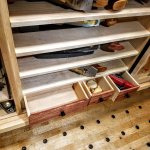
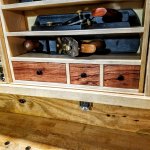
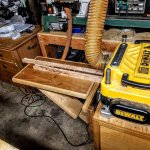
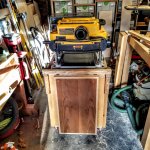
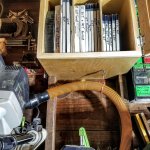
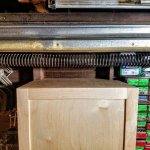
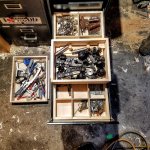
Then miscellaneous hardware and fasteners in the middle and lower tiers
[attachimg=3]
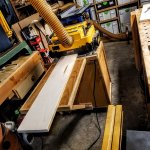
[attachimg=4]
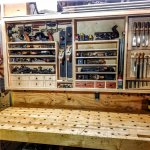
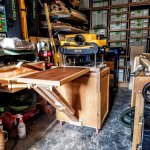
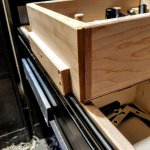
I've mounted the top trays on some runners so that I can leave the smaller one in and slide it back and forth to access the middle tier.
[attachimg=5]
[attachimg=6]
There's one more drawer that I can do this storage system on. The remaining two are devoted to actual files and then large items that wouldn't benefit from the tray system.