Richard/RMW
Member
- Joined
- Jul 11, 2010
- Messages
- 2,947
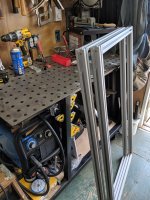
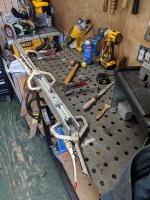
Cheese said:Richard/RMW said:[member=44099]Cheese[/member] great tutorial. I need to cut some slots in my assembled sys/mft cart on the front face. Since I cannot enter the slot from the end and will need to plunge I'm thinking of using an 8mm or 1/4" bit that'll fit the 15 series slot.
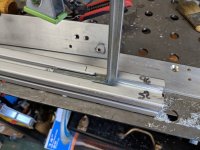
1. Assume you are cutting full depth in one pass, just letting the mill side-cut & shave from the slots edge?
2. It's gonna be fun cutting in a horizontal orientation...
3. PS - grab a few of these and you can use your L-brackets in slots without the carriage bolt clearance:
Thanks Richard [smile]
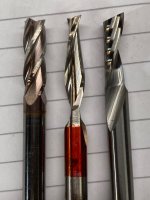
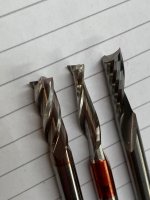
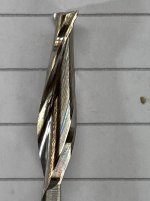
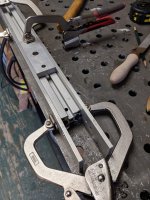
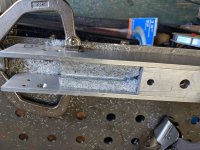
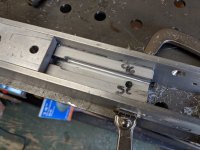
1. Full depth, one pass. Produces nice little shards. Make sure you don't climb cut. [eek] Climb cutting on a knee mill is one thing, climb cutting with a handheld router is another. CW direction. [member=25351]rst[/member] has mentioned that he uses and likes a Whiteside aluminum bit. That may be in my future.
I'll give it a try. I've got a bazillion bits around having collected them for the Shapeoko I use too seldom. Thanks.
RMW

![ScreenClip [1].png](/data/attachments/49/49859-4b1b5011551b5e2bfffe5af9bb7931c1.jpg?hash=pYx_eUUd8a)