derekcohen
Member
- Joined
- Jun 22, 2008
- Messages
- 1,061
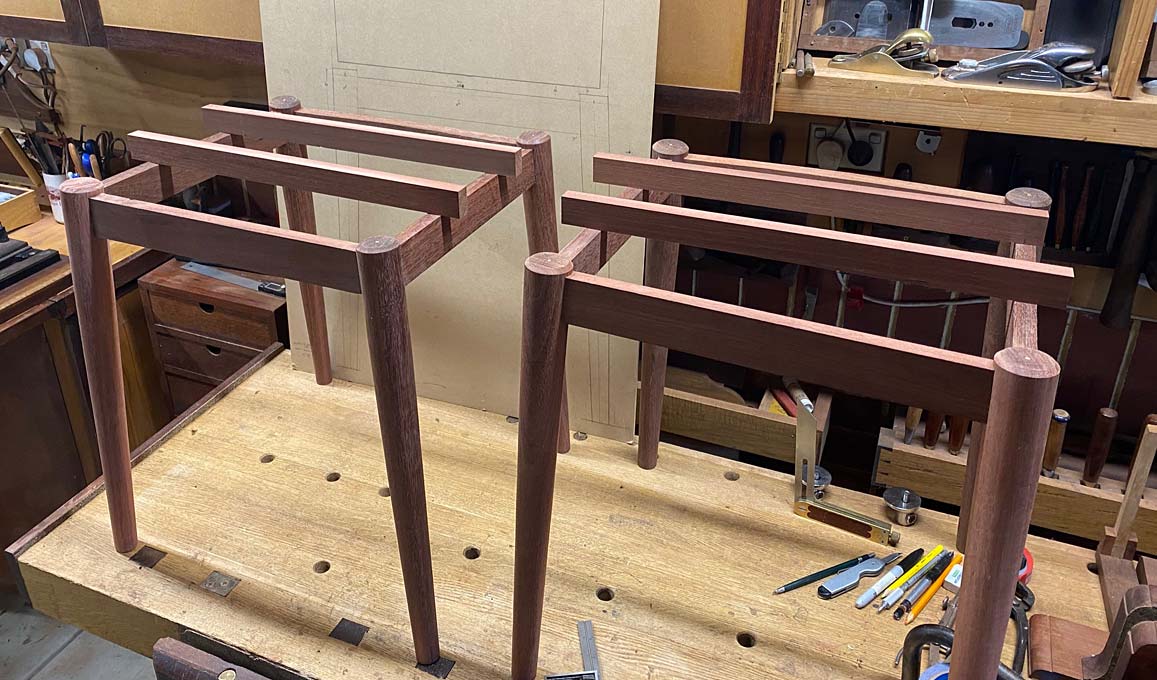
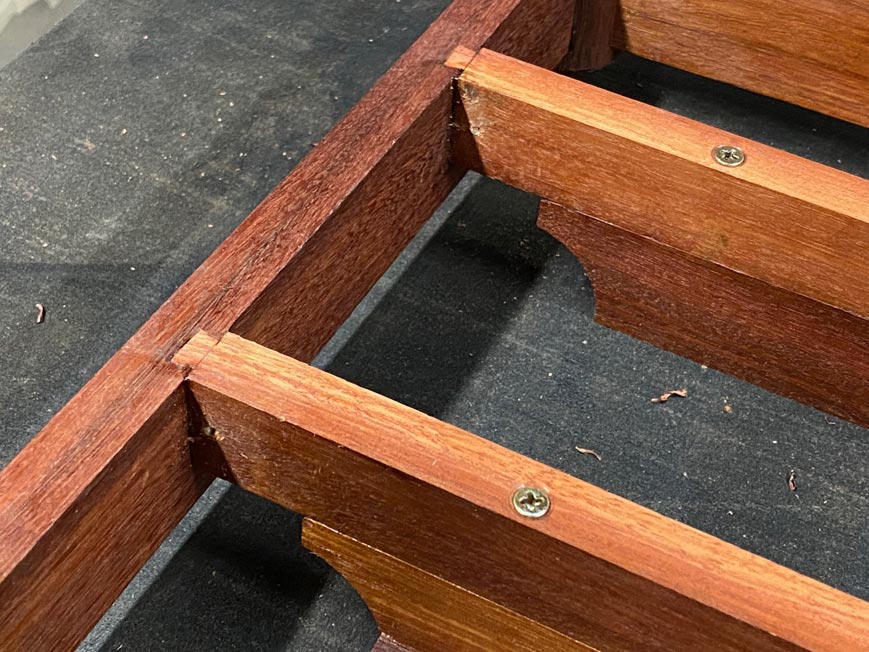
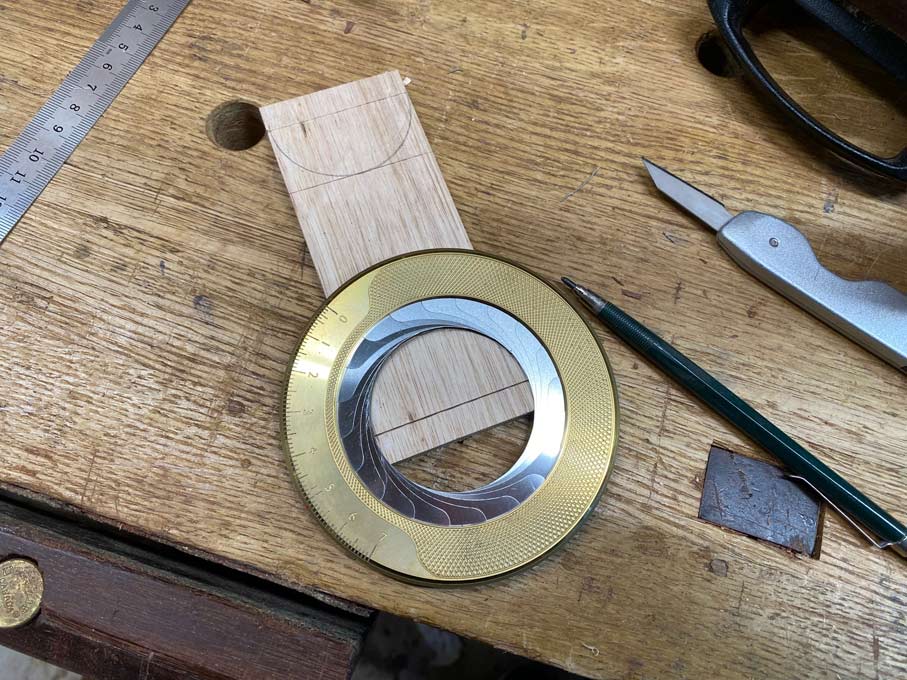
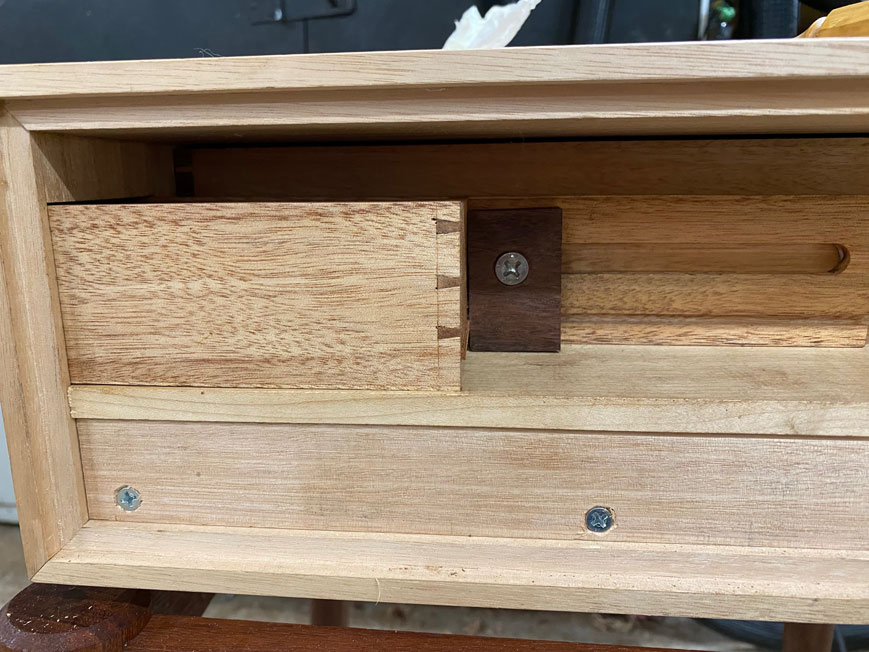
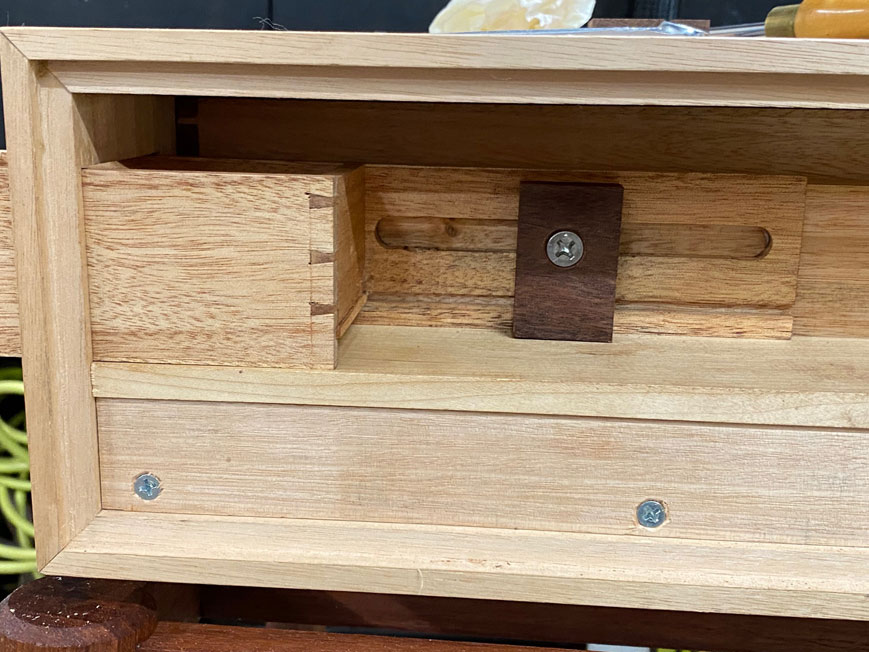
Michael Kellough said:If you want more visual separation between the corner of the box and the top of the legs consider rotating the brackets 180 degrees in the Z axis, then 90* in the Y or X.
In your last pics the bracket goes up, then in at 45*, then over to get deeper under the box.
Instead, let the bracket go in, then up to get under the box. The simplest shape of this bracket is 1/4 of a ring but you’ll probably want to customize it.
It might look less strong but it really isn’t, especially after all the screws are secured. The box still rests on four screws in sheer at/in the legs.
Thanks Michael
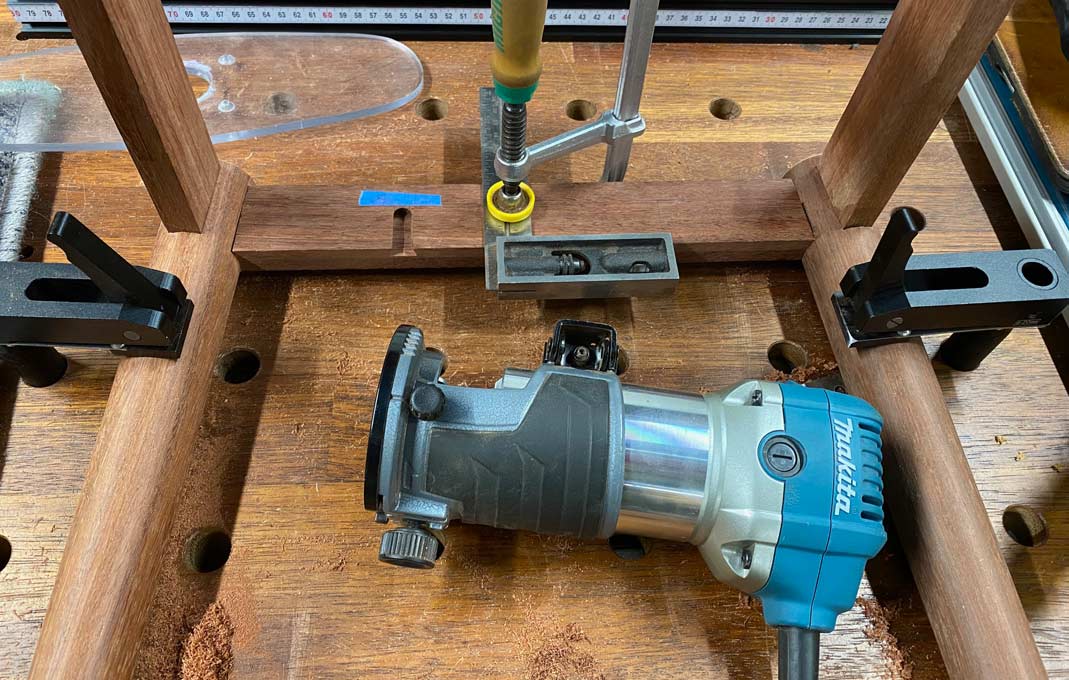
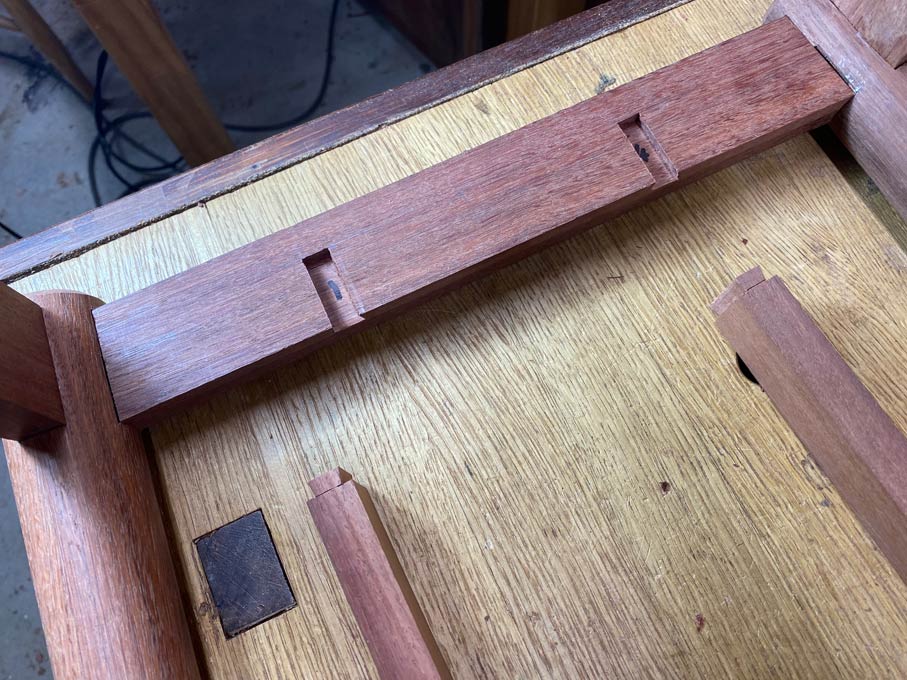
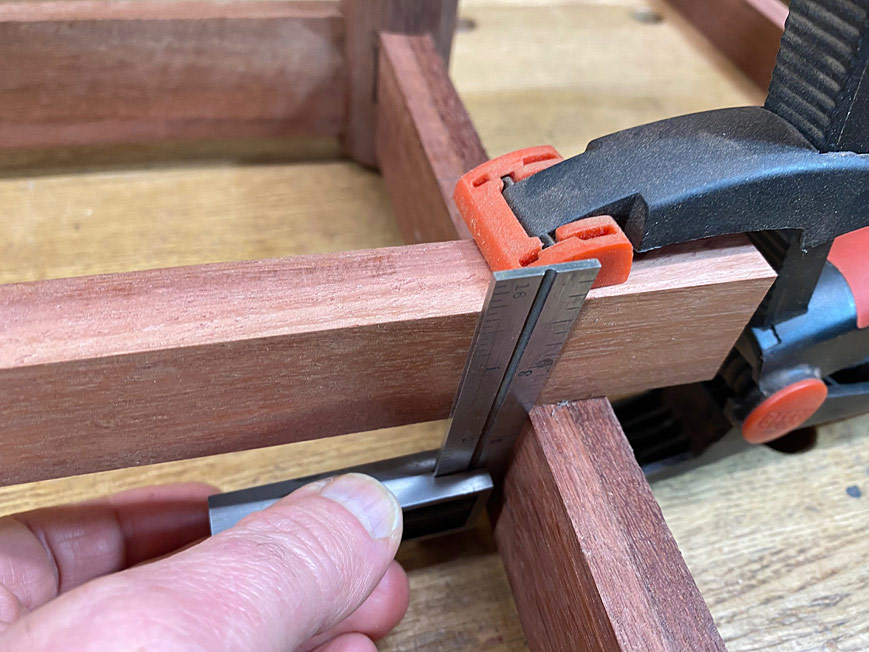
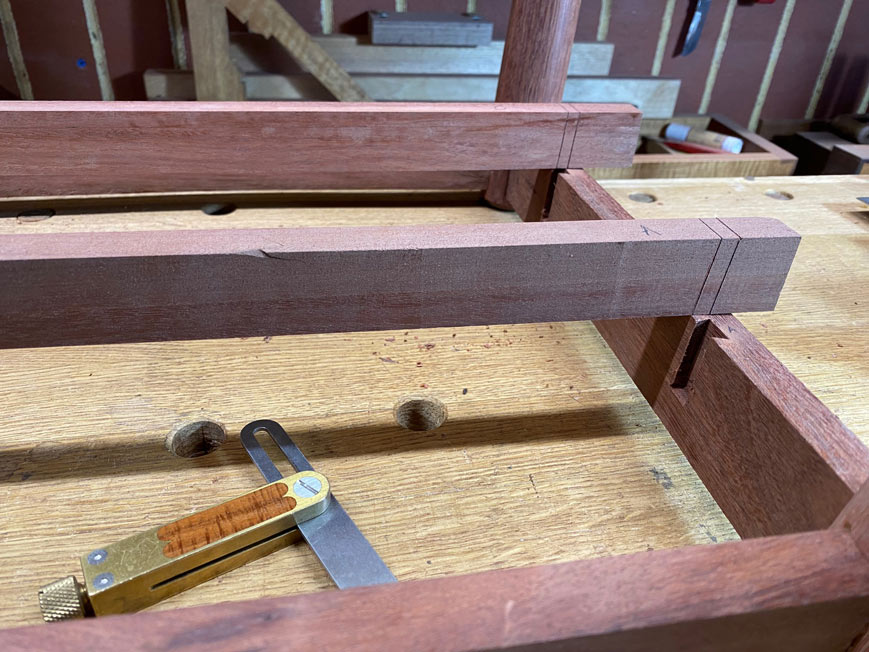
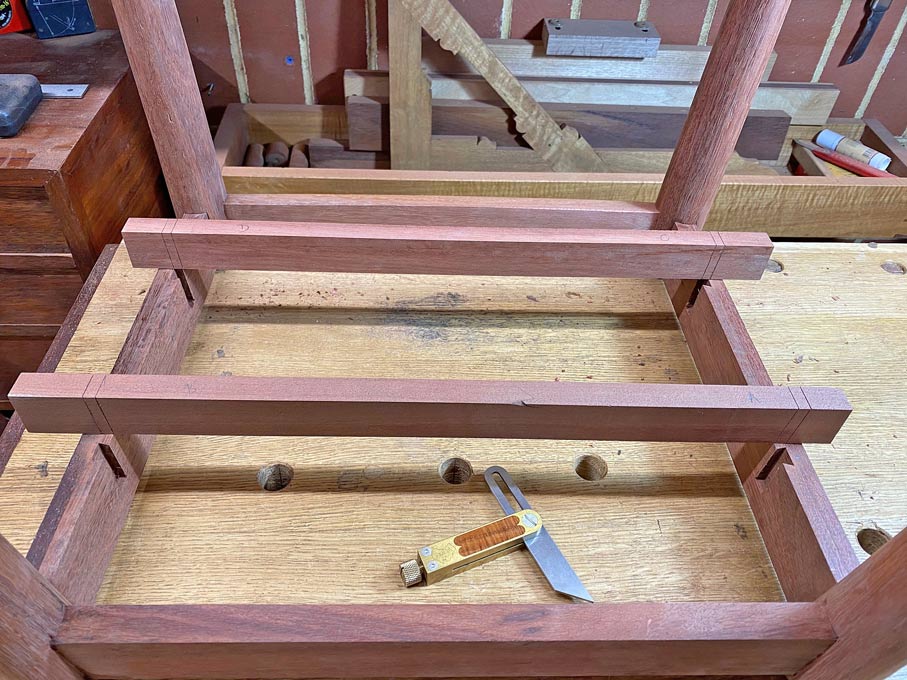
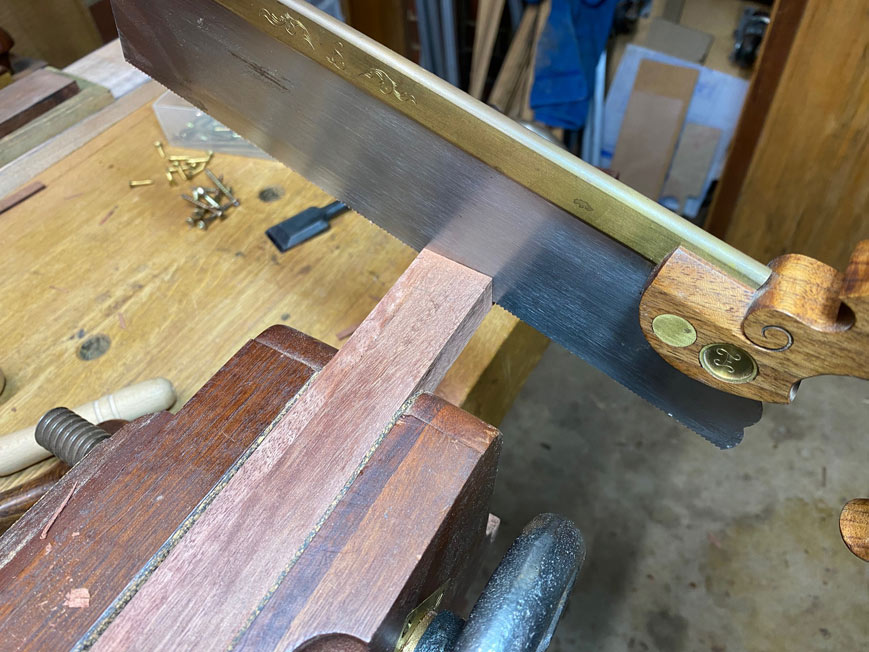
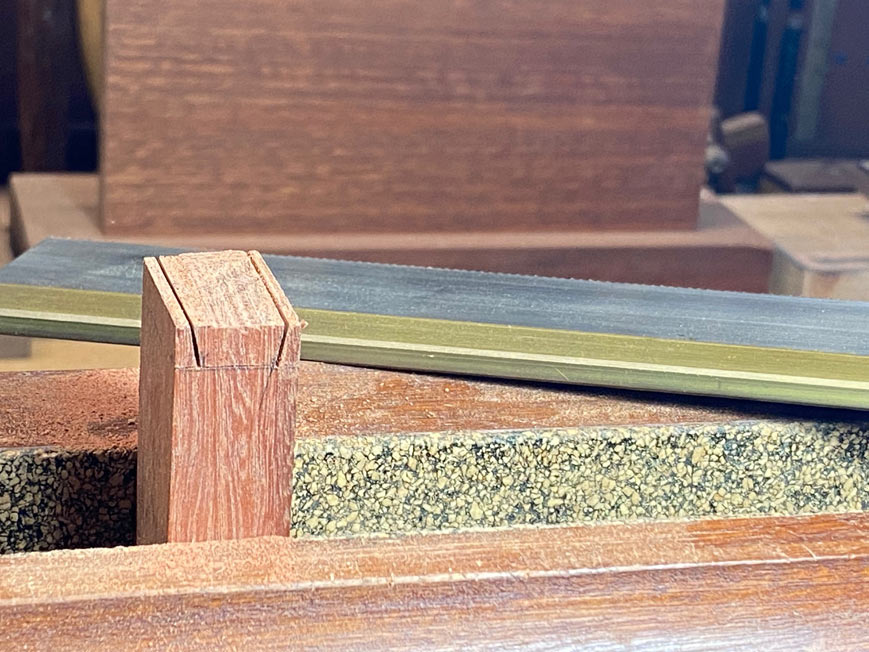
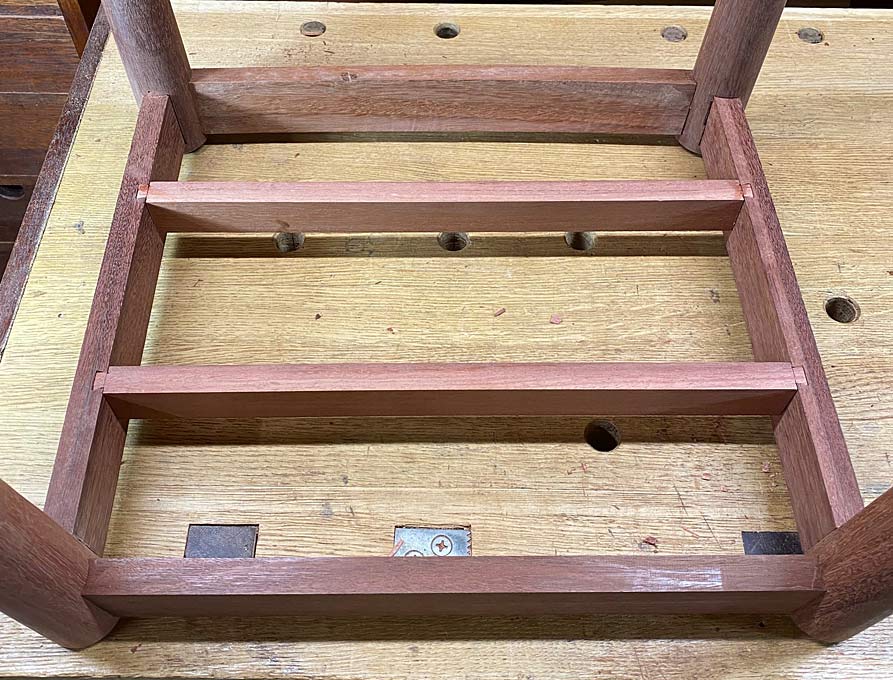
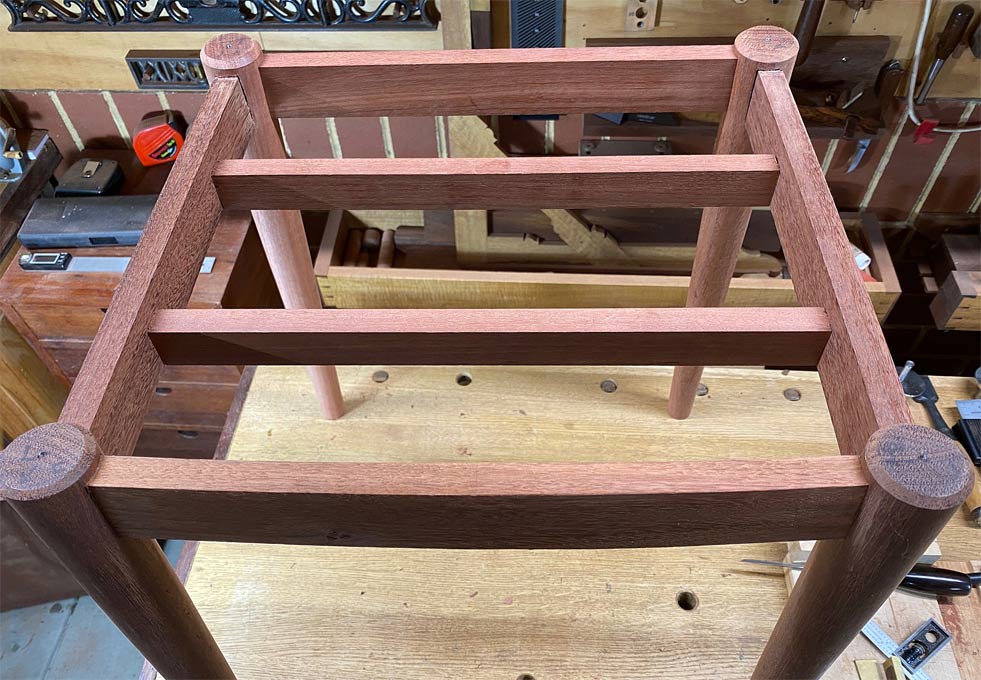
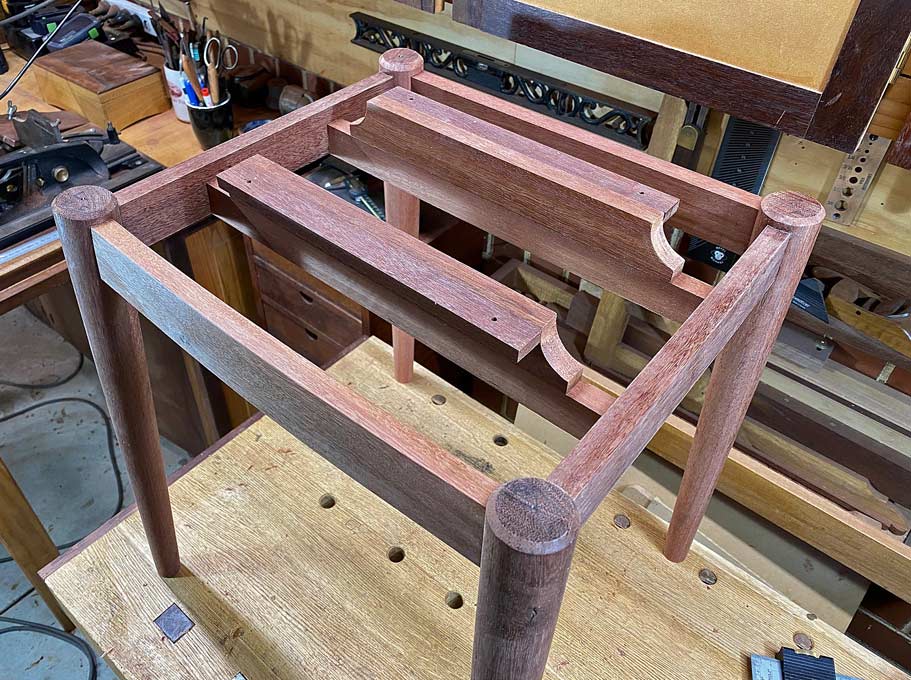
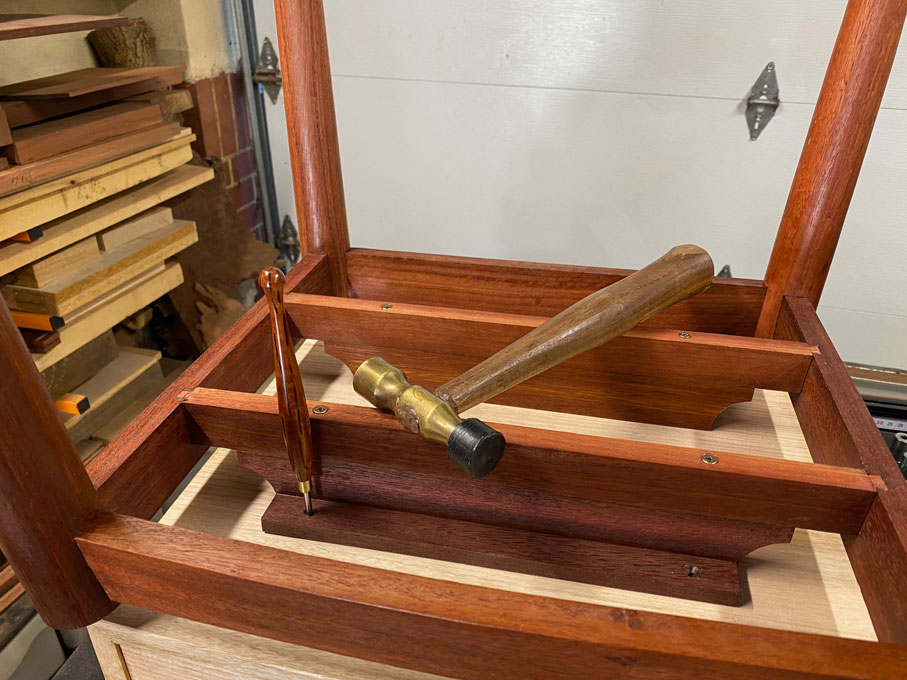
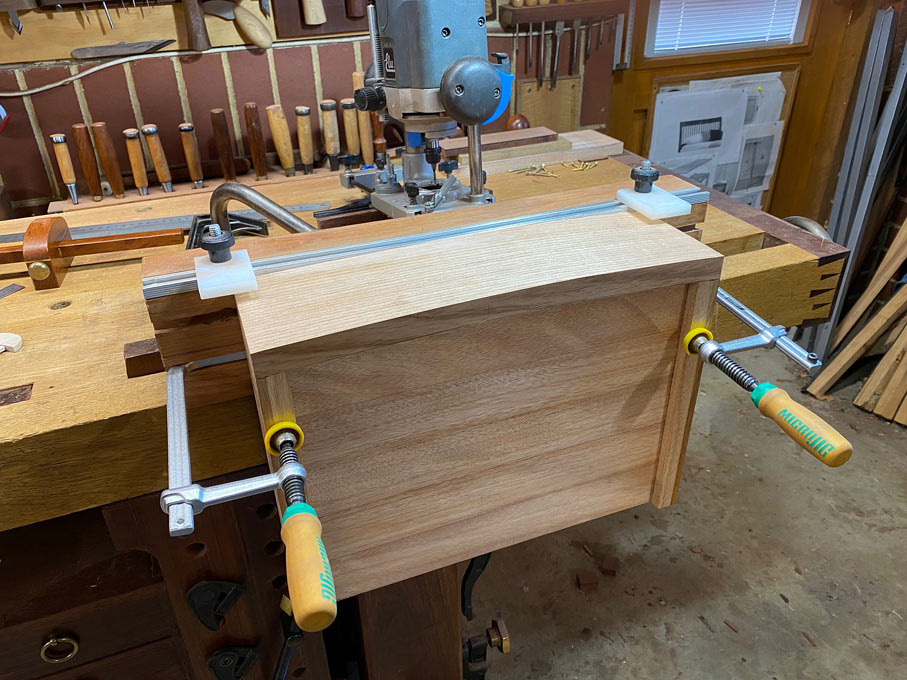
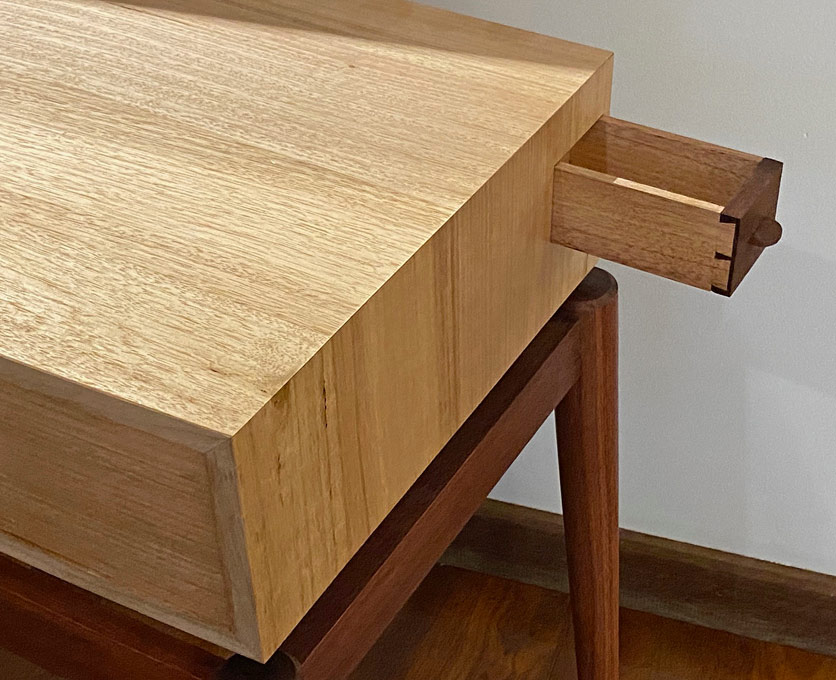
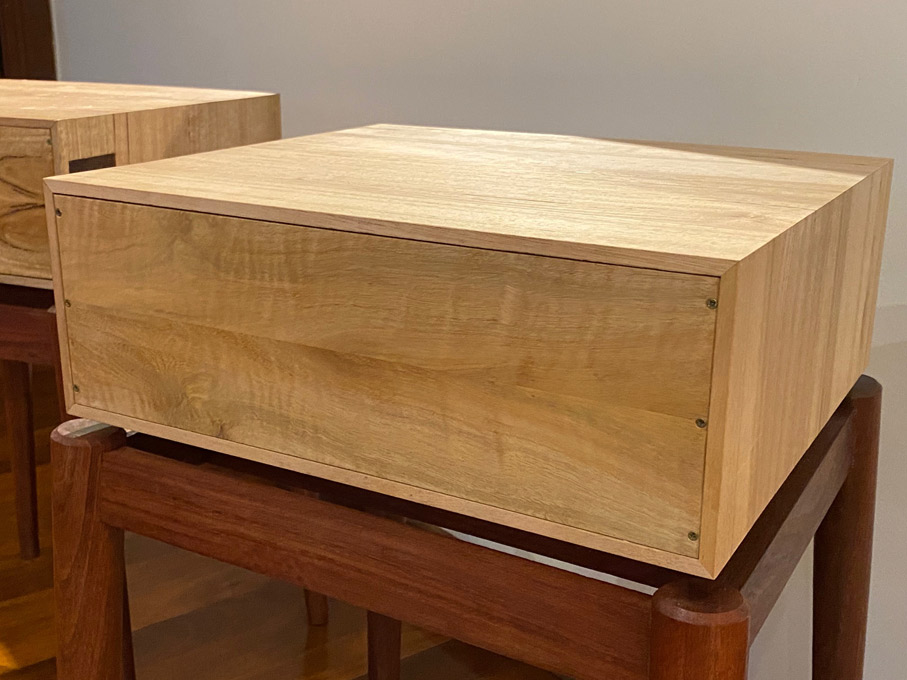
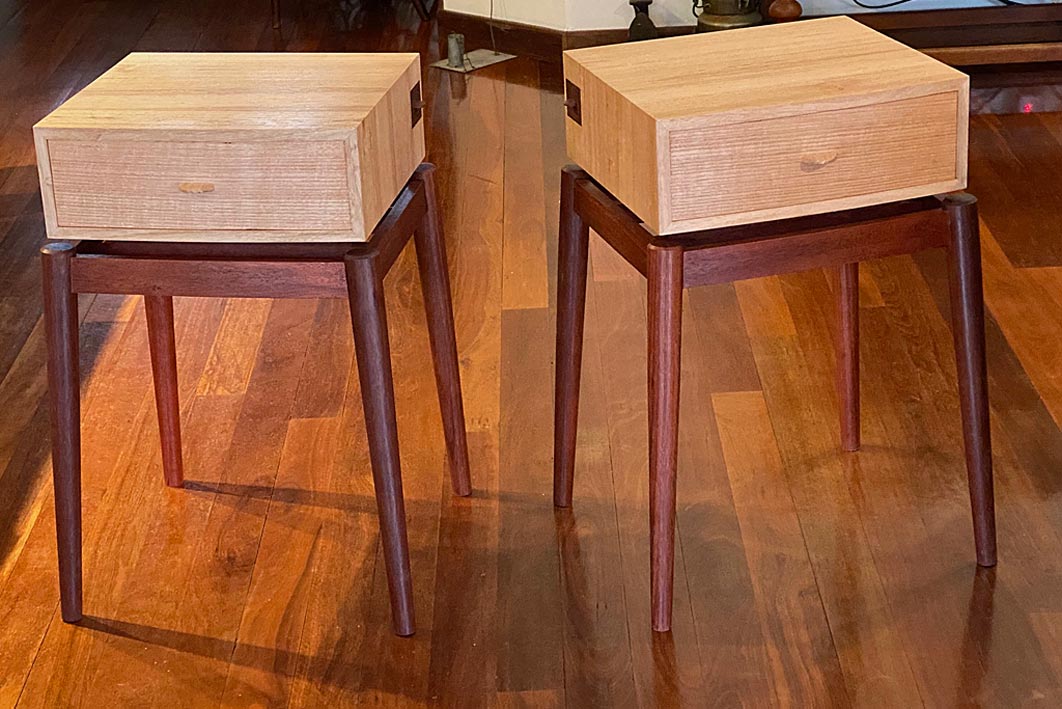
I literally woke up in the middle of the night (it happens when one is 73) and considered what would happen if the construction was tipped over on its side. The strength of the bracket is weak in lateral movement - perhaps not these, but in design. Consequently, this is not the connection I want to use, and I will go back to Plan A.
Regards from Perth
Derek