Slartibartfass
Member
- Joined
- Apr 25, 2014
- Messages
- 1,086
")

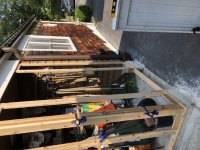

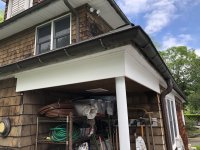
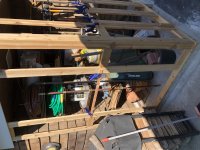
neilc said:Nice progress. I've enjoyed following this thread.
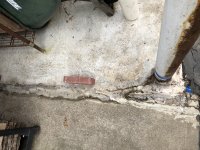
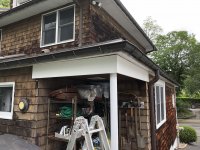
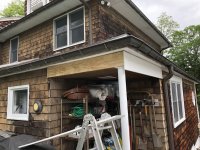
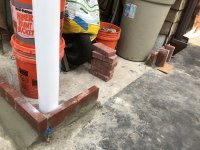
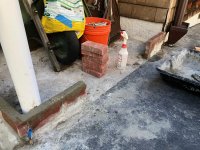
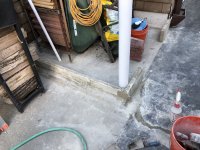
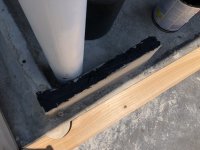
Are you doing exterior siding going to cover the concrete ledge you put in? If the door is going to the ground, might look better to have the siding and the door go to maybe 1" above the ground level. If it's cedar, should be no problem with moisture.