Cheese
Member
rst said:When I refinished my Adirondacks a couple years ago I found the extended delta pads for the RO90 handy.
And that’s my 3rd backup position. [big grin]
rst said:When I refinished my Adirondacks a couple years ago I found the extended delta pads for the RO90 handy.
Koamolly said:Looks like you’re doing a very nice job. I tried Smith's but ultimately went with West Systems and a heat gun to heat the wood before applying epoxy. I hated the fumes/smell of Smith's. West has some of their own thoughts on penetrating epoxies you might find interesting.
https://www.epoxyworks.com/index.php/penetrating-epoxy-legend-myth/
Koamolly said:Plus it’s so volatile, the fumes lingered in the house.
I had access to a unlimited supply of West (and as it turns out, quite a bit of really good red wine).
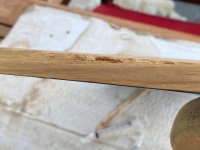
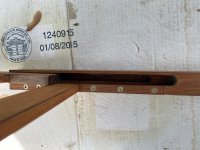
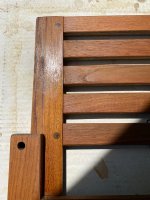
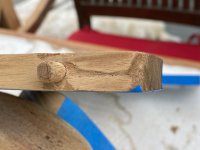
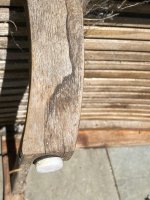
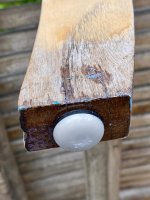
Vondawg said:Great job/work! I applaud you for your patience…Cheese from the looks of it you filled/sanded the chair back end grain and the joint cracks, which I guess receives the moisture as well, (under the leaking cover) do you think the CPES penetrated enough and the joint movement won’t cause it to fail/crack open up?
I see another quart of CPES in your future [wink] …thanks
Cheese said:Koamolly said:Plus it’s so volatile, the fumes lingered in the house.
I had access to a unlimited supply of West (and as it turns out, quite a bit of really good red wine).
Now that's weird, I've mixed up 8-10 batches of the Smith's stuff and I've yet to smell the volatiles. And I'm the one with the fine nose as my wife always asks me if something is still good to eat. [smile] Maybe it's because I've done everything outside?
I'm also using the Smith's winter formula which contains more volatiles so they flash off quicker during cool temperatures. This stuff can be used in temps from 70º down to 32º.
However, the free red wine could get me to switch vendors. [big grin] [big grin]
Koamolly said:Hmmm. I wonder if Smith's changed their formula at some point? This was a few years ago. I also worked outside with all the house windows closed and it lingered.
kevinculle said:We're pushing 70 now and the new house will have a composite deck built by guys a lot younger than me. Nice job on the teak!