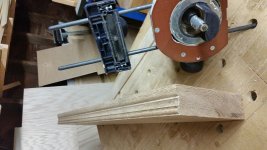
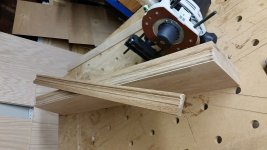
I don’t have a router table, but I do have an MFT, OF1400 and a Microfence-both the edgeguide and the guide rail extrusion.
I’d like to know a good method to route an edge profile into wood, for example a picture frame. I’ll need to route a profile on the front, and a space for glass and a backing on the rear.
I understand a router table is ideal, but I’d like to know what I can do with the setup I currently have.
I’d like to know a good method to route an edge profile into wood, for example a picture frame. I’ll need to route a profile on the front, and a space for glass and a backing on the rear.
I understand a router table is ideal, but I’d like to know what I can do with the setup I currently have.