Richard/RMW
Member
- Joined
- Jul 11, 2010
- Messages
- 2,947
Cheese said:Richard/RMW said:Ahhh... Point zero 74 inches, now I get it. [doh]
Takes me a while sometimes.
RMW
That silly little zero… [tongue]
Trips me up at least weekly.
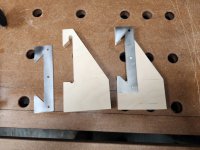
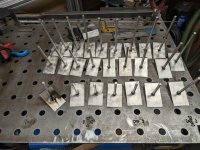
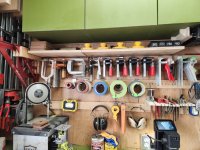
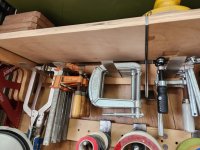
Being on a roll, I ordered the flat cleats for 300mm shelves and also a 1mm (avoiding that friggin' zero) thick generic FC box clip. I'm at the point of getting all my random glue bottles and stuff up off the worksurfaces so they should speed that up.
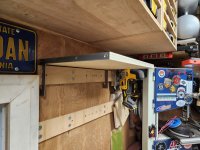
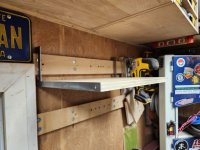
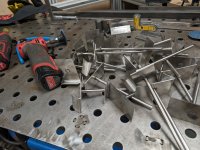
I like how these shelves nest together side-by-side, so I'm going to convert some of my office shelves that now have plywood FC standards to the latest design.
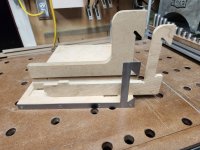
[attachimg=1]
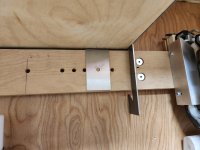
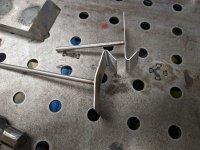
[attachimg=2]
The holes in this design are spaced so I can trim them to fit 100mm & 200mm depth shelves.
[attachimg=3]
RMW

")