Richard/RMW
Member
- Joined
- Jul 11, 2010
- Messages
- 2,947
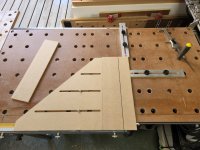
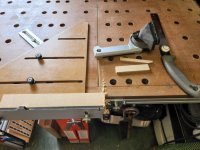
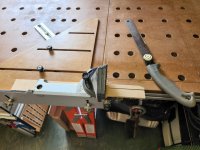
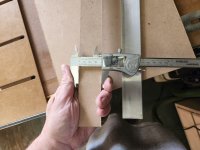
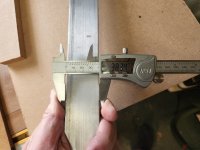
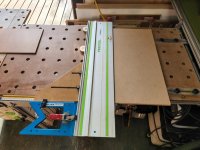
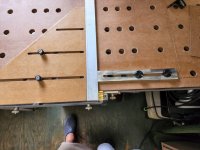
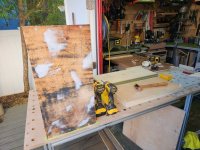
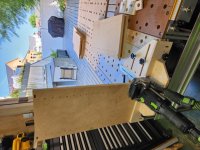
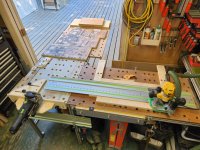
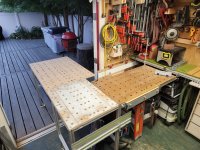
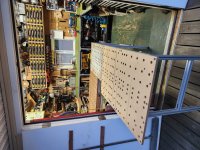
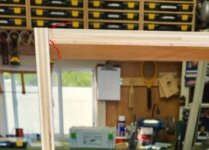
Does anyone have ideas for ways to secure stock under the guide rail to prevent it from moving during a cut? An example would be these small pieces of 1/4" MDF, they will slide while cutting unless somehow secured.
[attachimg=1]
[attachimg=2]
Needs to somehow push "forward" (towards the front of the MFT) and "in" towards the adjustable guide fence.
I'd love to have a spring-tensioned "arm" that pivots on a 20mm dog, but I'm coming up blank on how to do this. The point of contact on the stock will vary so whatever I use has to be infinitely adjustable. Also needs to be 1/4" thick so it'll fit under the guide rail.
Thanks in advance for any suggestions.
RMW