sebr023
Member
Hi all!
Thought I’d make a post about my current project.
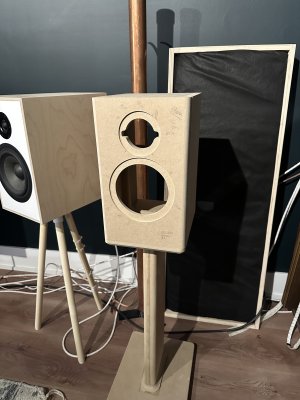
Sorry about the messy shop. Moved last years, got a second chil and we still have moving boxes in the garage. Doesn’t make the most clear picture with all the back ground noise.
I’m building 3 pairs of Solen Mura 5b. For a media / home theater room. 5 of them will be on the “bed layer”: left, center, right, surround left and surround right. The 6th one will be mounted as a “center height” channel.
4 others speaker, basic 3d printed one, will be installed on the surround left height, and surround right height. Will be powering all these with a denon 6700h.
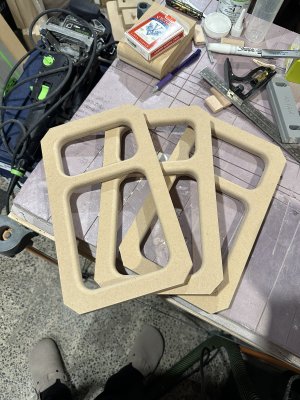
Solen offer pre cut panel to assemble the boxes. But I wanted to make them out of 3/4 mdf, and make a round port instead of the slot port Solen use in their plans.
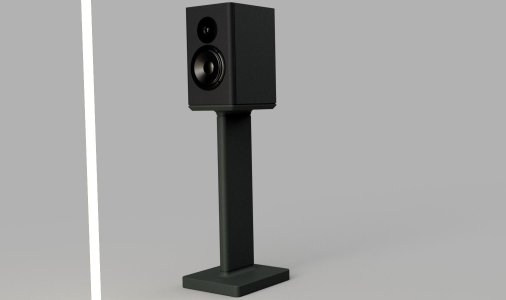
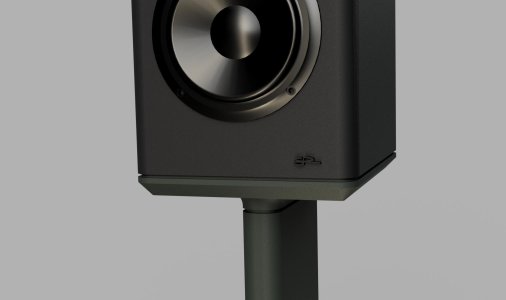
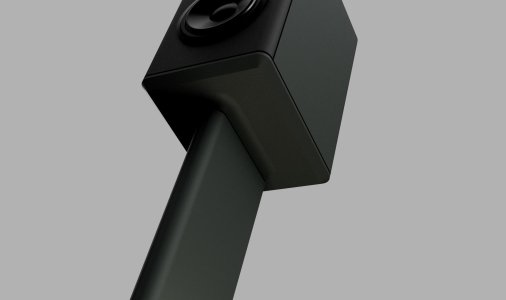
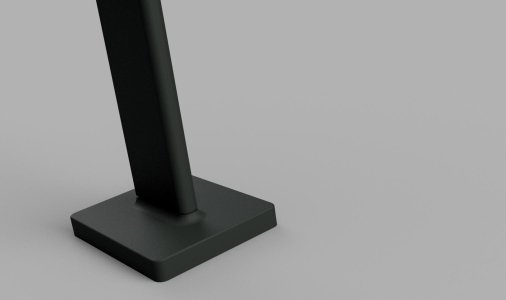
Started modeling it on fusion 360 back in January I believe. So heres the render of the build.

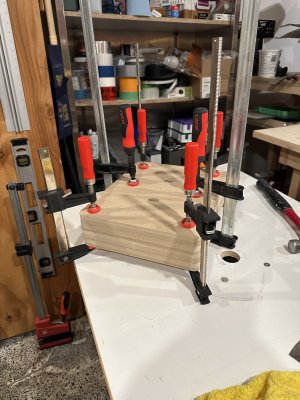
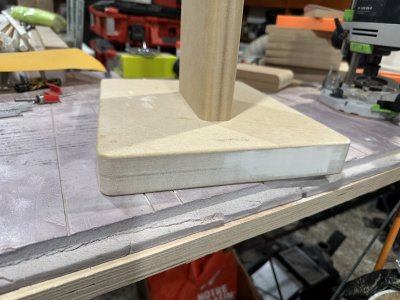
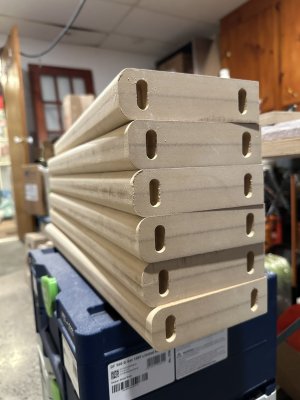
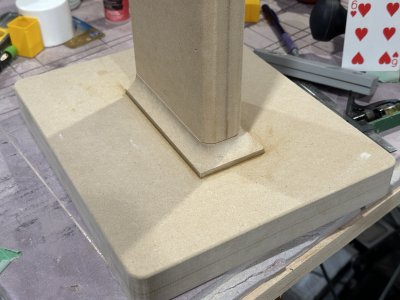
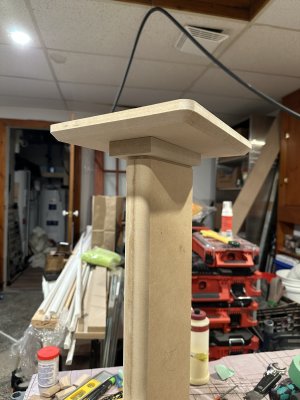
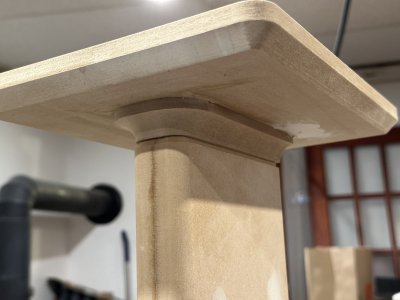
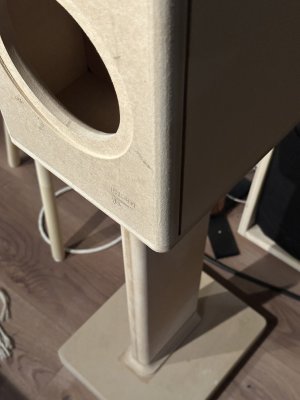
I decided to have a CNC shop to cut all my panels, except the the post. I used a left over from a previous project for the posts. They consist of 2 layers of 3/4 mdf x 25 inch long. I cut them to final size later.
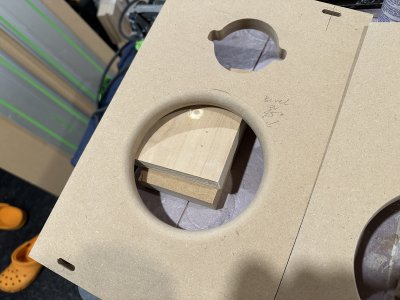
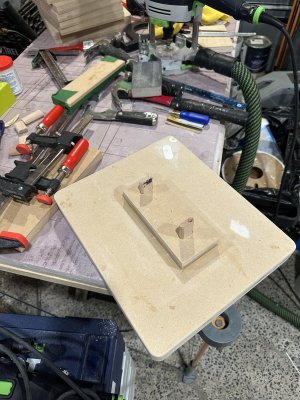
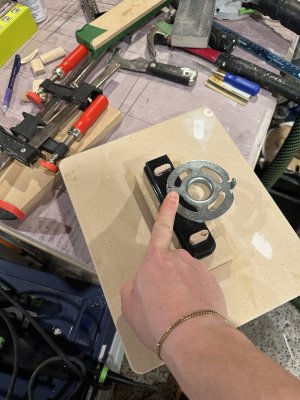
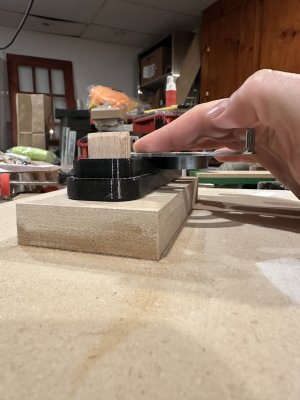
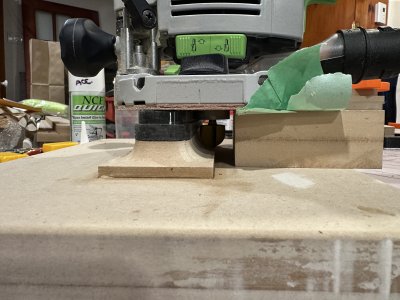
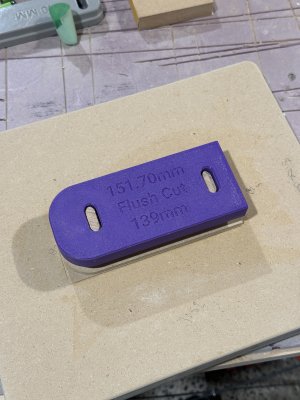
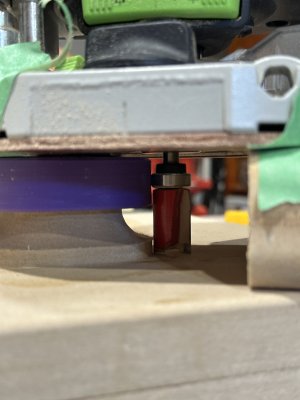
Anyway, so after I received the panel, I notice the circle weren’t round. They were off by 2 mm and it would show when I placed a driver in the holes. Reached to the shop, and at first they didn’t offer to replace them, so I model and 3d printed some template/jig to fix their oval circle.
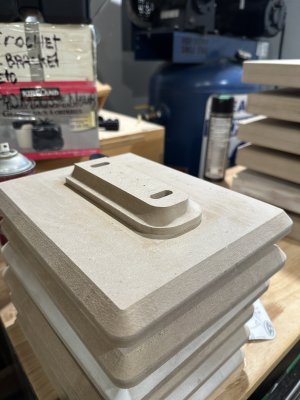
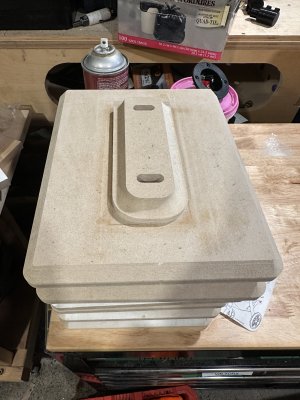
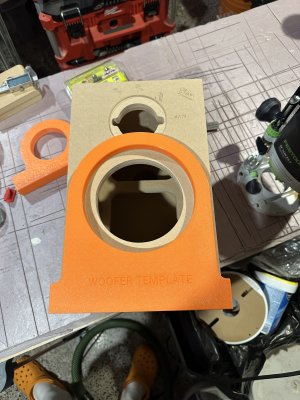
Woofer template:
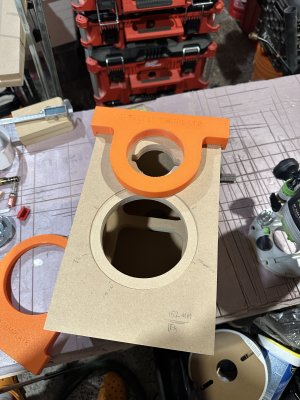
Tweeter template:
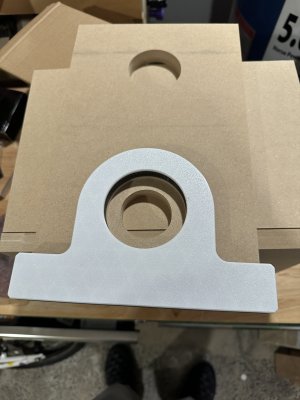
Speaker terminal cup template:
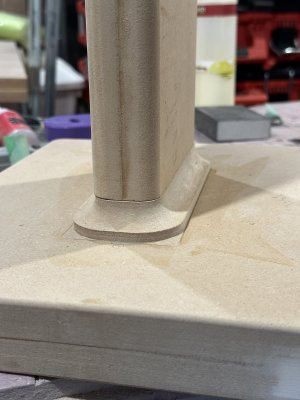
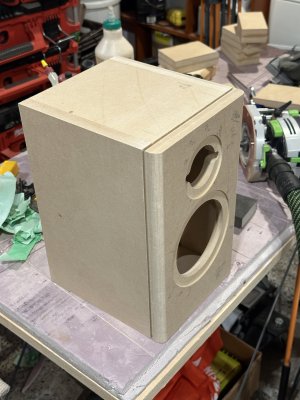
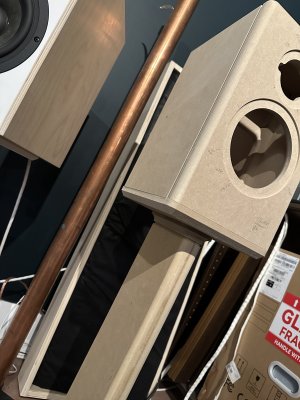
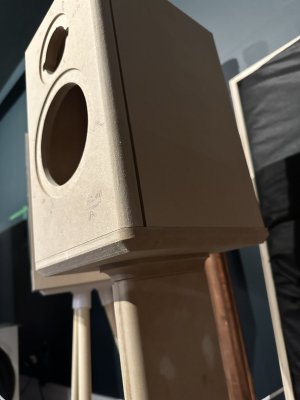
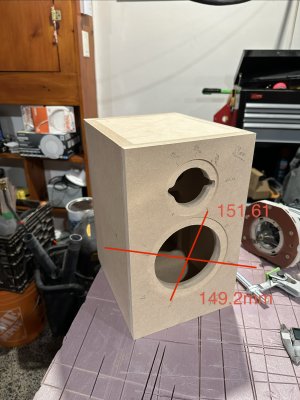
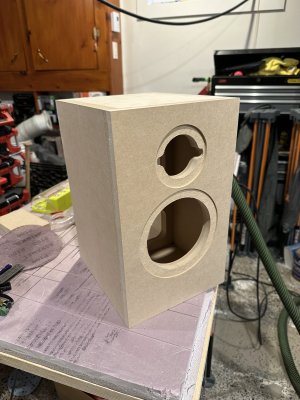
Also, you notice on one of the previous picture I dry fitted one of the boxes to see if all the panels would line up:
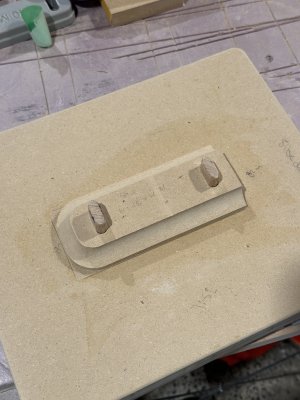
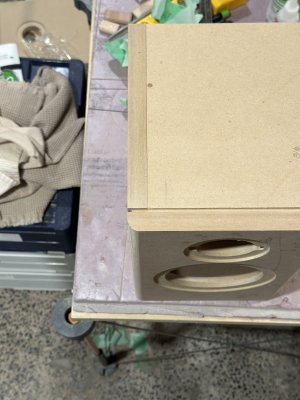
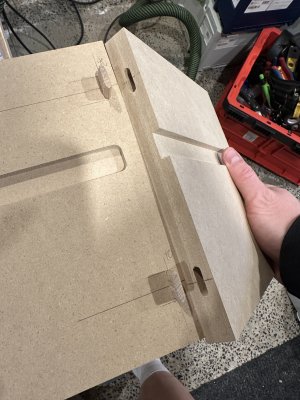
I used domino to dry fitted the whole thing:
I work on this project mainly on my lunch break since I’m WFH. I’m very glad to have this possibility.
I’ll make another post to continu the write up.
Thought I’d make a post about my current project.
Sorry about the messy shop. Moved last years, got a second chil and we still have moving boxes in the garage. Doesn’t make the most clear picture with all the back ground noise.
I’m building 3 pairs of Solen Mura 5b. For a media / home theater room. 5 of them will be on the “bed layer”: left, center, right, surround left and surround right. The 6th one will be mounted as a “center height” channel.
4 others speaker, basic 3d printed one, will be installed on the surround left height, and surround right height. Will be powering all these with a denon 6700h.
Solen offer pre cut panel to assemble the boxes. But I wanted to make them out of 3/4 mdf, and make a round port instead of the slot port Solen use in their plans.
Started modeling it on fusion 360 back in January I believe. So heres the render of the build.


I decided to have a CNC shop to cut all my panels, except the the post. I used a left over from a previous project for the posts. They consist of 2 layers of 3/4 mdf x 25 inch long. I cut them to final size later.
Anyway, so after I received the panel, I notice the circle weren’t round. They were off by 2 mm and it would show when I placed a driver in the holes. Reached to the shop, and at first they didn’t offer to replace them, so I model and 3d printed some template/jig to fix their oval circle.

Woofer template:

Tweeter template:

Speaker terminal cup template:

Also, you notice on one of the previous picture I dry fitted one of the boxes to see if all the panels would line up:

I used domino to dry fitted the whole thing:

I work on this project mainly on my lunch break since I’m WFH. I’m very glad to have this possibility.
I’ll make another post to continu the write up.

