Using Hardwood Oak Flooring to Make Panels

onocoffee

Member
Joined
Sep 23, 2024
Messages
1,503
Location
Baltimore, Maryland, USA
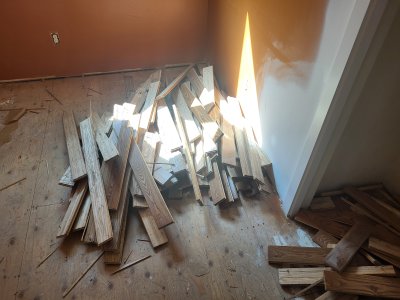
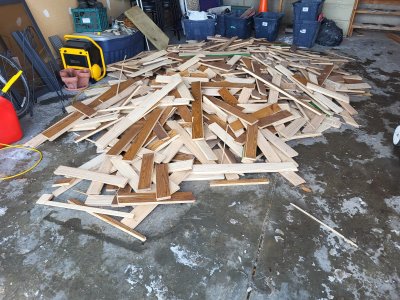
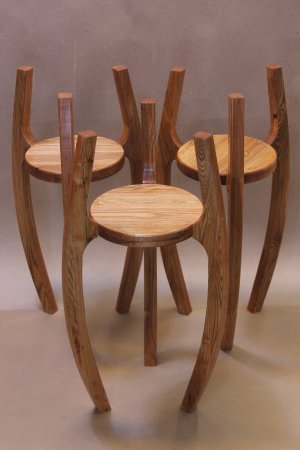
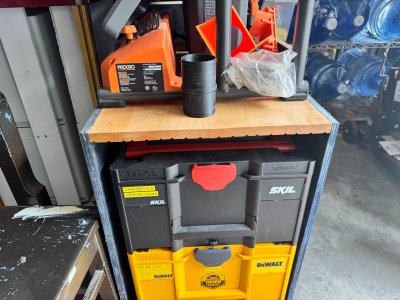
I stopped by one of the Habitat for Humanity ReStores today and found boxes of Bruce Hardwood flooring for $50/box - which is about half the retail price. I bought it to use the hardwood to make panels that will be the tops for the cabinets I mentioned in another thread. I figure this will give them a classy look.

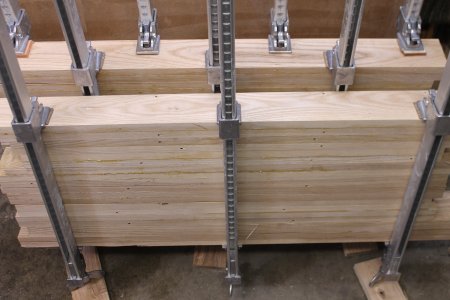
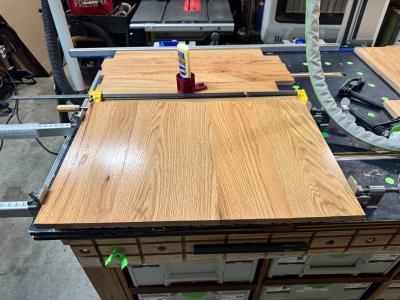
I've joined hardwood flooring together before with some remnants a friend had leftover from his home renovation. In that case, I took the maple flooring and ripped off the tongue and groove from both sides of the boards, domino and glued them together. This worked very well.

What I'm wondering is: if I want to leave the joint seams, can I just glue the boards (with the tongue and groove) together? I realize that the typical flooring application is to nail the tongue to the underlayment.

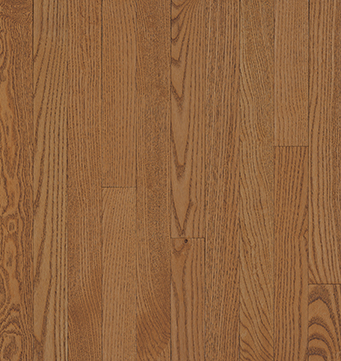
This is the product I bought - 20sf, 3/4" thick turned out to be $3.33/bf, which seems like a decent enough deal.


Thanks!
 
Most hardwood flooring is designed to get a tight fit between boards on the top side.
To do that the fit is designed to be loose on the underside.

Try clamping several boards together and see if the assembly bows such that the top is convex.

To follow through with your idea you’ll probably need to do some trimming.
 
Keep in mind that most pre-finished flooring will have aluminum oxide dust mixed in with the surface finish. It makes the flooring more scratch resistant, but can make sanding it more difficult and dull your saw blades quicker.
 
Or mount the flooring onto a 3/4” thick sheet of plywood. Cut it to size and edge band it with more flooring. The resulting board will be about 1-1/2” thick. The same as most butcher block countertops. No bowing worries. Rent a flooring nailer for quick results and tight seams.
 
I have used hardwood flooring planks (given free to me) quite a lot but have never used them as is. I removed all the grooves and tongues and thickness-planed them to proper stock first. It's true that it was a lot of work to turn them into usable lumber, but it felt really good that I was giving them a second life.
 

Attachments

  • Photo 2.jpg
    Photo 2.jpg
    1.6 MB · Views: 50
  • Photo 2.jpg
    Photo 2.jpg
    581 KB · Views: 26
  • Photo 4.JPG
    Photo 4.JPG
    1.3 MB · Views: 30
I have seen this done before for cabinet doors. As long as the plank look works for you, it's viable. You definitely need to keep things flat and you might want to take some thickness out if you're doing a frame and panel look.
 
Most hardwood flooring is designed to get a tight fit between boards on the top side.
To do that the fit is designed to be loose on the underside.

Try clamping several boards together and see if the assembly bows such that the top is convex.

To follow through with your idea you’ll probably need to do some trimming.
Thanks.
I tried this once before when a friend gave me some of his leftover maple T&G flooring to make a smaller cart. In this version, I ended up sanding off the original finish and ended up with a panel that had a little bit of valleys (a result of judicious Rotex application) but for the purpose it works well enough. Don't quite like how the corrugations on the bottom show so I might end up planing these out on future builds.
 

Attachments

  • IMG_2245.JPG
    IMG_2245.JPG
    3.2 MB · Views: 42
Started working on the panels today. Ripped the tongue & groove off both sides and cut longer pieces to around 450mm. Set up two orientations - one long grain panel that will run the depth of the cabinets at 620mm, and the other three sets of cross panels where the boards run 427mm.

The first board I assembled using 6x40 dominos but was thinking - I don't really have to use dominos, correct? I can just go with the jointed edges and no dominos/biscuits. I've gotten so used to adding dominos lately.
 

Attachments

  • IMG_2326.JPG
    IMG_2326.JPG
    3.9 MB · Views: 22
Started working on the panels today. Ripped the tongue & groove off both sides and cut longer pieces to around 450mm. Set up two orientations - one long grain panel that will run the depth of the cabinets at 620mm, and the other three sets of cross panels where the boards run 427mm.

The first board I assembled using 6x40 dominos but was thinking - I don't really have to use dominos, correct? I can just go with the jointed edges and no dominos/biscuits. I've gotten so used to adding dominos lately.
That's some sensational White Oak there!
 
Michael beat me to it. If you're using the pre-finish as your finish, you might want Dominos to help keep the faces flush.

Now...tell me about your glue stand. That looks like something I need.
 
@Michael Kellough Typically (and for this first panel), I used 6mm dominos - but if it's really just for alignment, I could use 4 or 5mm, right?

@jeffinsgf - I just came across that stand and printed it the other day. This is the first time using it and I really like it. This version holds the bottle upright and will close the nozzle. Fantastic. It does not re-open it when pulling it out - just closes. Printed in PLA on Bambu P1S.

 
Back
Top