Stevenski
Member
To conclude a previous post I made about zero clearance insert profiles for the KS 60
Despite some very helpful and insightful suggestions, nobody was able to provide an existing template for the KS60.
I thought that ChatGPT might be an interesting place to start and indeed it was!
It took a couple of days because I kept using up my limit of free “searches” (or whatever they are called ) together with some fine tuning of the AI output in Inkscape and LightBurn but in the end I had a usable SVG file which I used on my mini CNC to cut out an insert plate.
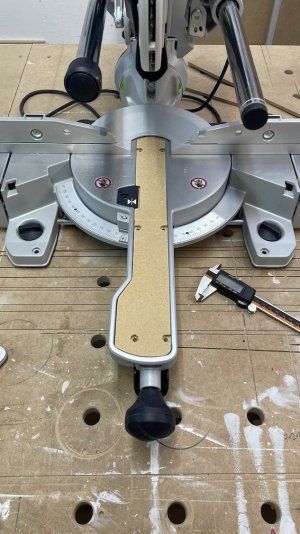
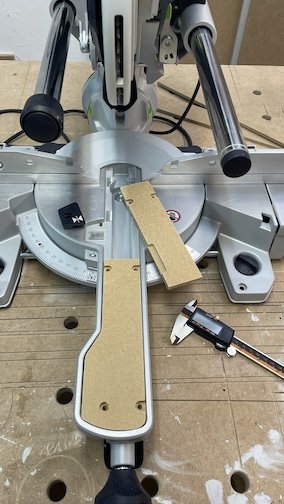
Because I only have a 3018 CNC which has a small bed capacity, I had to split the insert into two pieces but this has no practical impact on its functionality. In fact it may turn out that if I need to replace part of it later, I only need to replace 50% I am very pleased with the result which quite honestly surpassed my starting out expectations
The first 2 photos show Ver 1.0
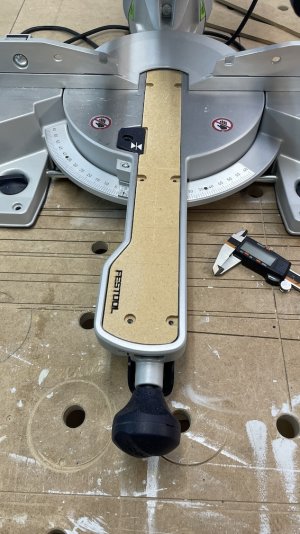
with Ver 2.0 I started getting cocky and started laser etching the insert for fun (I have lots of ideas for that including laser etching a totally superfluous scale )
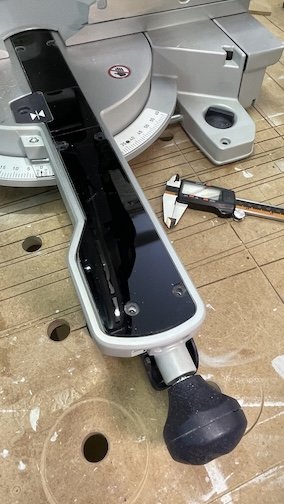
Ver 3.0 is the “sexy plexy”version because I had some leftover plexi and well…why wouldn’t you want a gleaming, shiny black zero clearance insert when you can have one??
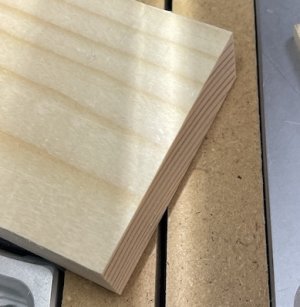
Final picture is just to prove that it really did deliver a cut with zero tear out.
I am happy to provide the SVG file (or G Codes) to anyone who would like it
Despite some very helpful and insightful suggestions, nobody was able to provide an existing template for the KS60.
I thought that ChatGPT might be an interesting place to start and indeed it was!
It took a couple of days because I kept using up my limit of free “searches” (or whatever they are called
Because I only have a 3018 CNC which has a small bed capacity, I had to split the insert into two pieces but this has no practical impact on its functionality. In fact it may turn out that if I need to replace part of it later, I only need to replace 50%
The first 2 photos show Ver 1.0
with Ver 2.0 I started getting cocky and started laser etching the insert for fun (I have lots of ideas for that including laser etching a totally superfluous scale )
Ver 3.0 is the “sexy plexy”version because I had some leftover plexi and well…why wouldn’t you want a gleaming, shiny black zero clearance insert when you can have one??
Final picture is just to prove that it really did deliver a cut with zero tear out.
I am happy to provide the SVG file (or G Codes) to anyone who would like it


