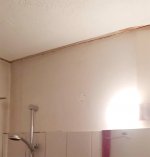
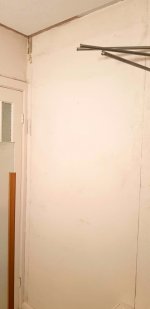
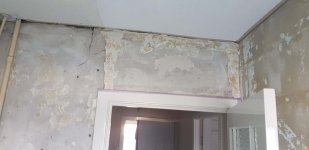
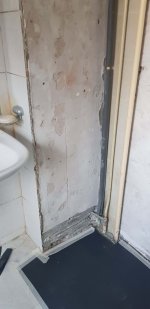
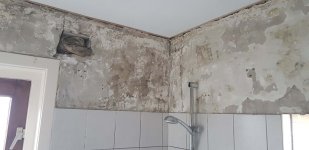
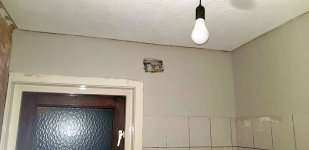
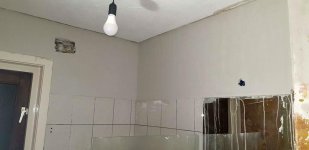
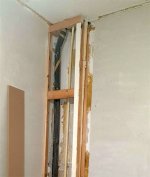
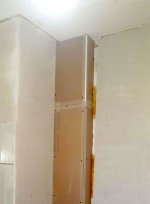
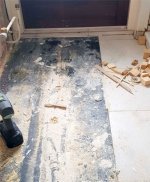
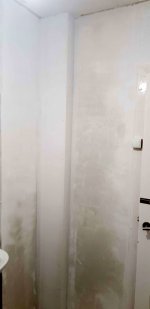
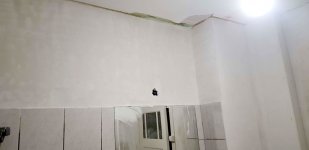
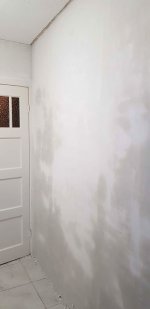
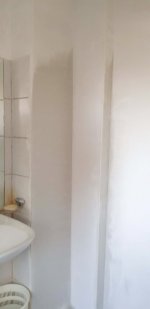
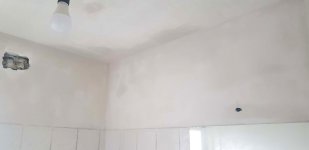
Time to place the new radiator. I first painted this wall with Sigmatex wall paint. In the bathroom you always need to make sure you have a wall paint that's moisture regulating (ie water vapour can pass through because of little pores). This is essential to prevent fungus.
Sigmatex is simply the best there is, world champion No1. I bought a 10 L can worth €175 for €3 in a thrift store, only 5% used up. [cool] I know it is the real deal because I recognise the smell, viscosity and texture.
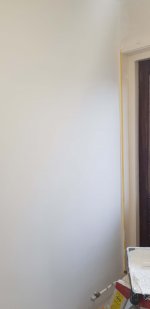
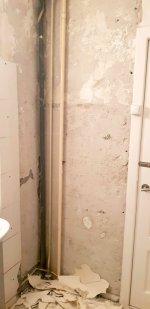
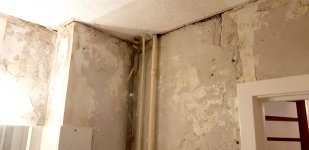
The old pipe on the left was too small for the new radiator so I had to make that one new. Pipes, tubes, you make a difference, I don't, we call them pipes here in Holland, so I call them pipes.
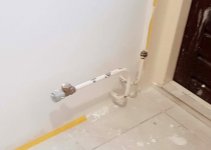
Opening the heating system is always a tedious job. All the water above has to drain out first. Messy, and time consuming.
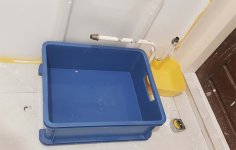
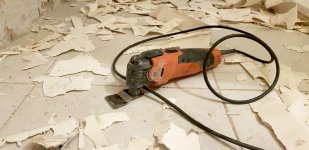
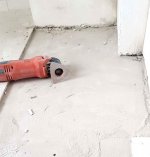
And on the other side of the wall, had to disconnect both pipes and cut through them to make them a little bit shorter. The Protool grinder works great for that. I really like this grinder, it is nicer than the old Elu I had for the last 23 years. It makes less noise, while it is stronger, and when the motor runs you just feel it pulsating with power. And it's a little bit smaller.

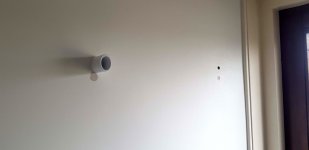
Time to install the supports for the radiator. As you can see, I did it wrong again the first time. Well, thanks Hornbach for that.
They give you this minuscule pamphlet of instructions that doesn't say anything but the order the parts go in. So I'm eyeballing these 4 wall plugs, and thinking, are they 10 or 12 mm? I can't see any mark, and nothing on the pamphlet either. So I'd figure I start with a 10 mm hole. I try to put the plug in and I have to hammer so hard to get it in that the plug deforms. OK, let's try 12 mm. Now it goes in just fine. But when I put in the bolt to bolt it down, it just keeps turning and turning forever because the plug turns in its hole. Great. So it must have been 10 after all.
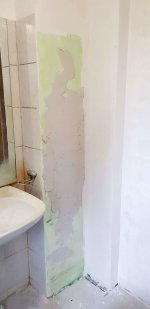
Well, better try a new hole, this one's toast. 10 mm again, and this time I take it very slowly and use some pliers to keep the plug secured and in shape while I hammer it in, slowly. Luckily it did work now. Thanks Hornbach, those few drops of ink to mark it 10 mm were to expensive? We'd like to get there without trial and error, if you please. Now I have to patch the bad holes up also. Luckily you won't see a thing when I'm finished.
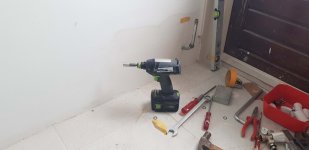
The Ti15 makes it a breeze to get the bolts in. I don't like its noise, but I do like its precision with bolts.
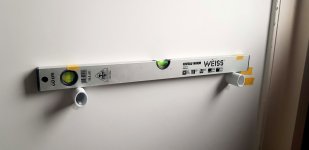
Make sure the supports are level. I use yellow tape to mark out the spots. I don't like using pencils for that. Because you have to remove all the marks later on.
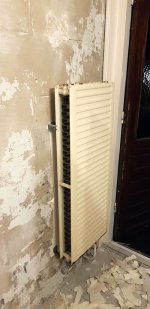
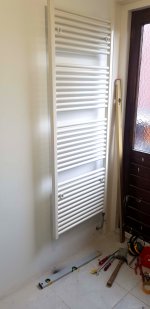
And the radiator installed. So much nicer than that old, rusty thing that used to hang there. And now I can dry 4 towels at once.
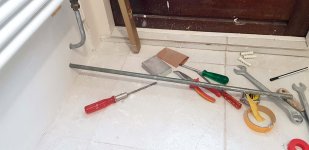
The new pipe fitted. But it's too straight, I don't like straight. I like curves.
I put it in the pipe bender I borrowed from my neighbour. One side is steady, the other has a roller. You need to use quite a bit of force, but it works.
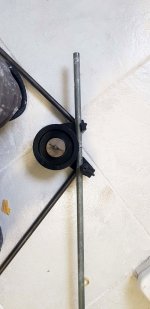
Looks fine to me.
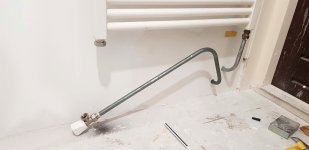
And everything connected. Started this last night but couldn't finish it. So my heater was out for 24 hours, and it's getting colder here. Glad I can turn it on again.
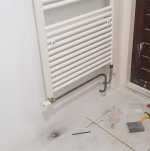
The bathroom is shaping up nicely, almost done. Only some paint work on the walls and doors, and install the lights.
