I recently had to make a box with a series of cubby holes in it and wanted to dado in the uprights, and came up with this easy, low tech way to get tight fitting dadoes on the undersize thickness plywood that I was using.
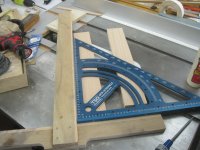
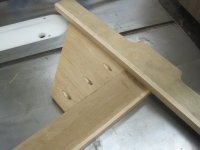
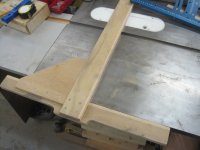
I made a T-Square with a leg long enough to span the material being dadoed.
[attachimg=1]
Showing the gusset added to strengthen the joint
[attachimg=2]
The finished assembly
[attachimg=3]
For some reason, I didn't take any photos past this point, but it's use is pretty easy to explain. Not shown in the part is the notch added to align the T-Square with the dado location - I use the Woodpeckers Story Stick to lay out the dadoes on each cabinet side for accuracy, and mark the TOP side of the dado. As I'm using a 1/2" router bit to cut the u/s 3/4" dado in two passes, the alignment notch was made with a strip of 1/2" thick MDF against the guide leg of the T-square, effectively moving the groove 1/2" over from the "normal" position where the edge of the router base runs against the guide. The first pass is then made with the T-square clamped to the part (the gusset makes a very handy clamping point) and the MDF strip against the long leg. After making the first pass, replace the MDF with a strip of plywood from the sheet that was used for the cabinet dividers and, moving in the other direction, make a second pass which opens the dado to an exact fit on the divider.
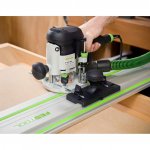
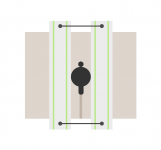
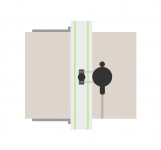
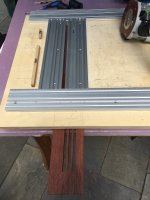
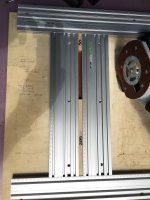
And, as the OP was asking how to do this using the Festool rail, I came up with this solution using the same basic method - you'l need a rail of the appropriate length, a GRS square with the angle accessory (short one should be OK) and a wood spacer. The base of the router would be guided by the rear (grooved) edge of the rail so that the Festool router adapter is not required. The angle would have to be modified by adding a couple of holes so that the wood can be attached to it. In use, the wood spacer would be attached to the angle and, still using a 1/2" spacer, the alignment notch cut in the wood spacer. At that point, the use is the same as my wooden version - line the notch on the wooden spacer with the layout line on the part, clamp both ends of the rail, put the 1/2" MDF spacer against the back of the rail and cut the 1/2" wide groove, remove the MDF and replace it with the plywood strip and cut the dado to the finished width. The big advantage of this method is that it can be used to cut dadoes of different widths as long as they're wider than 1/2", so that variation of thickness between different brands/batches of plywood doesn't affect it's use.
Actually cutting the dado takes less time than it took me to type out the instructions. I don't have a way to make a demo photo with the GRS square (still waiting for the drill jig to become available so that I can upgrade my early-model GRS) but I could maybe dig out the wooden square and try that. I replaced that method once I figured out how to adapt the EZ Bridge and SSRK to mount on the MFT, and use the stops on the SSRK to give me the end points for the dado - still using the 1/2" MDF and a piece of the plywood being used to set the stops on the SSRK.

