derekcohen
Member
- Joined
- Jun 22, 2008
- Messages
- 1,060
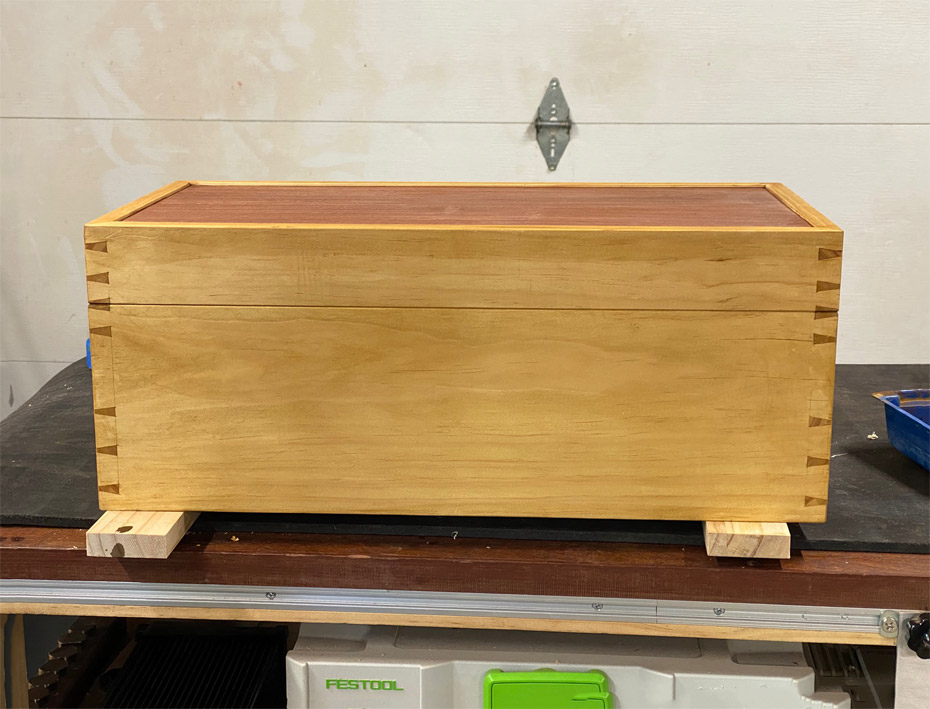
I have shifted my goal for the Fantasy Tool Box since I first posted about my intention to build a small chest (540 x 280mm x 220mm high) to house tools for a hopefully - that's the fantasy part - furniture making program, hopefully in a city over the sea, after I retire (in about 12 months!). The change is that the chest will only house tools I have made. Saws I have made already. Marking knives I recently made. There are new blades coming for the knives. I will post an update on these when all is done.
One reason for building the tools is to make everything as light as possible for travel. This is where this tool chest differs from those that reside in a workshop. Can I get a full furniture makers set of tools in to a small chest? It requires careful consideration as to which tools are really necessary, and which are not. The tools will be displayed and discussed when all is complete.
I am presently working on the chisels. Details for another time once they are all done (six done, two to go). This is more about the chest, and a preview of the chisels in use dovetailing the sliding tray in which they will live.
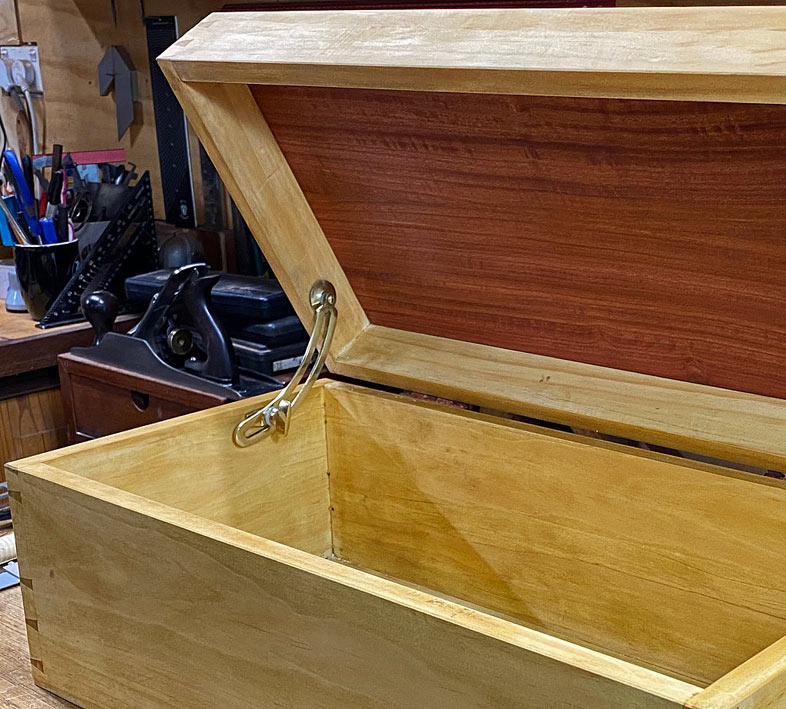
The chest has to be light but tough, and so it is built from Radiata Pine. Here stained to look like old pine. The lid panel is Makore. I am not sure whether I will add inlay to jazz it up - a decision for another time.
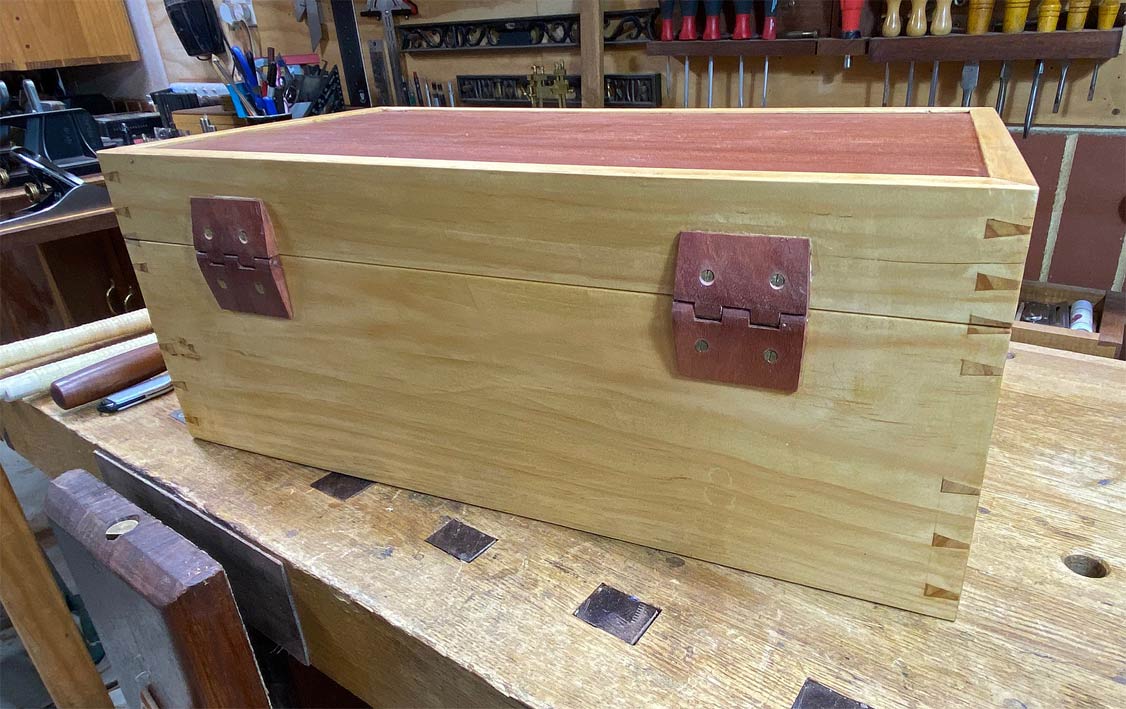
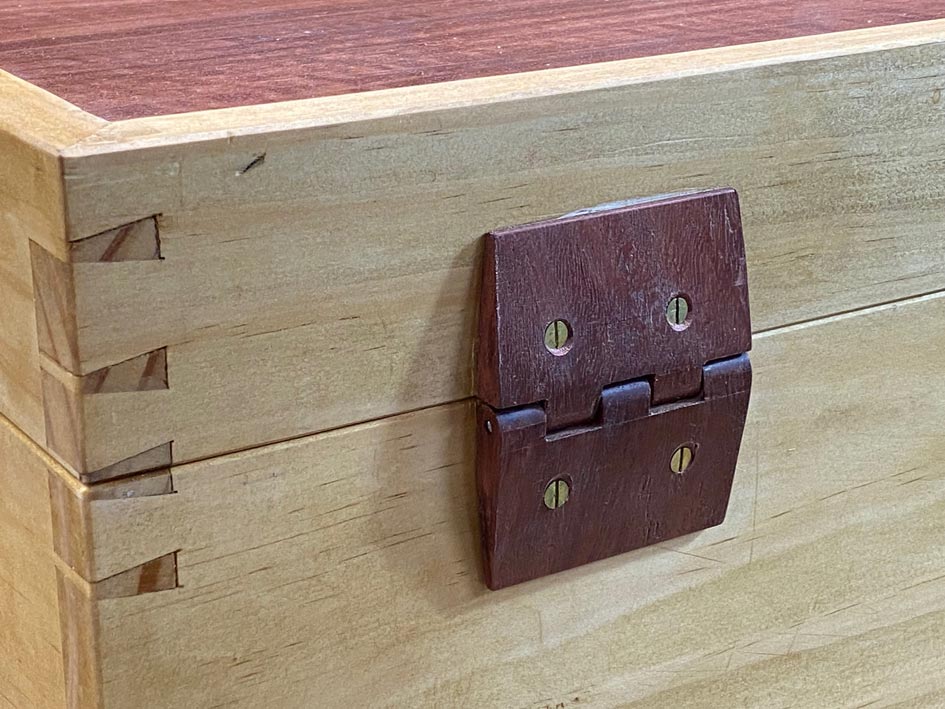
Wooden hinges ...
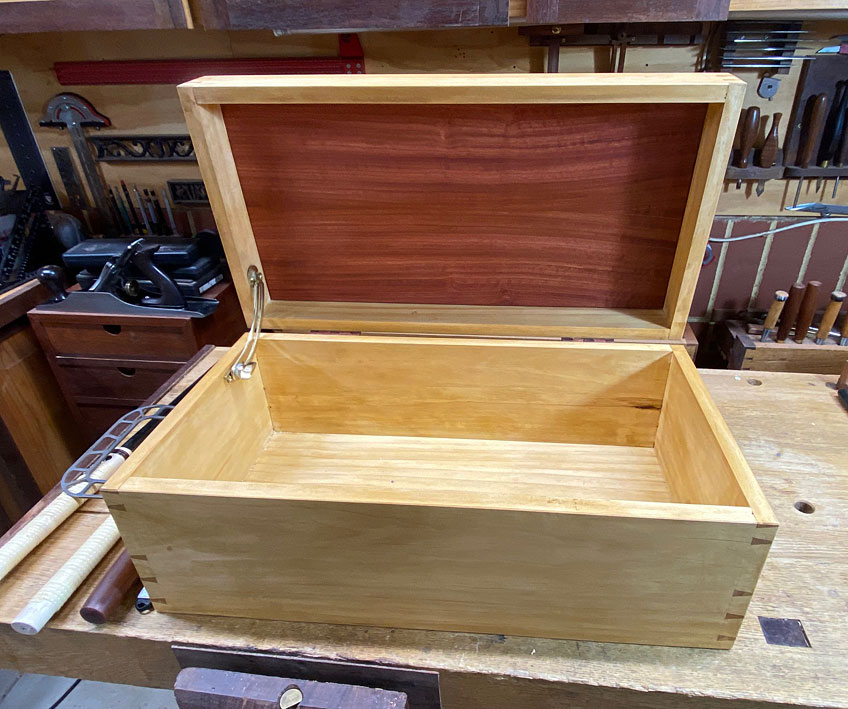
Inside ...
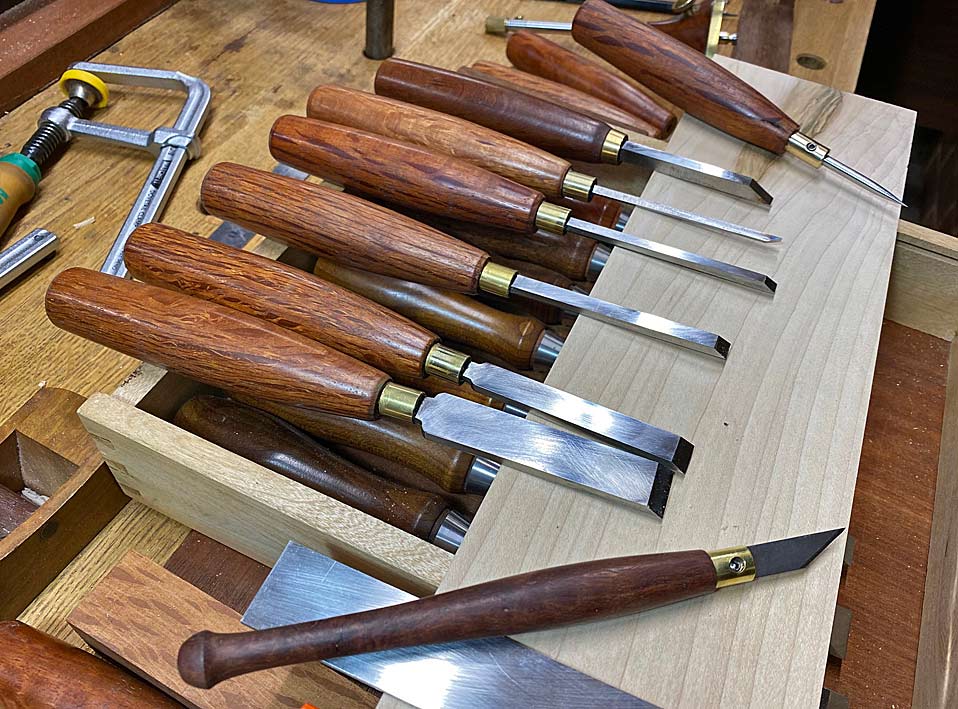
A sneak peek of chisels (5 bench so far, 6mm mortise chisel), awl, and a marking knife ...
I guess that the inspiration for this post was the way the chisels worked - sweet to use and held a sharp edge.
The trays are Kauri Pine, which is as light as it gets. I shall not bore you with sawing dovetails, just the chisels in use removing waste. In this instance I decided to forgo a fretsaw (as I am not sure if there will be space for one) ,and just chop out the waste.
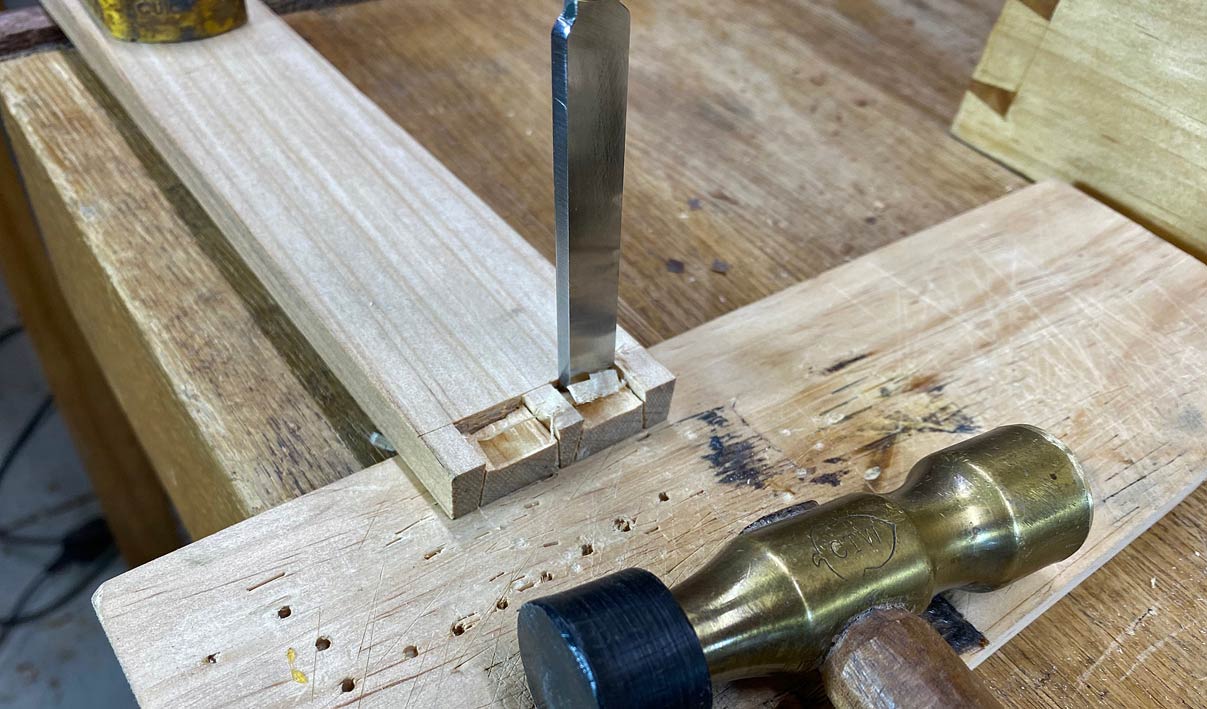
Start by undercutting the base line ...
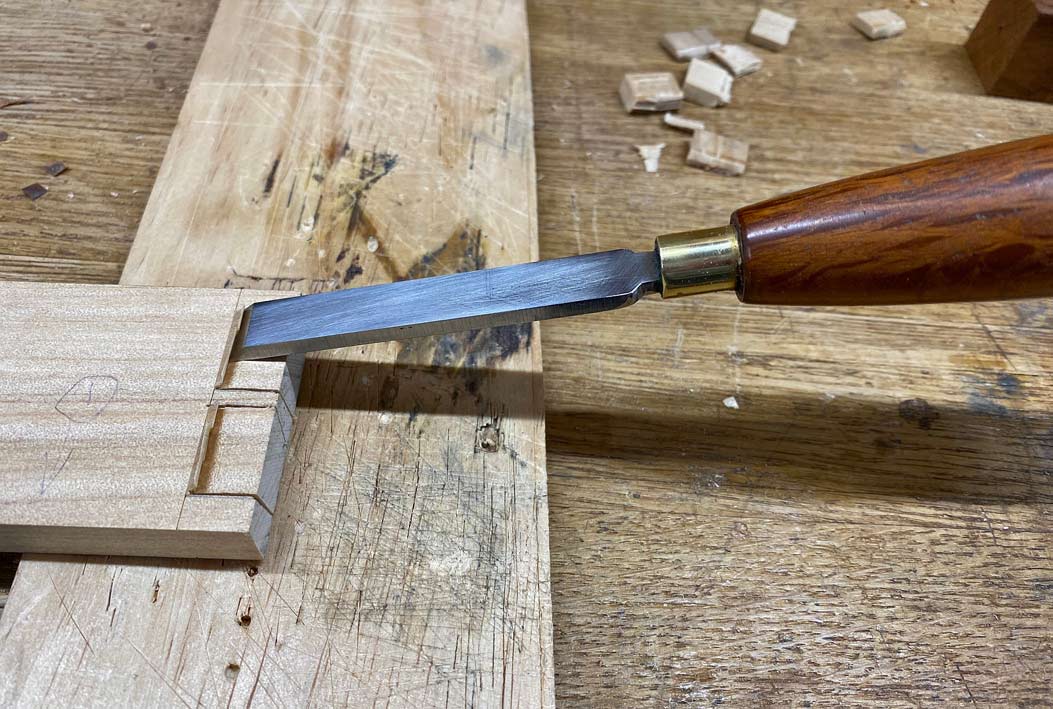
Then split out a level ...
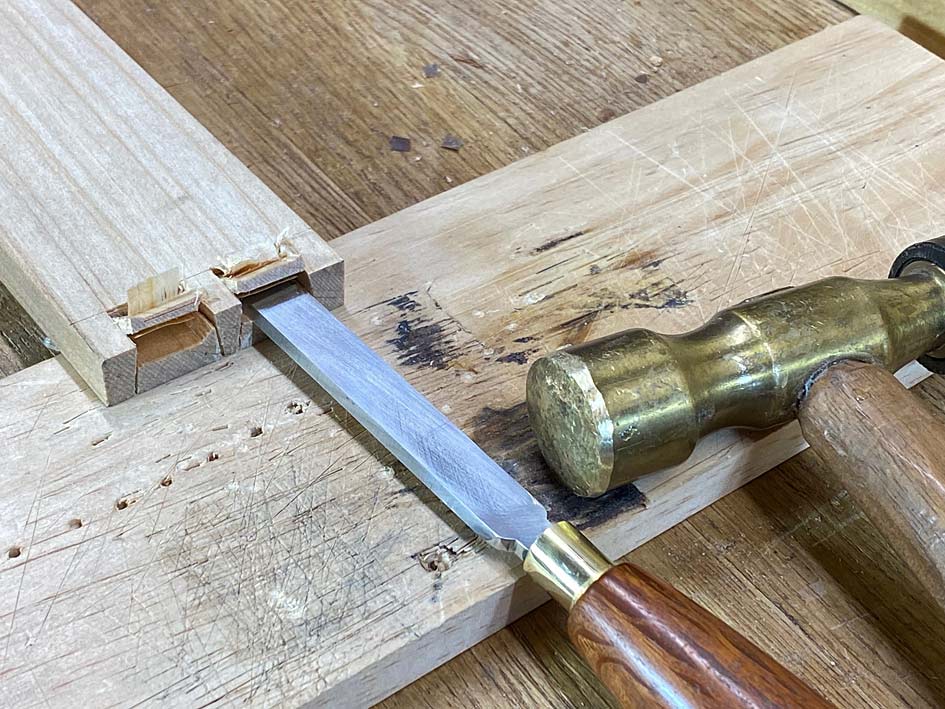
Chop down again. The fence at the baseline prevents the chisel moving back and over the baseline ...
Get down half way and start on the other side ...
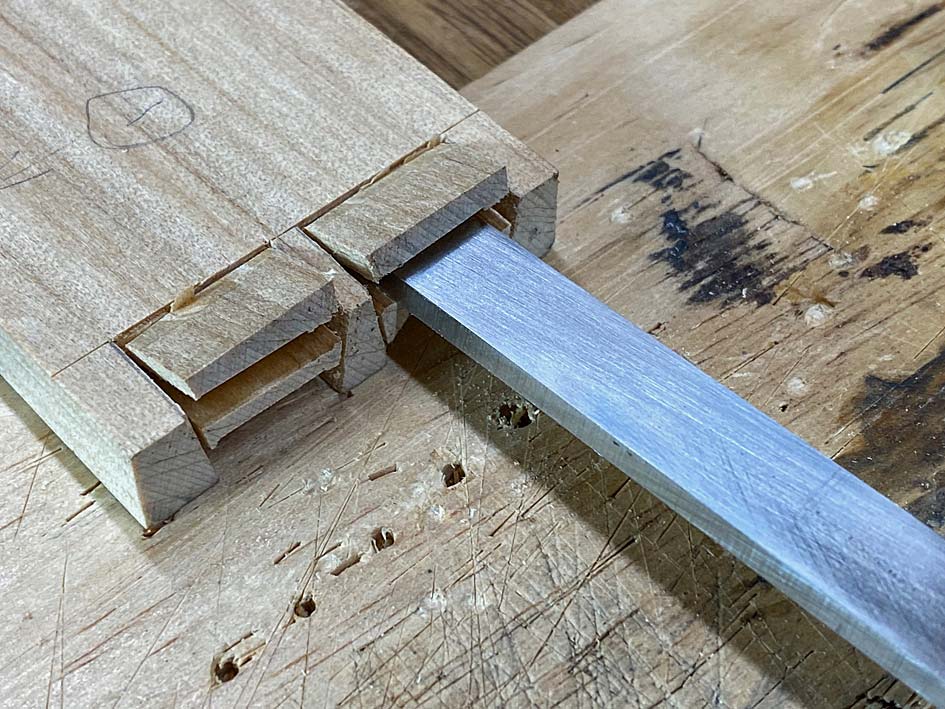
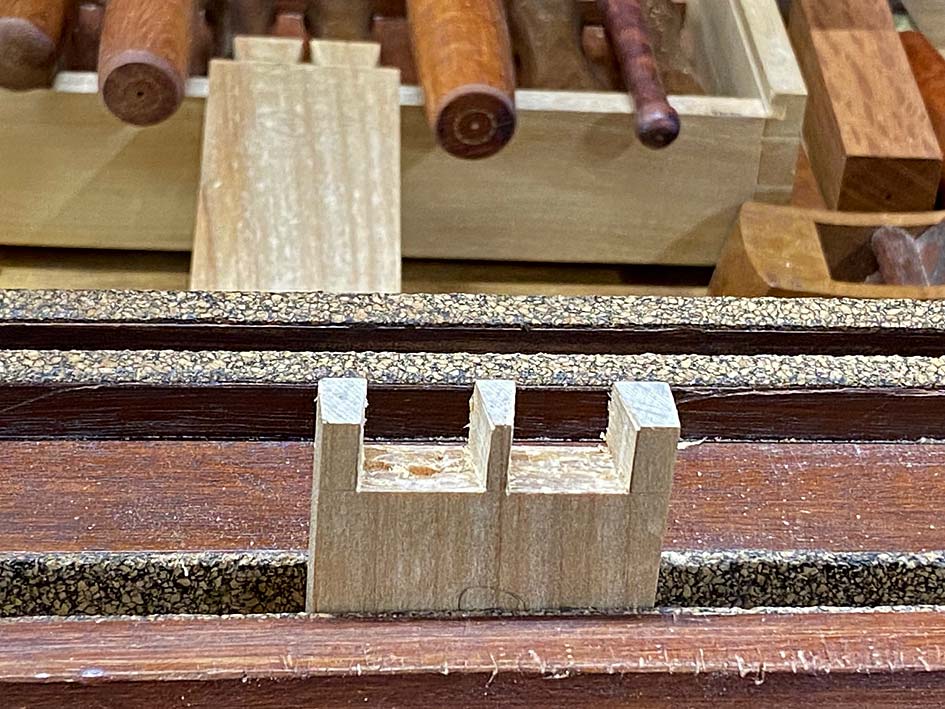
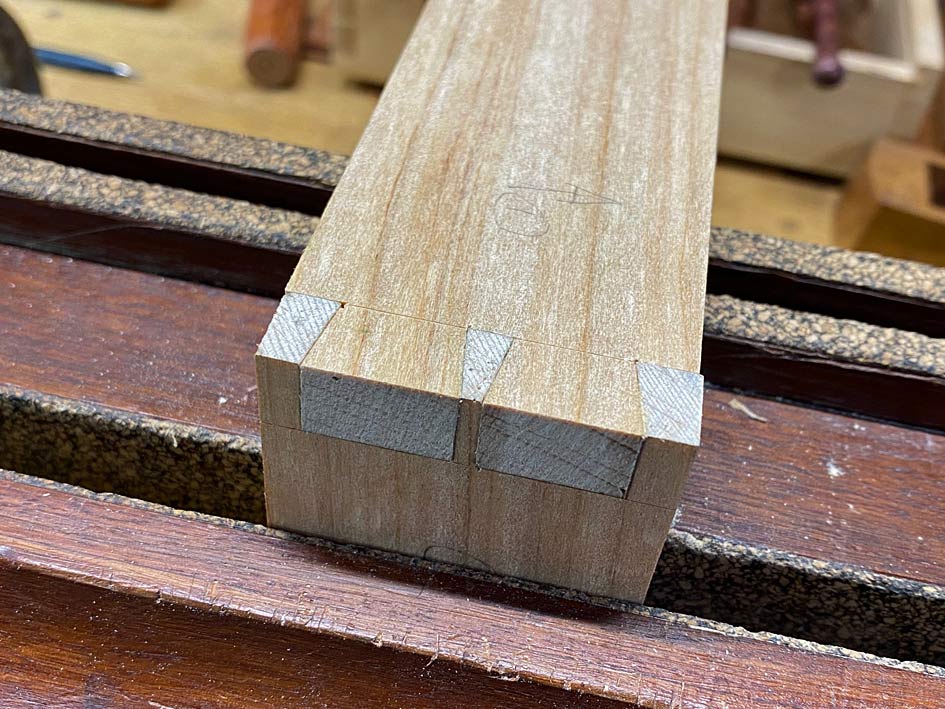
Once you have just a thin section remaining at the centre, this will break away, and the leave the socket clear.
The only downside of this method (compared with fretsawing and paring) is that the centre of the socket is rough ...
So far, all the dovetails aim to fit off the saw. Will they?
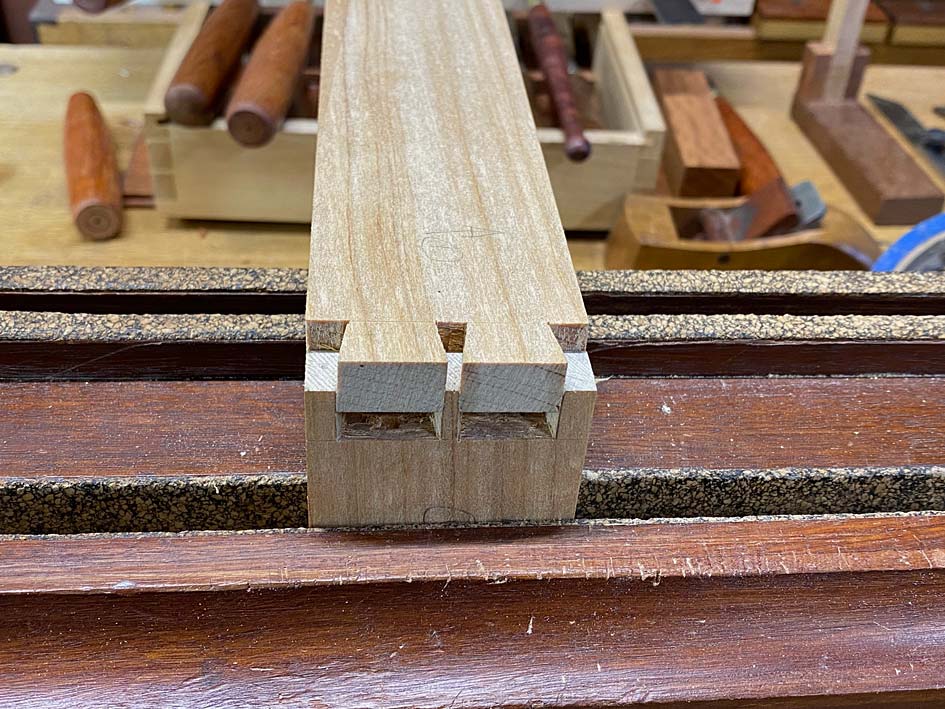
These soft woods are great to dovetail and they squish together without any gaps ...
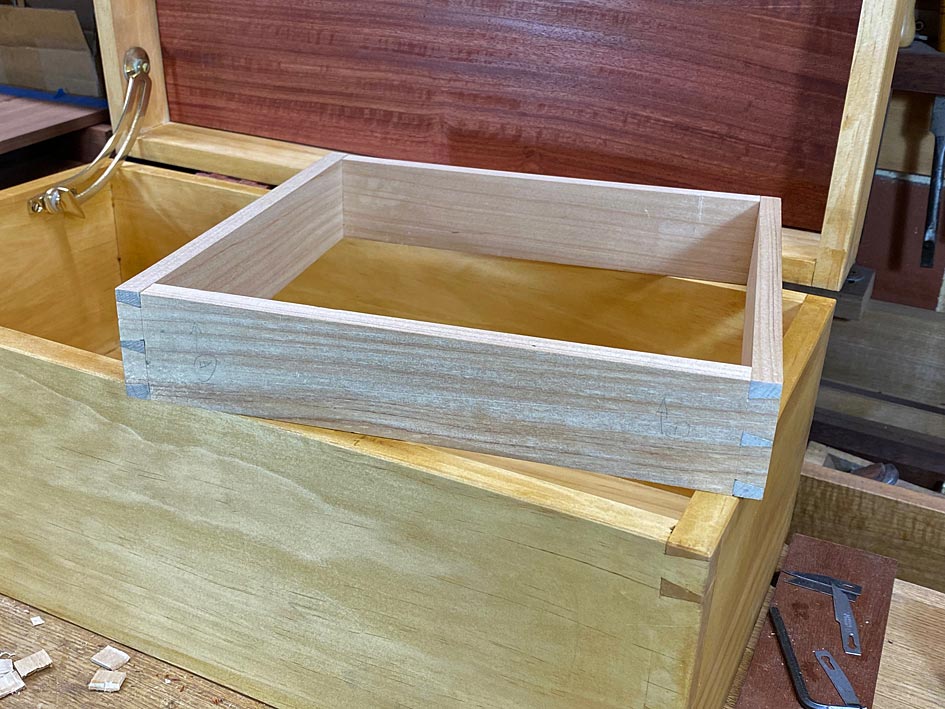
It's going to fit nicely ...

A preview of the lid for the tray ... Makore to match the chest lid ...
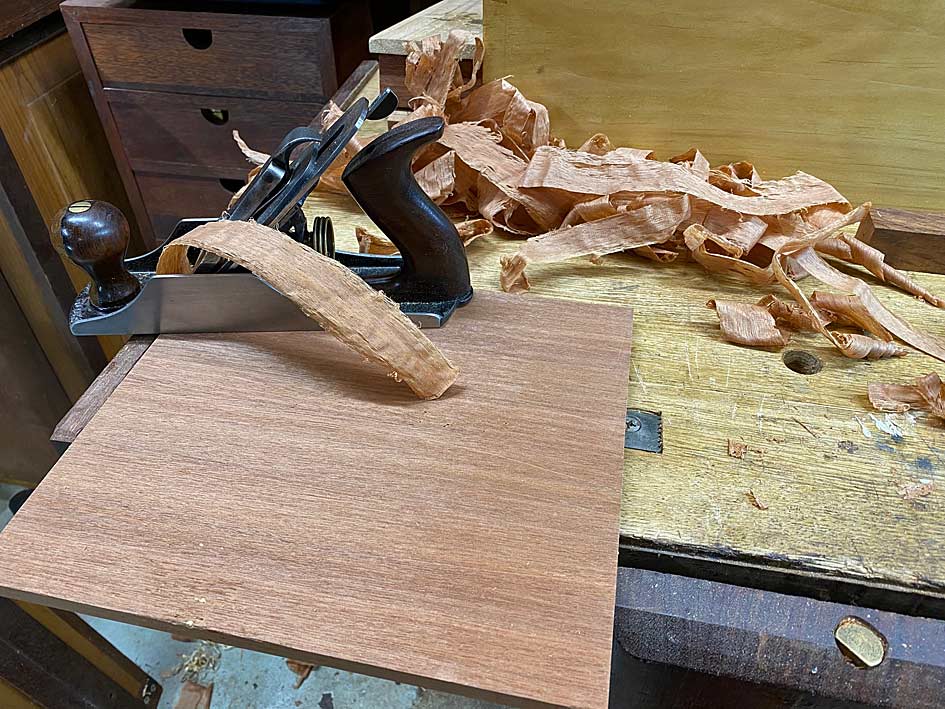
Don't you love the straight shavings from a closed chipbreaker

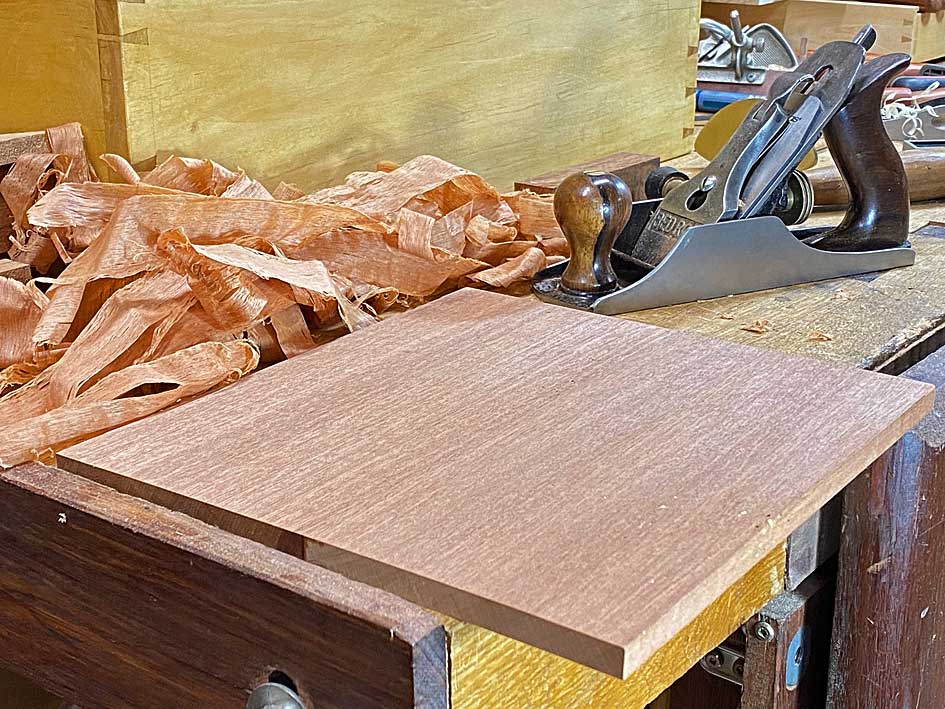
Raking light across the surface ... no tracks and a gleam to beat any sander!
More when there is more.
Regards from Perth
Derek
One reason for building the tools is to make everything as light as possible for travel. This is where this tool chest differs from those that reside in a workshop. Can I get a full furniture makers set of tools in to a small chest? It requires careful consideration as to which tools are really necessary, and which are not. The tools will be displayed and discussed when all is complete.
I am presently working on the chisels. Details for another time once they are all done (six done, two to go). This is more about the chest, and a preview of the chisels in use dovetailing the sliding tray in which they will live.
The chest has to be light but tough, and so it is built from Radiata Pine. Here stained to look like old pine. The lid panel is Makore. I am not sure whether I will add inlay to jazz it up - a decision for another time.
Wooden hinges ...
Inside ...
A sneak peek of chisels (5 bench so far, 6mm mortise chisel), awl, and a marking knife ...
I guess that the inspiration for this post was the way the chisels worked - sweet to use and held a sharp edge.
The trays are Kauri Pine, which is as light as it gets. I shall not bore you with sawing dovetails, just the chisels in use removing waste. In this instance I decided to forgo a fretsaw (as I am not sure if there will be space for one) ,and just chop out the waste.
Start by undercutting the base line ...
Then split out a level ...
Chop down again. The fence at the baseline prevents the chisel moving back and over the baseline ...
Get down half way and start on the other side ...
Once you have just a thin section remaining at the centre, this will break away, and the leave the socket clear.
The only downside of this method (compared with fretsawing and paring) is that the centre of the socket is rough ...
So far, all the dovetails aim to fit off the saw. Will they?
These soft woods are great to dovetail and they squish together without any gaps ...
It's going to fit nicely ...
A preview of the lid for the tray ... Makore to match the chest lid ...
Don't you love the straight shavings from a closed chipbreaker
Raking light across the surface ... no tracks and a gleam to beat any sander!
More when there is more.
Regards from Perth
Derek