I have been wanting to redo my subwoofer enclosure for my small tv area for awhile now, and decided it would be a good opportunity to break in the new tools.
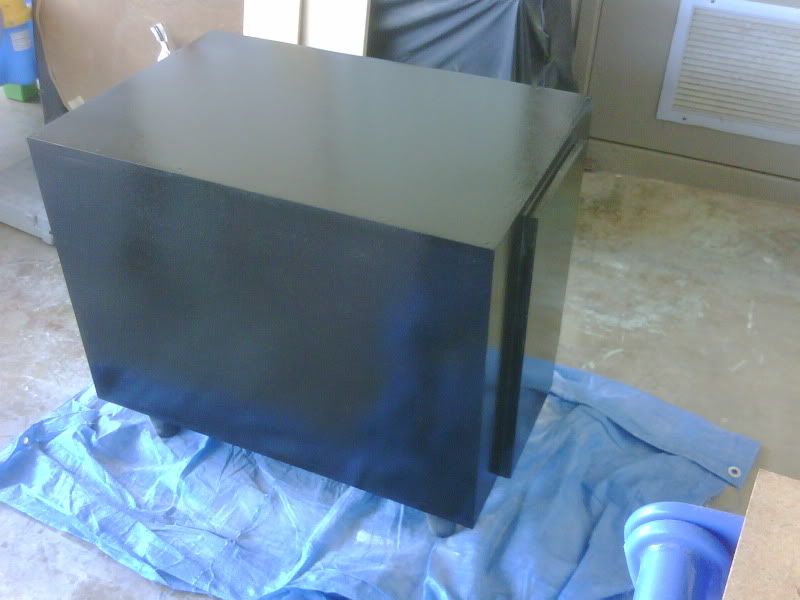
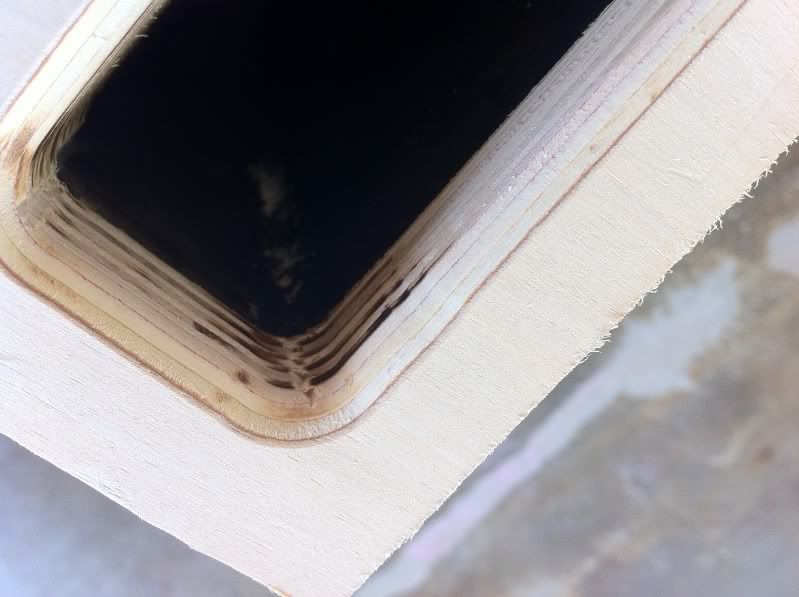
Here is my OLD downward firing sealed box. The extra strip of MDF going down one side of the box was my attempt at covering up an error. Along with the bad paint job, screw holes that weren't filled in correctly, and the sharp edges, I didn't care for that box too much.
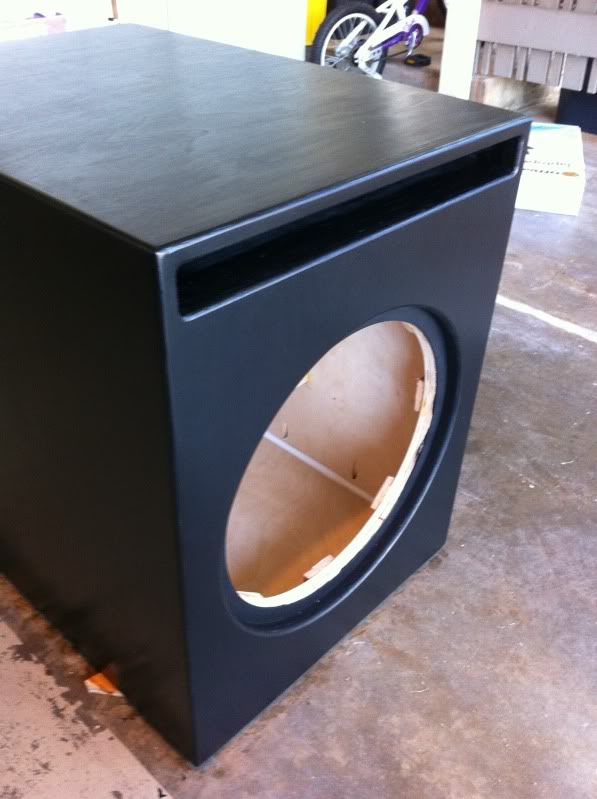
On to the new one! New design is a slot-port tuned to 19.5hz.
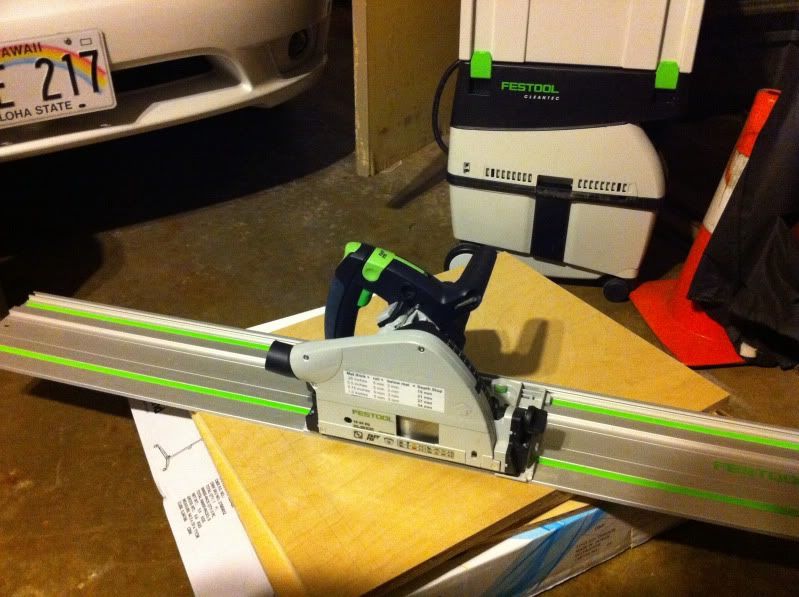
TS55 is great a breaking down the 3/4 inch ply. Thanks to Brice for the idea of putting a label with the cut depth settings for various widths of stock on the side of the saw.
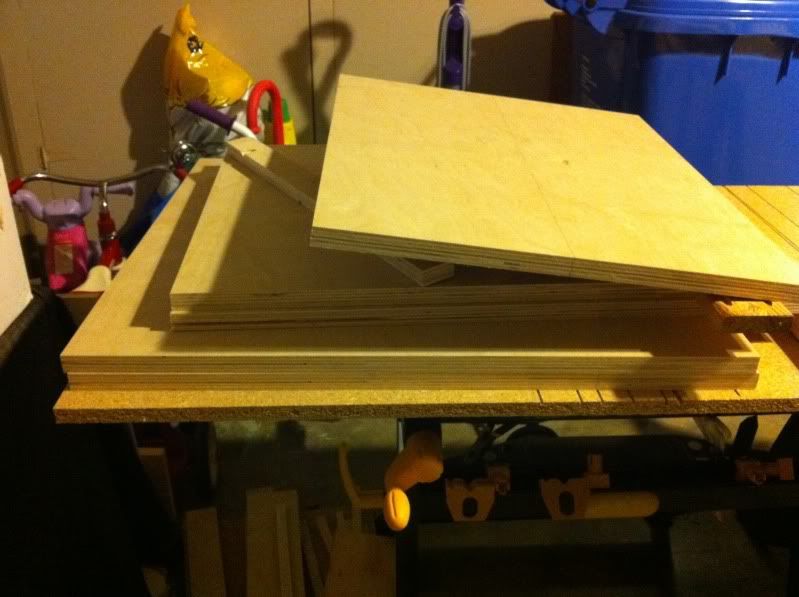
All the panels are cut out. It is great that the edges are clean and square with minimal tearout. Makes the assembly that much easier.
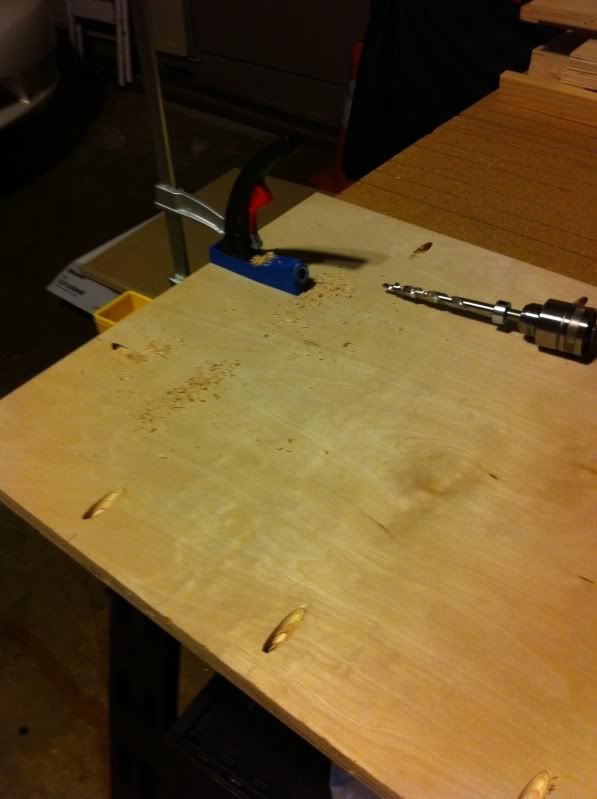
Trying out the new Kreg Mini jig. Pocket holes are drilled out.
The dry fit looks pretty good.

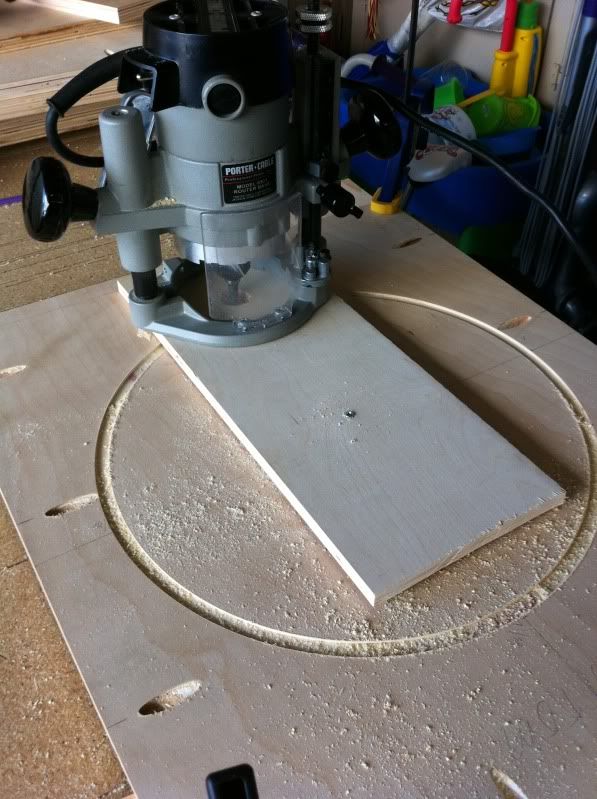
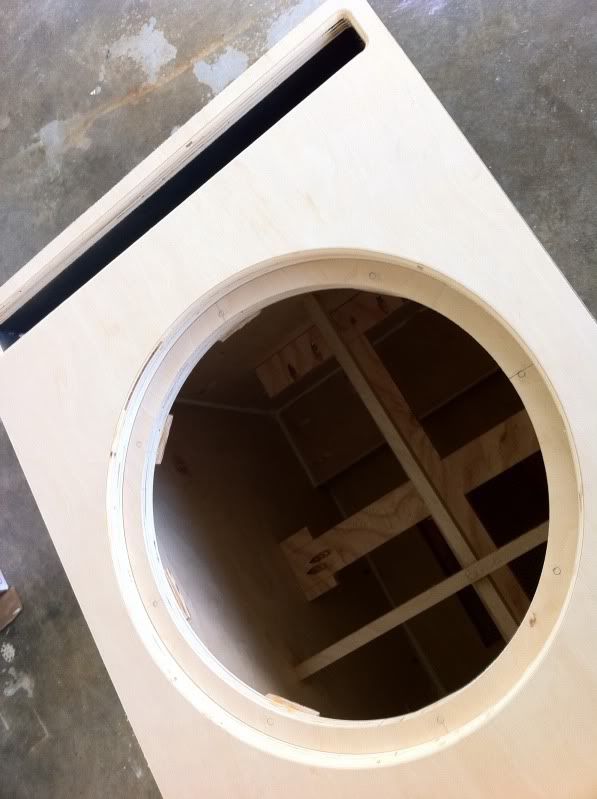
With my homemade circle jig, I'm cutting out the hole in the baffle for the driver. Incidentally, this experience with the PC in all of it's dust making glory, spurred me to get to OF1400.
The glue-up underway. Notice my high tech 'clamps'. I figured that glue, along with the pocket screws would make a decent enough joint.
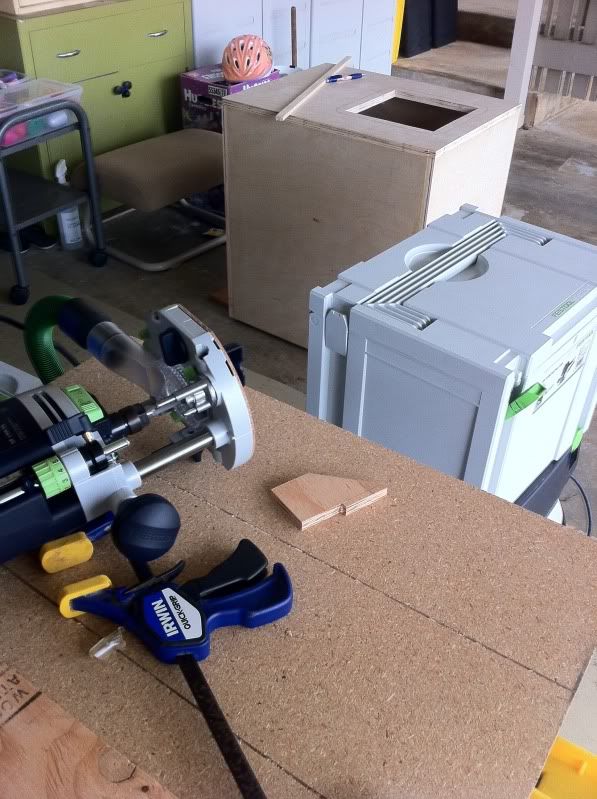
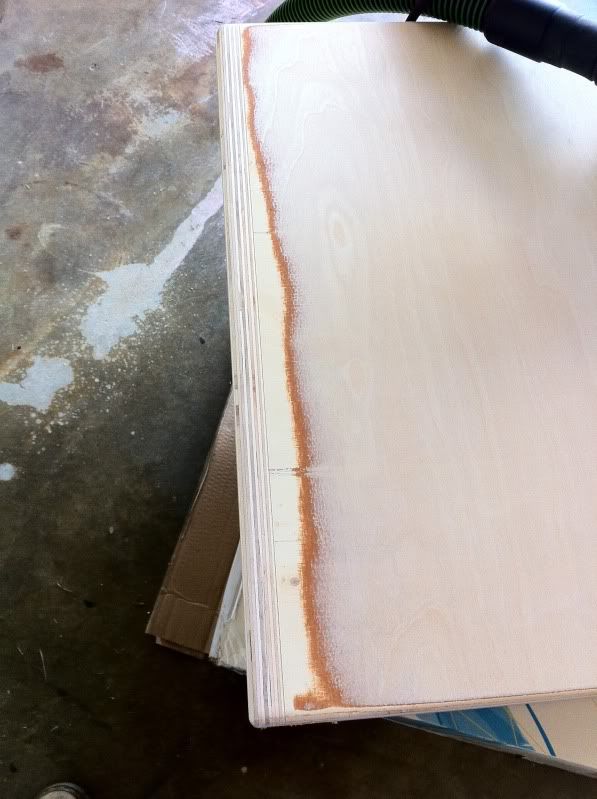
With the glue all dry, I use my newly acquired 1400 to clean up the box before I can get on to sanding.
Did some flush-trimming...
and used a 1/4 inch round over bit to soften up the edges a bit. Yes, I do need to practice more!
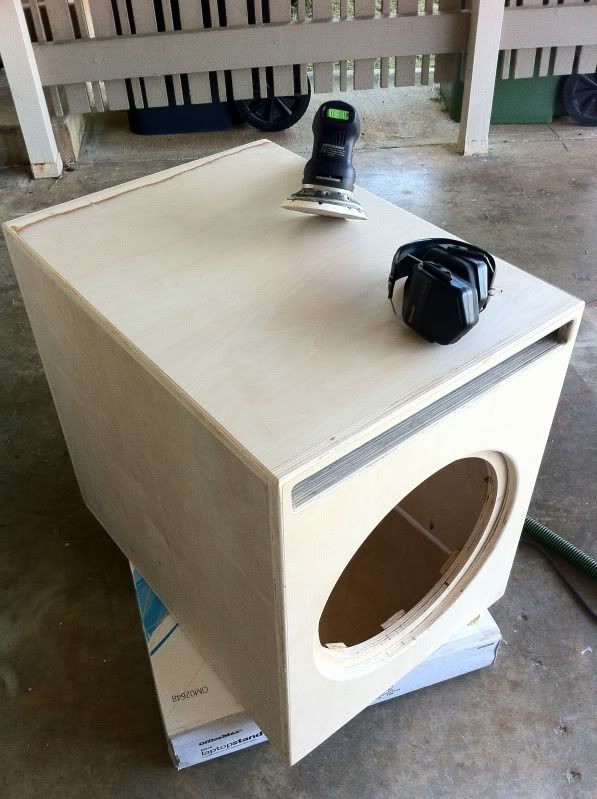
Going through some sanding with the ETS125
I guess my skills with the pocket screws were sub-optimal as some of the panels became slightly askew. This is the result when trying to flush everything up using the sander. I definitely need to learn different joinery methods.
Luckily, I was using General Finishes Black stain so all of those mistakes are hidden up pretty well. Using three coats of the stuff definitely helps.
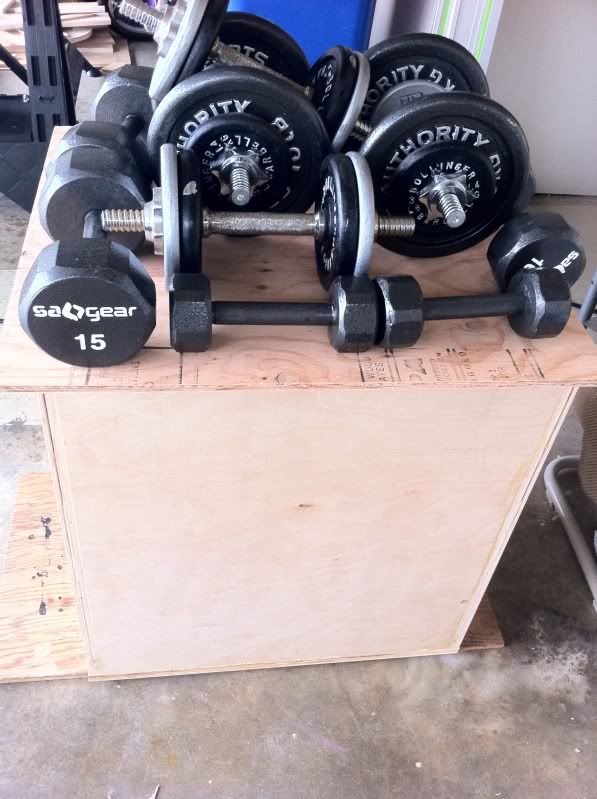
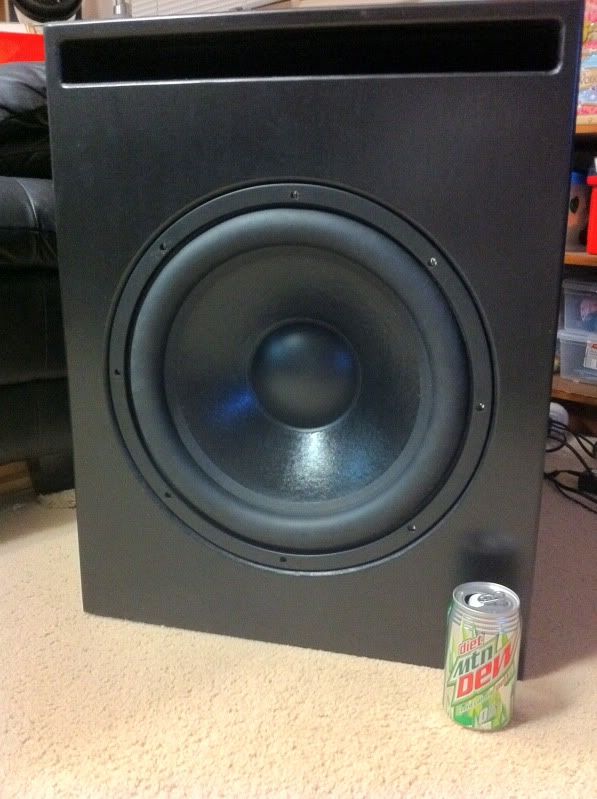
I wiped on three coats of Arm-R-Seal, and after everything dried up, installed the driver, and here it is ready to move into its space on the other side of the couch. It also doubles as an end table.
Thanks for letting me share my small project!
BTW, any tips to help with my woodworking skills are DEFINITELY welcome!
Here is my OLD downward firing sealed box. The extra strip of MDF going down one side of the box was my attempt at covering up an error. Along with the bad paint job, screw holes that weren't filled in correctly, and the sharp edges, I didn't care for that box too much.
On to the new one! New design is a slot-port tuned to 19.5hz.
TS55 is great a breaking down the 3/4 inch ply. Thanks to Brice for the idea of putting a label with the cut depth settings for various widths of stock on the side of the saw.
All the panels are cut out. It is great that the edges are clean and square with minimal tearout. Makes the assembly that much easier.
Trying out the new Kreg Mini jig. Pocket holes are drilled out.
The dry fit looks pretty good.
With my homemade circle jig, I'm cutting out the hole in the baffle for the driver. Incidentally, this experience with the PC in all of it's dust making glory, spurred me to get to OF1400.
The glue-up underway. Notice my high tech 'clamps'. I figured that glue, along with the pocket screws would make a decent enough joint.
With the glue all dry, I use my newly acquired 1400 to clean up the box before I can get on to sanding.
Did some flush-trimming...
and used a 1/4 inch round over bit to soften up the edges a bit. Yes, I do need to practice more!
Going through some sanding with the ETS125
I guess my skills with the pocket screws were sub-optimal as some of the panels became slightly askew. This is the result when trying to flush everything up using the sander. I definitely need to learn different joinery methods.
Luckily, I was using General Finishes Black stain so all of those mistakes are hidden up pretty well. Using three coats of the stuff definitely helps.
I wiped on three coats of Arm-R-Seal, and after everything dried up, installed the driver, and here it is ready to move into its space on the other side of the couch. It also doubles as an end table.
Thanks for letting me share my small project!
BTW, any tips to help with my woodworking skills are DEFINITELY welcome!